Painting kitchen cabinets can completely transform a space, giving it a fresh and modern look without the cost of a full remodel. However, achieving that sleek, factory-quality finish takes more than a can of paint and a brush. Knowing how to paint kitchen cabinets professionally involves preparation, the right materials, and precise technique. When done correctly, painted cabinets can look as good as new ones and last for years with minimal maintenance.
Why professional results matter
Cabinets are one of the most used surfaces in a home. They experience constant opening, closing, moisture exposure, and grease buildup. Professional-quality painting ensures the finish can withstand that daily wear. Professionals focus on prep work, cleaning, sanding, and priming to create a surface that holds paint evenly. This attention to detail prevents chipping, peeling, and uneven color. Companies like Four Seasons Painting Co. specialize in cabinet refinishing, delivering durable finishes that elevate the look and feel of any kitchen.
Step 1: Cleaning and degreasing
When learning how to paint kitchen cabinets professionally, the first and most important step is deep cleaning. Kitchen cabinets collect grease, oil, and cooking residue over time, which can stop paint from adhering properly. Use a degreaser or mild cleaner to remove buildup and prepare the surface for sanding. Pay extra attention to areas around handles and knobs where oils are most common. After cleaning, let the cabinets dry completely before moving forward. This step ensures that primer and paint bond correctly, resulting in a strong, long-lasting finish.
Step 2: Removing doors, drawers, and hardware
Professionals always remove cabinet doors, drawers, and hardware before painting. Label each door and hinge location with painter’s tape for easy reassembly later. Painting cabinets while they are still attached can lead to uneven coverage and drips. Removing the hardware also prevents paint from sticking to hinges or handles, maintaining smooth function. Proper labeling and organization keep the project efficient and precise.
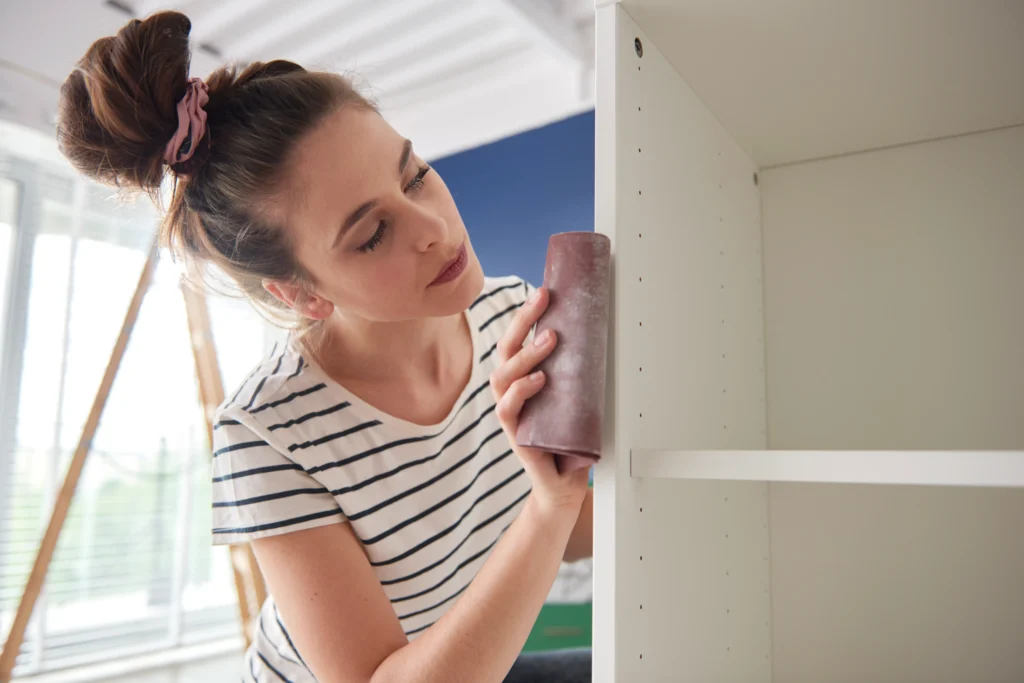
Step 3: Sanding the surfaces
When learning how to paint kitchen cabinets professionally, sanding is the foundation of a flawless finish. It removes surface gloss, smooths imperfections, and gives the primer something to grip. Professionals usually use 120- to 220-grit sandpaper for this step. If the cabinets already have paint or varnish, a light scuff-sanding is usually enough. Be sure to vacuum or wipe away all dust afterward so it does not interfere with the primer. Sanding creates an even surface that helps achieve the smooth, durable look found in factory finishes.
In some cases, especially with older cabinets, painters may choose to use a deglosser instead of sanding. This chemical solution removes sheen and residue quickly, allowing the new paint to adhere properly. Whether sanding or using a deglosser, the goal is the same, to create a clean, slightly rough surface that ensures maximum paint adhesion and long-lasting results.
Step 4: Applying primer
Primer is critical for achieving professional-grade cabinet results. It blocks stains, seals wood grain, and helps paint adhere evenly. A bonding primer works best for slick surfaces like laminate or varnished wood. Stain-blocking primers are ideal for oak or pine cabinets with heavy grain or discoloration. Applying primer with a high-quality brush or sprayer ensures even coverage. Allow it to dry thoroughly and lightly sand the surface afterward for smoothness.
Professionals often use premium primers such as Sherwin-Williams Extreme Bond Primer or Zinsser BIN for reliable adhesion. This foundation step makes the difference between a finish that lasts two years and one that lasts ten.
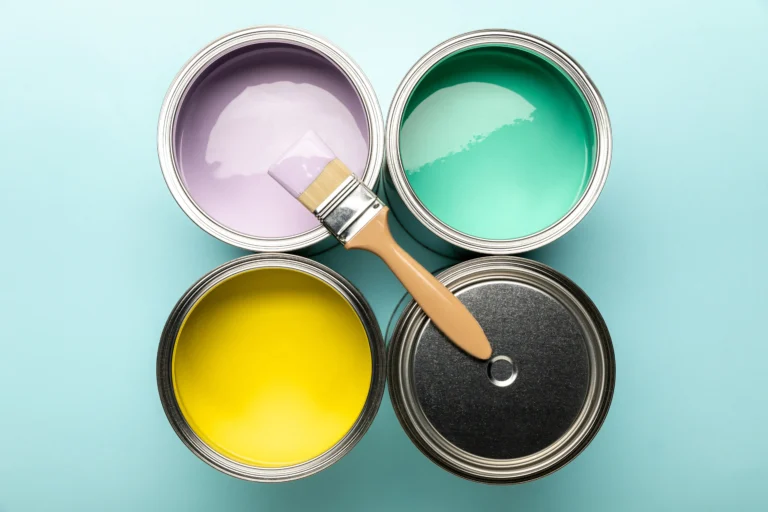
Step 5: Choosing the right paint
Knowing what paint to use is one of the most important parts of learning how to paint kitchen cabinets professionally. High-quality enamel paints, particularly acrylic urethane or waterborne alkyds, provide the best results. These paints level out smoothly, resist yellowing, and harden to a durable finish that withstands cleaning and moisture. Brands like Benjamin Moore Advance and Sherwin-Williams Emerald Urethane Trim Enamel are popular choices among professionals for their smooth finish and long-lasting quality. The sheen also matters. Satin or semi-gloss finishes are most common for cabinets since they are easy to clean and add a subtle glow without being overly reflective. Flat finishes are not recommended because they can absorb grease and are harder to wipe down.
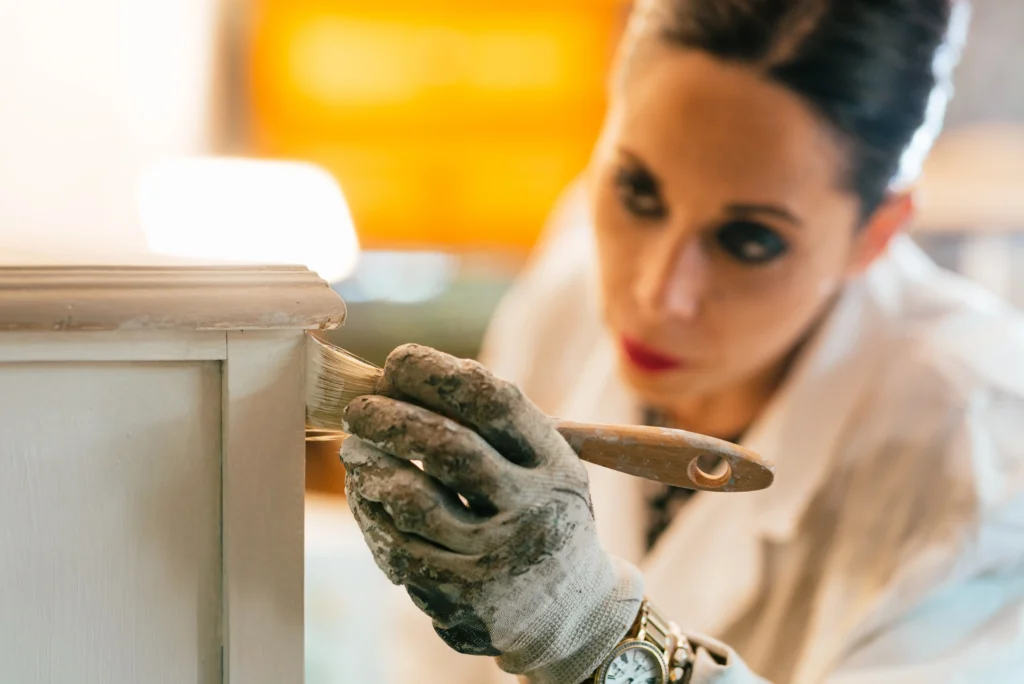
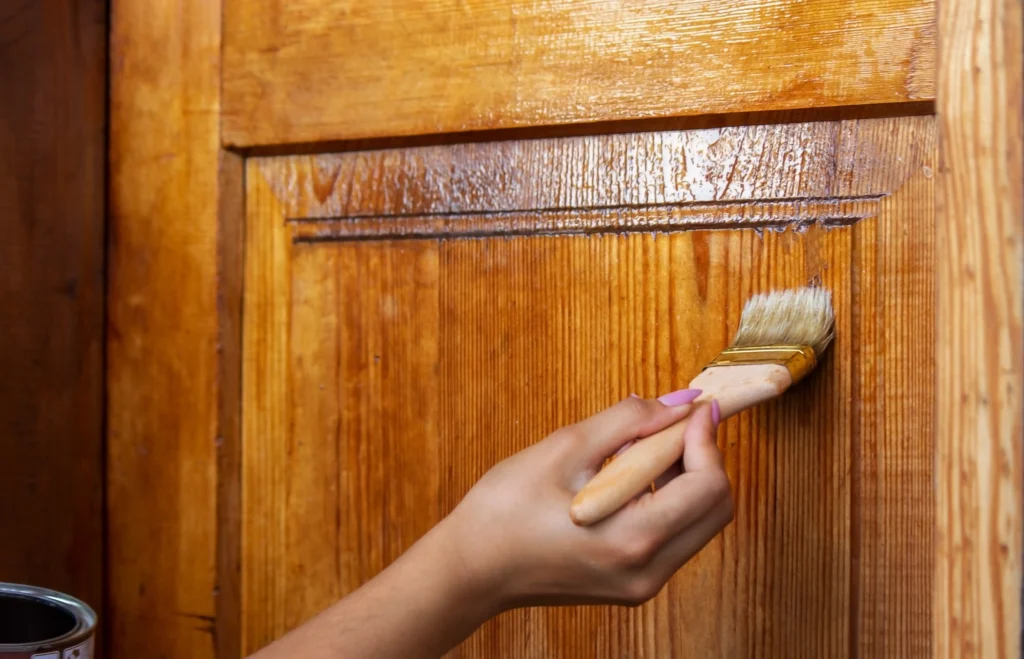
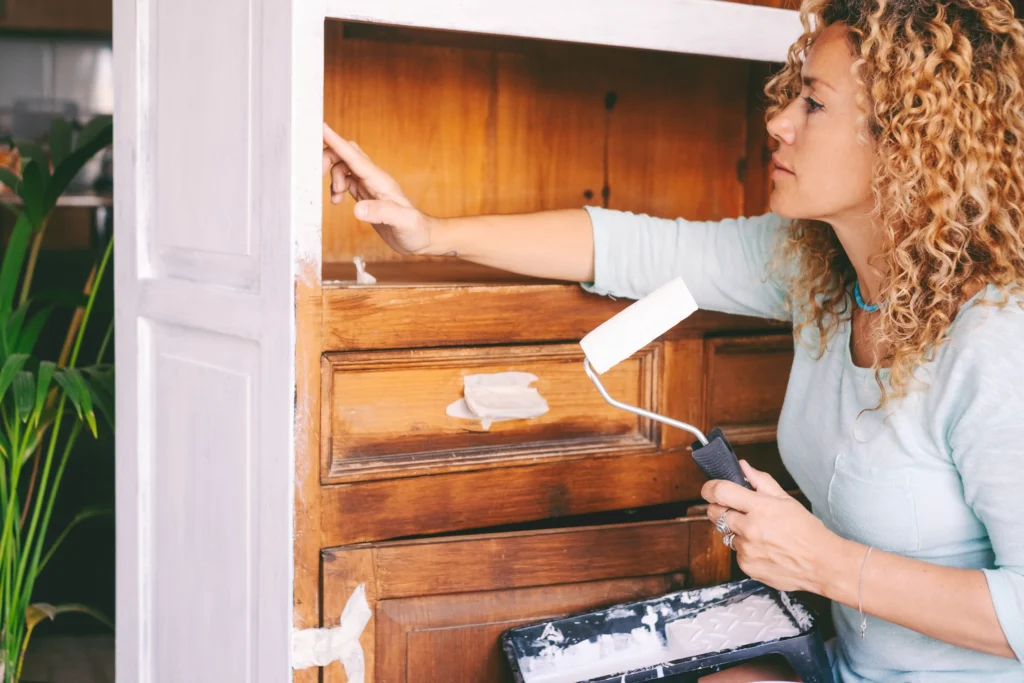
Step 6: Applying the paint
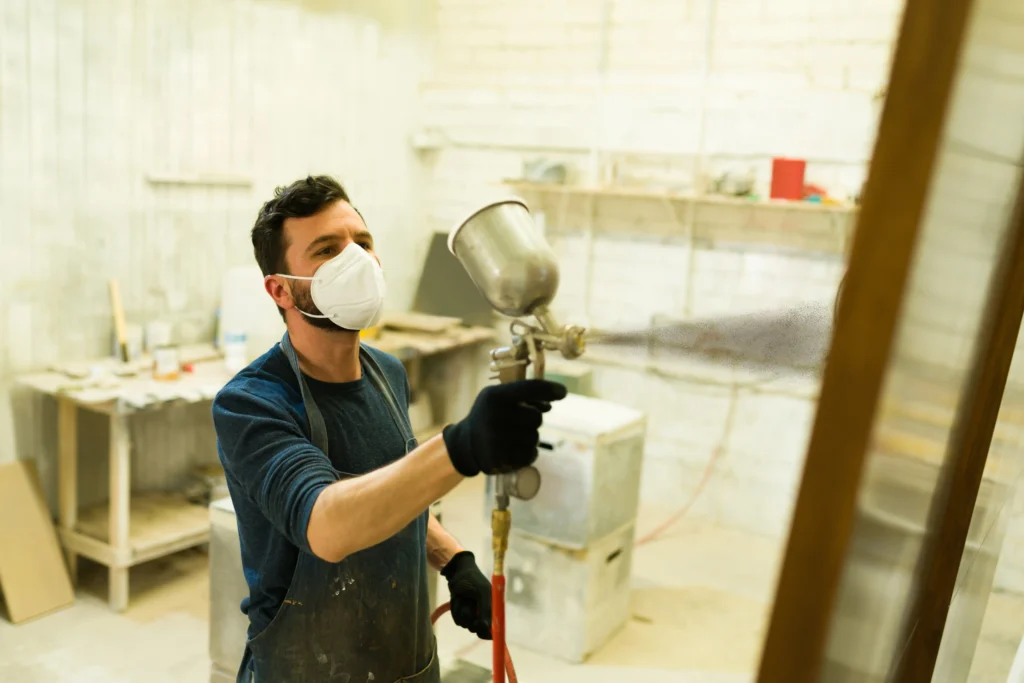
When learning how to paint kitchen cabinets professionally, the application technique is what truly separates a professional finish from an amateur one. For the best results, use a high-quality brush and foam roller or a paint sprayer. Spraying delivers the smoothest and most even finish, which is why professionals prefer it for cabinet doors and drawer fronts. When using a roller, apply paint in long, steady strokes that follow the wood grain. Avoid loading too much paint onto the brush or roller, as this can cause drips. Apply two or three thin coats, letting each coat dry completely before adding the next. Lightly sand between coats with fine-grit sandpaper to remove imperfections and improve adhesion. Wipe the surface clean with a tack cloth before applying more paint. Taking time with each layer ensures a clean, consistent, and durable finish that reflects professional craftsmanship.
Step 7: Letting the paint cure
While paint may feel dry to the touch within hours, full curing can take up to 30 days depending on the product. During this time, avoid heavy use or cleaning. Proper curing allows the paint to harden completely, forming a durable surface that resists scratches and chipping. Professionals factor in this curing time to ensure the finish remains strong and smooth long after completion.
Step 8: Reassembling the cabinets
Once the paint has cured, reattach all doors, drawers, and hardware carefully. Replace old hardware if you’re updating the look, or polish existing handles and hinges for a refreshed appearance. Make sure hinges are aligned so that doors close properly. This final step brings the kitchen back together, revealing a clean, modern transformation that feels brand new.
Step 9: Cleaning and maintenance
Professionally painted cabinets require little maintenance but benefit from gentle care. Avoid harsh chemicals or abrasive pads. Instead, use mild soap and a soft cloth for cleaning. Keep moisture to a minimum to preserve the paint’s integrity. With proper maintenance, professionally painted cabinets can last for years without needing a refresh.
For more information about cabinet refinishing, visit the Cabinet Painting Services page to see how professionals ensure long-lasting finishes using advanced methods and premium products.
Common mistakes to avoid
Even small mistakes can undo all the effort that goes into how to paint kitchen cabinets professionally. Skipping primer, using cheap paint, or failing to clean surfaces thoroughly are common errors that lead to peeling and poor adhesion. Rushing between coats or skipping light sanding can also create a rough, uneven texture. Professional painters understand that patience and precision matter most. Taking time to prep, apply, and cure each layer properly ensures a smooth, durable finish that looks like it came straight from the factory.
Why hire professionals
While it’s possible to paint cabinets yourself, achieving professional-level results takes experience and specialized equipment. Professional painters use spray systems, drying stations, and premium materials to produce smooth, durable finishes. They also manage preparation efficiently and ensure minimal disruption to your kitchen. Partnering with experts like Four Seasons Painting Co. saves time, reduces stress, and guarantees a flawless result that enhances your home’s value.

Conclusion
Learning how to paint kitchen cabinets professionally involves much more than applying a coat of paint. The process requires patience, precision, and the right products—from cleaning and sanding to priming and curing. When done correctly, painted cabinets transform your kitchen into a refreshed, elegant space that feels brand new. For homeowners seeking durable, high-end finishes, professional cabinet painting is a worthwhile investment. To learn more about expert cabinet refinishing, visit Four Seasons Painting Co. and discover how their proven process delivers long-lasting, beautiful results for every kitchen.