Learning how paint wall with roller is one of the most useful skills a homeowner can have. Rollers make painting faster, cleaner, and more consistent than brushes alone. Whether you’re refreshing a living room or transforming a full interior, mastering roller technique can help you achieve a professional finish with minimal effort. With proper preparation, quality tools, and the right motion, you can get smooth, even walls that look professionally done.
Why Rollers Are Ideal for Wall Painting
Rollers have become the go-to tool for painting walls because they cover large areas quickly while maintaining even coats. When you know how paint wall with roller correctly, you reduce streaks, roller marks, and wasted paint. Rollers distribute paint evenly over flat and slightly textured surfaces, creating a consistent finish that looks uniform from corner to corner. Using rollers also saves time on large projects compared to brush painting. A roller holds more paint, reducing the number of trips to the tray. Professional painters often use rollers for base coats and larger wall sections, then switch to brushes for cutting edges or detailed trim work. The combination of the two ensures precision and coverage.
Choosing the Right Roller
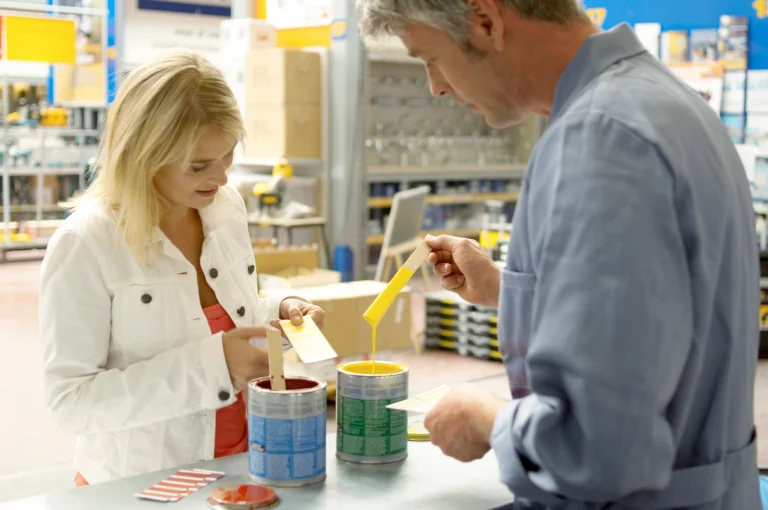
Choosing the correct roller is the foundation of learning how paint wall with roller. Rollers come in different materials and nap lengths, each suited for a specific surface. A short nap roller, typically one-quarter inch, is best for smooth walls. Medium naps, around three-eighths to half an inch, work for light texture, while thicker naps are designed for rougher surfaces. Foam rollers provide an extra-smooth finish, ideal for glossy or satin paints, while woven rollers offer durability for heavy-duty applications. The roller frame should feel sturdy and balanced in your hand, allowing you to move smoothly without pressure buildup. The experts at Four Seasons Painting Co always select rollers based on the wall texture and paint type to ensure consistent results.
Preparing the Wall Surface
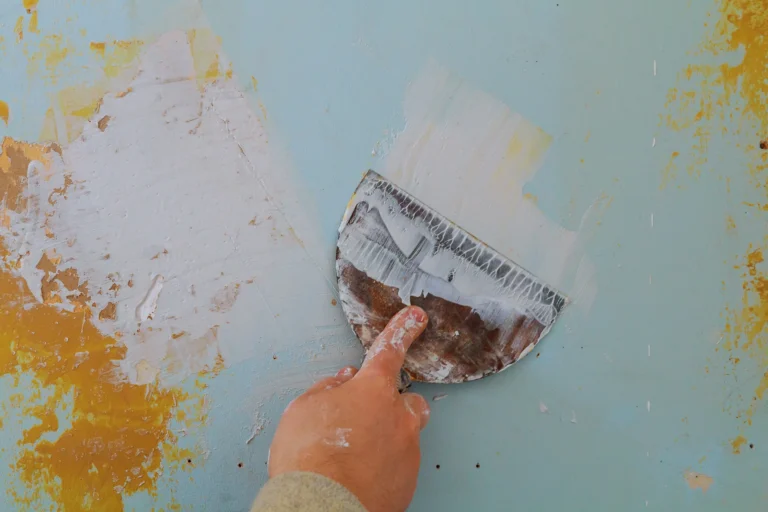
Before painting begins, preparation is essential for an even coat. Clean the wall thoroughly to remove dust, dirt, and oils that can prevent proper adhesion. Repair any holes or cracks with filler, then sand the surface smooth. Wipe it down with a damp cloth afterward. Priming is highly recommended, especially when covering darker colors or new drywall. Primer creates a uniform base that helps paint roll on evenly and improves durability. Proper lighting makes a big difference when painting. Shadows can hide missed spots or streaks. Professionals at Four Seasons Painting Co use strong, even lighting to inspect each coat for consistent coverage before moving to the next step.
Setting Up Your Painting Area
Learning how paint wall with roller includes understanding the importance of a well-organized workspace. Remove or cover furniture with drop cloths and use painter’s tape to protect trim, outlets, and switches. Place your roller tray on a flat surface within reach but away from foot traffic. Keep extra rollers, extension poles, and damp rags nearby for efficiency. Organizing your tools helps maintain focus and prevents interruptions during the painting process. Rollers tend to spray small droplets when overloaded, so using proper protection keeps the workspace clean. Taking a few minutes to set up correctly will save hours of cleanup later.

Loading the Roller with Paint
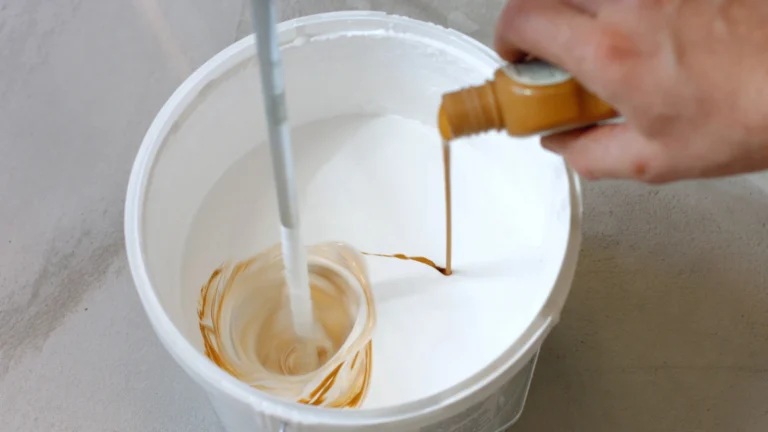
One of the most common mistakes when learning how paint wall with roller is overloading it with paint. Dip the roller about halfway into the tray and roll it back and forth on the ridged area to distribute paint evenly. The goal is to coat the roller without soaking it. Too much paint can cause drips and uneven patches, while too little results in dry, patchy strokes. Each time you reload, roll off excess paint before returning to the wall. A properly loaded roller glides smoothly and leaves a consistent layer without streaking. It’s better to apply two light coats than one heavy layer that runs or splatters.
Applying Paint in Controlled Sections
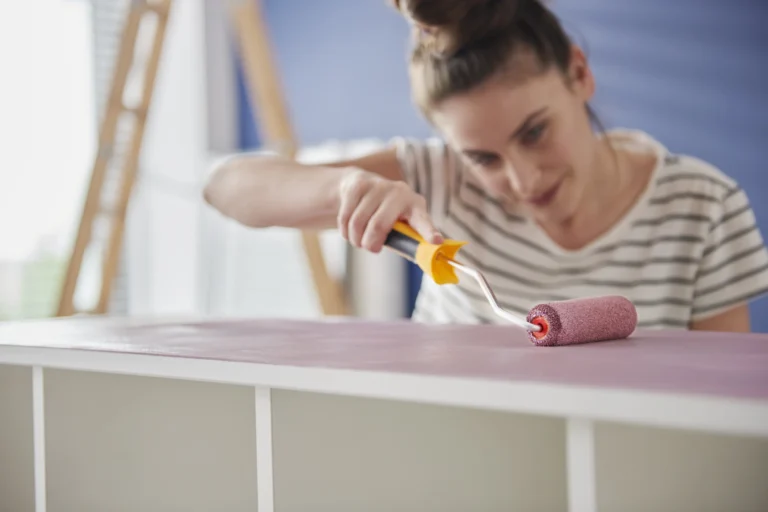
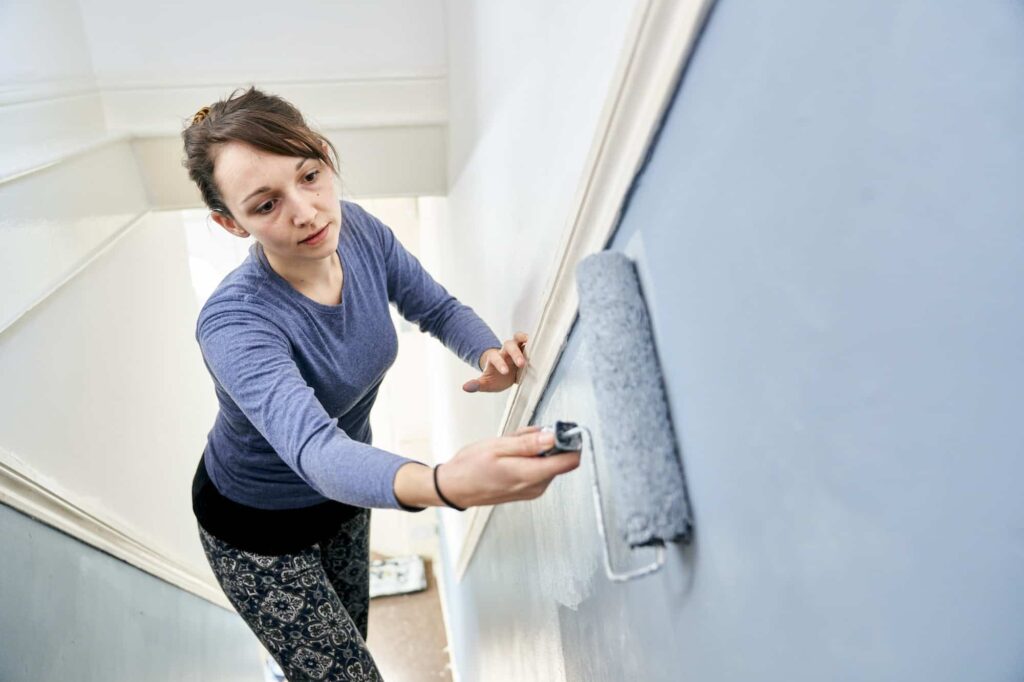
Start painting in a section about three to four feet wide. Roll the paint on the wall in a “W” or “M” pattern, then fill in the gaps with horizontal strokes. This technique helps spread paint evenly and prevents visible start and stop marks. Maintaining a wet edge by overlapping strokes while the paint is still fresh prevents lap lines from forming. Always work from top to bottom. This method allows gravity to help you smooth out any excess paint as you go. Knowing how paint wall with roller means developing a steady rhythm that keeps motion continuous and pressure even throughout each stroke.

Managing Roller Pressure and Angle
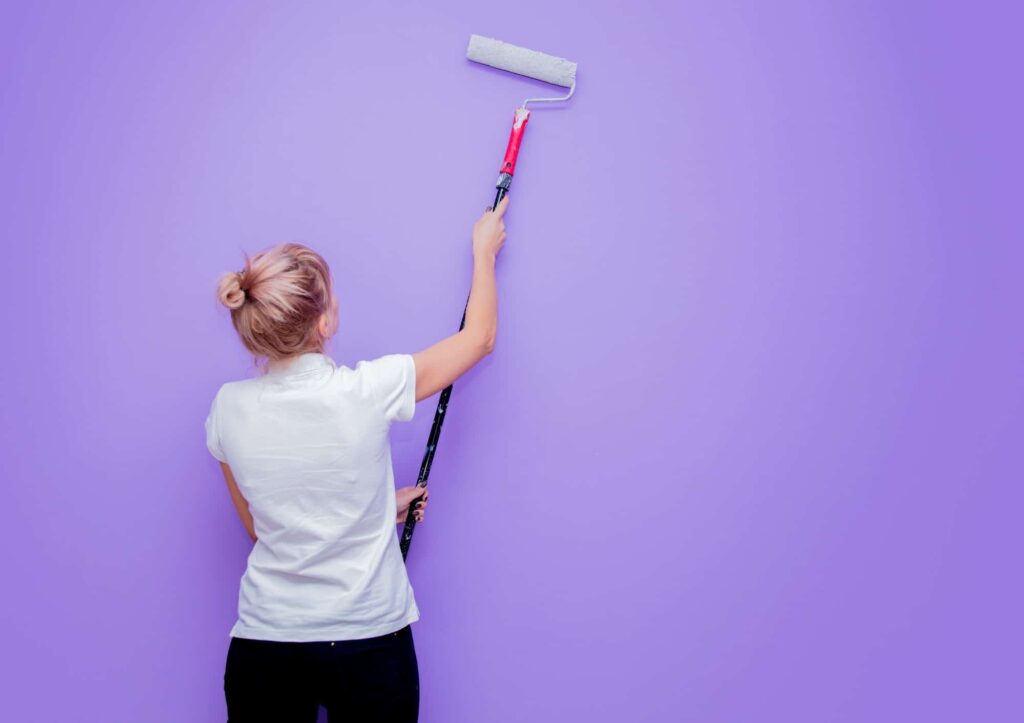
Applying too much pressure is one of the fastest ways to create streaks or roller marks. Let the roller’s natural weight do the work. Gentle, steady pressure ensures that paint spreads evenly across the surface. If you press too hard, paint may push out unevenly, leaving ridges once it dries. Hold the roller handle at a slight angle for smoother movement and minimal strain on your wrist. A relaxed grip allows better control and reduces fatigue, especially when painting large rooms. For tall walls or ceilings, an extension pole helps maintain reach and balance without using ladders repeatedly.
Blending and Overlapping Strokes
One of the key lessons in how paint wall with roller is mastering the blend between strokes. Each new stroke should overlap the previous one slightly to keep a uniform appearance. Avoid letting the edges dry before you continue, as this can cause visible lines once the wall is fully painted. When changing directions or moving to another section, roll lightly over the junction to smooth transitions. Keep your pace steady so each area blends seamlessly into the next. Professionals maintain consistent overlap across the entire surface to achieve the smooth, even finish that homeowners appreciate.
Cutting In Before Rolling
Cutting in means painting along the edges where rollers cannot reach, such as around trim, ceilings, and corners. Many painters prefer to cut in first using a high-quality angled brush, then blend with a roller while the edge paint is still wet. This process prevents visible differences in texture. When you understand how paint wall with roller and brush together effectively, your walls look continuous and professionally finished. For best results, use the same paint color and sheen for both the brush and roller portions. This ensures uniform drying and consistent tone throughout the entire room.
Allowing Paint to Dry and Recoating
Drying time varies based on paint type, humidity, and temperature. Most latex paints dry to the touch within a few hours, though a full cure may take up to a week. Always wait until the first coat is completely dry before applying the second. Rushing this step can cause lifting or streaking. Light sanding between coats can improve adhesion and create a smoother finish. To understand how drying conditions affect results, Forbes Home offers practical advice on drying times and how to ensure paint cures properly under different environmental factors.
Cleaning and Maintaining Tools
Proper cleanup extends the life of your tools and improves results for future projects. Rinse rollers thoroughly with warm water for latex paints or the appropriate solvent for oil-based paints. Use your hands to squeeze out excess water, then spin the roller gently to remove moisture. Store it upright or in a clean plastic bag to prevent drying. A well-maintained roller will continue to provide smooth coverage for multiple projects. Keeping equipment clean also prevents contamination between paint colors. Professionals at Four Seasons Painting Co ensure every tool is cleaned and inspected after each job, maintaining consistency and quality for their clients.
Common Mistakes to Avoid
When learning how paint wall with roller, avoid rolling too fast or pressing too hard. Both can cause splatter and uneven coats. Also, be careful not to roll over paint that’s already begun to dry. This can leave visible lines and dull spots. Keep a consistent pace and reload the roller as soon as coverage begins to fade. Another common mistake is skipping primer. Even on previously painted walls, a fresh primer coat can help new paint adhere properly and provide a smoother final texture. Taking time for these extra steps guarantees a more durable, professional result.
When to Hire Professionals
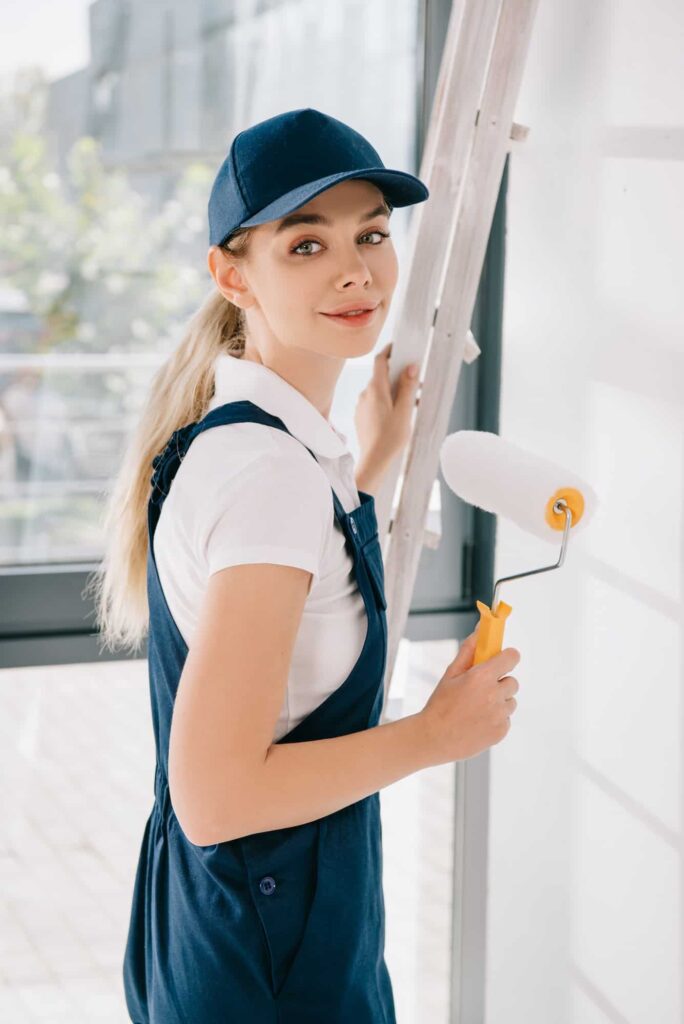
Painting with a roller is achievable for most homeowners, but large or detailed projects often benefit from a professional touch. If your walls have high ceilings, complex trim, or multiple colors, professional painters can save you time and ensure perfection. Knowing how paint wall with roller is valuable, but experienced crews bring efficiency, precision, and the right tools for every situation. Professionals also handle surface preparation, cleanup, and finishing details that can make a significant difference in the overall look. For homeowners who value quality and time, hiring a trusted local company is often the best investment.
Conclusion
Understanding how paint wall with roller helps you achieve a smooth, polished finish that enhances your space. With the right roller, steady technique, and proper preparation, even large rooms can be completed efficiently and beautifully. Painting with care and patience ensures lasting results that bring renewed life to your home.
For expert assistance, Four Seasons Painting Co offers professional interior and exterior painting services across Lake County, Ohio. Their experienced painters use top-quality materials and proven techniques to deliver results that stand out. To schedule your consultation or get a free estimate, visit the contact page and see how a skilled team can make your next painting project effortless and stunning.