How To Paint Kitchen Cabinets Like A Pro
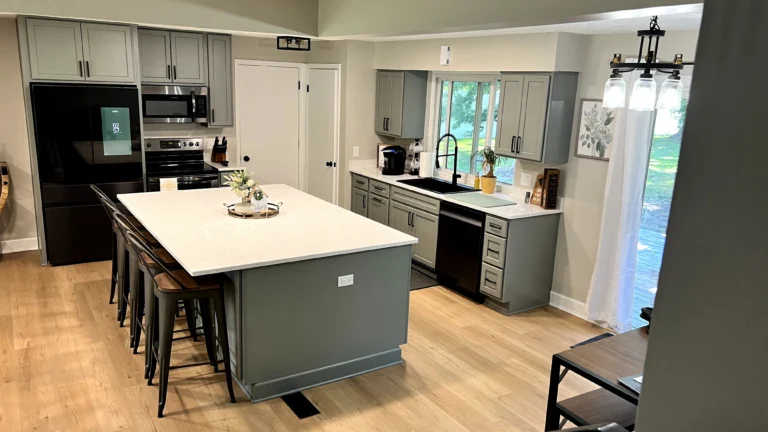
Kitchen Cabinets are expensive to replace as all homeowners know. They are usually custom-built to fit into your kitchen and last long. Painting your cabinets can refresh your kitchen for a fraction of the budget. Painting Cabinets is tough to do correctly so people commonly involve professional painters to get the job done. In today’s blog, we are going to talk about how to paint kitchen cabinets like a pro if you are interested in taking on this DIY project.
- Plan and Prepare Your Workspace
Preparation separates good painters from the best of the best. Making sure you have a proper surface to apply paint to and protection from mistakes will make or break your painting projects. You want to set up a clean, well-ventilated space to work in. If you are removing the cabinets to paint them, a garage or workshop is preferred. Lay down drop-cloths, hang plastic film, and use painter’s tape to protect surfaces you do not wish to paint. This is especially important if you are going to be using a paint sprayer.
Pro Tip: Label each cabinet door and its corresponding hinge to avoid confusion during reassembly.
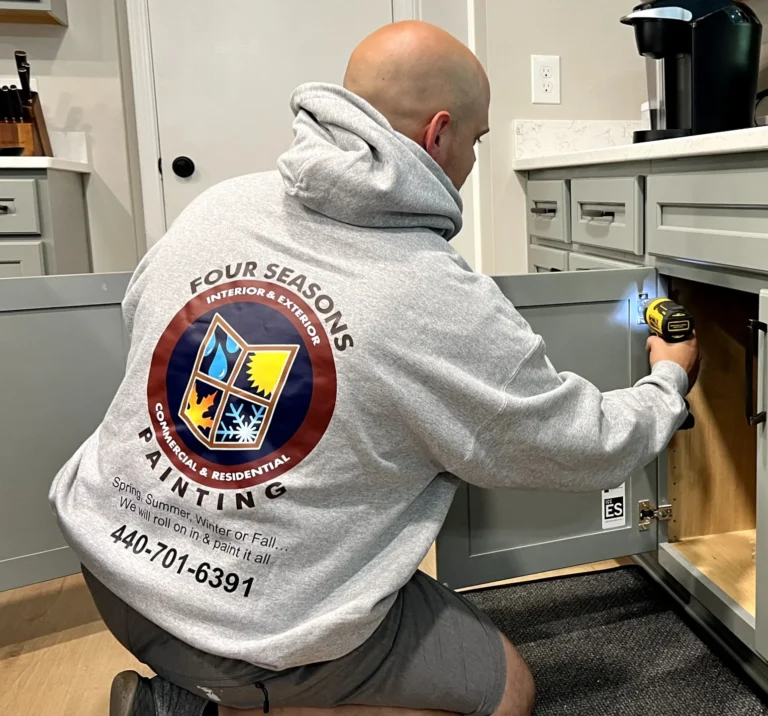
- Remove Doors, Drawers, and Hardware
Assuming you are not removing the cabinets that you are painting completely, you should deconstruct them as much as possible. Unscrew the drawers and cabinet handles and hinges and label them to stay organized.
- Clean Thoroughly
While you are cooking up delicious meals for you and your loved ones, your kitchen cabinets are collecting grease, grime, and dust. Clean all the surfaces with a degreaser. Be careful of the chemicals used on the surfaces, some cleaners can cause unwanted damage. If you have a sensitive surface, warm water, and dish soap is recommended. Allow everything to completely dry before moving on.
Pro Tip: Use a tack cloth to remove any remaining dust before moving to the next step.
- Sand the Surfaces
Making the paint adhere properly is a common issue when painting cabinets. Sand the cabinets with medium-grit sandpaper(around 120-grit). You will want to use a deglosser in place of sandpaper for laminate cabinets. After sanding, wipe everything down with a damp rag or cloth to remove the dust.
- Prime for Perfection
Even with proper surface prep, your paint may not stick as intended. Primer helps solve this problem and creates a long-lasting finish. Standard application practice is to brush corners and crevices then roll or spray flat surfaces.
Pro Tip: Tint your primer to match the color of your paint to reduce the number of coats needed.
6. Choose the Right Paint
Incredibly important for painting your kitchen cabinets like a pro would be the use of high-quality paint. While DIY is meant to save money, this is something you should spend the extra cash on to get the best results. Satin or semi-gloss finishes are best because they are easy to clean and resist moisture.
Pro Tip: Use paint specifically designed for cabinets or trim for a smoother finish and increased durability. Some cabinet material will require you to use very specific paint and primer.
- Apply the Paint Like a Pro
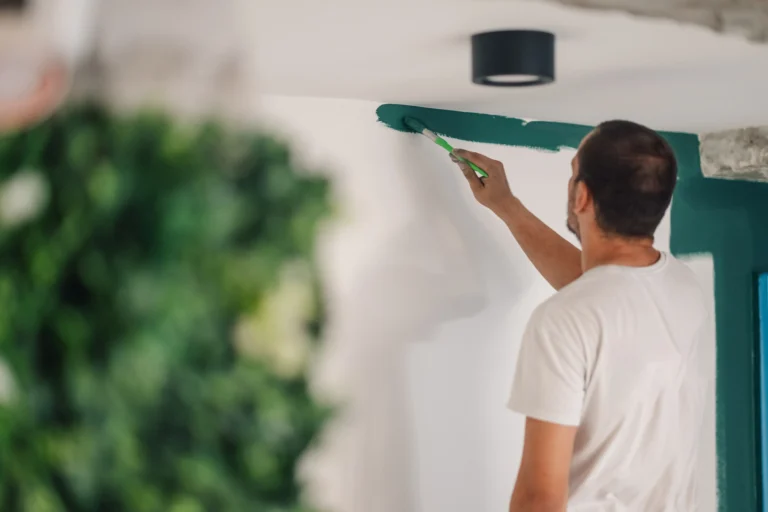
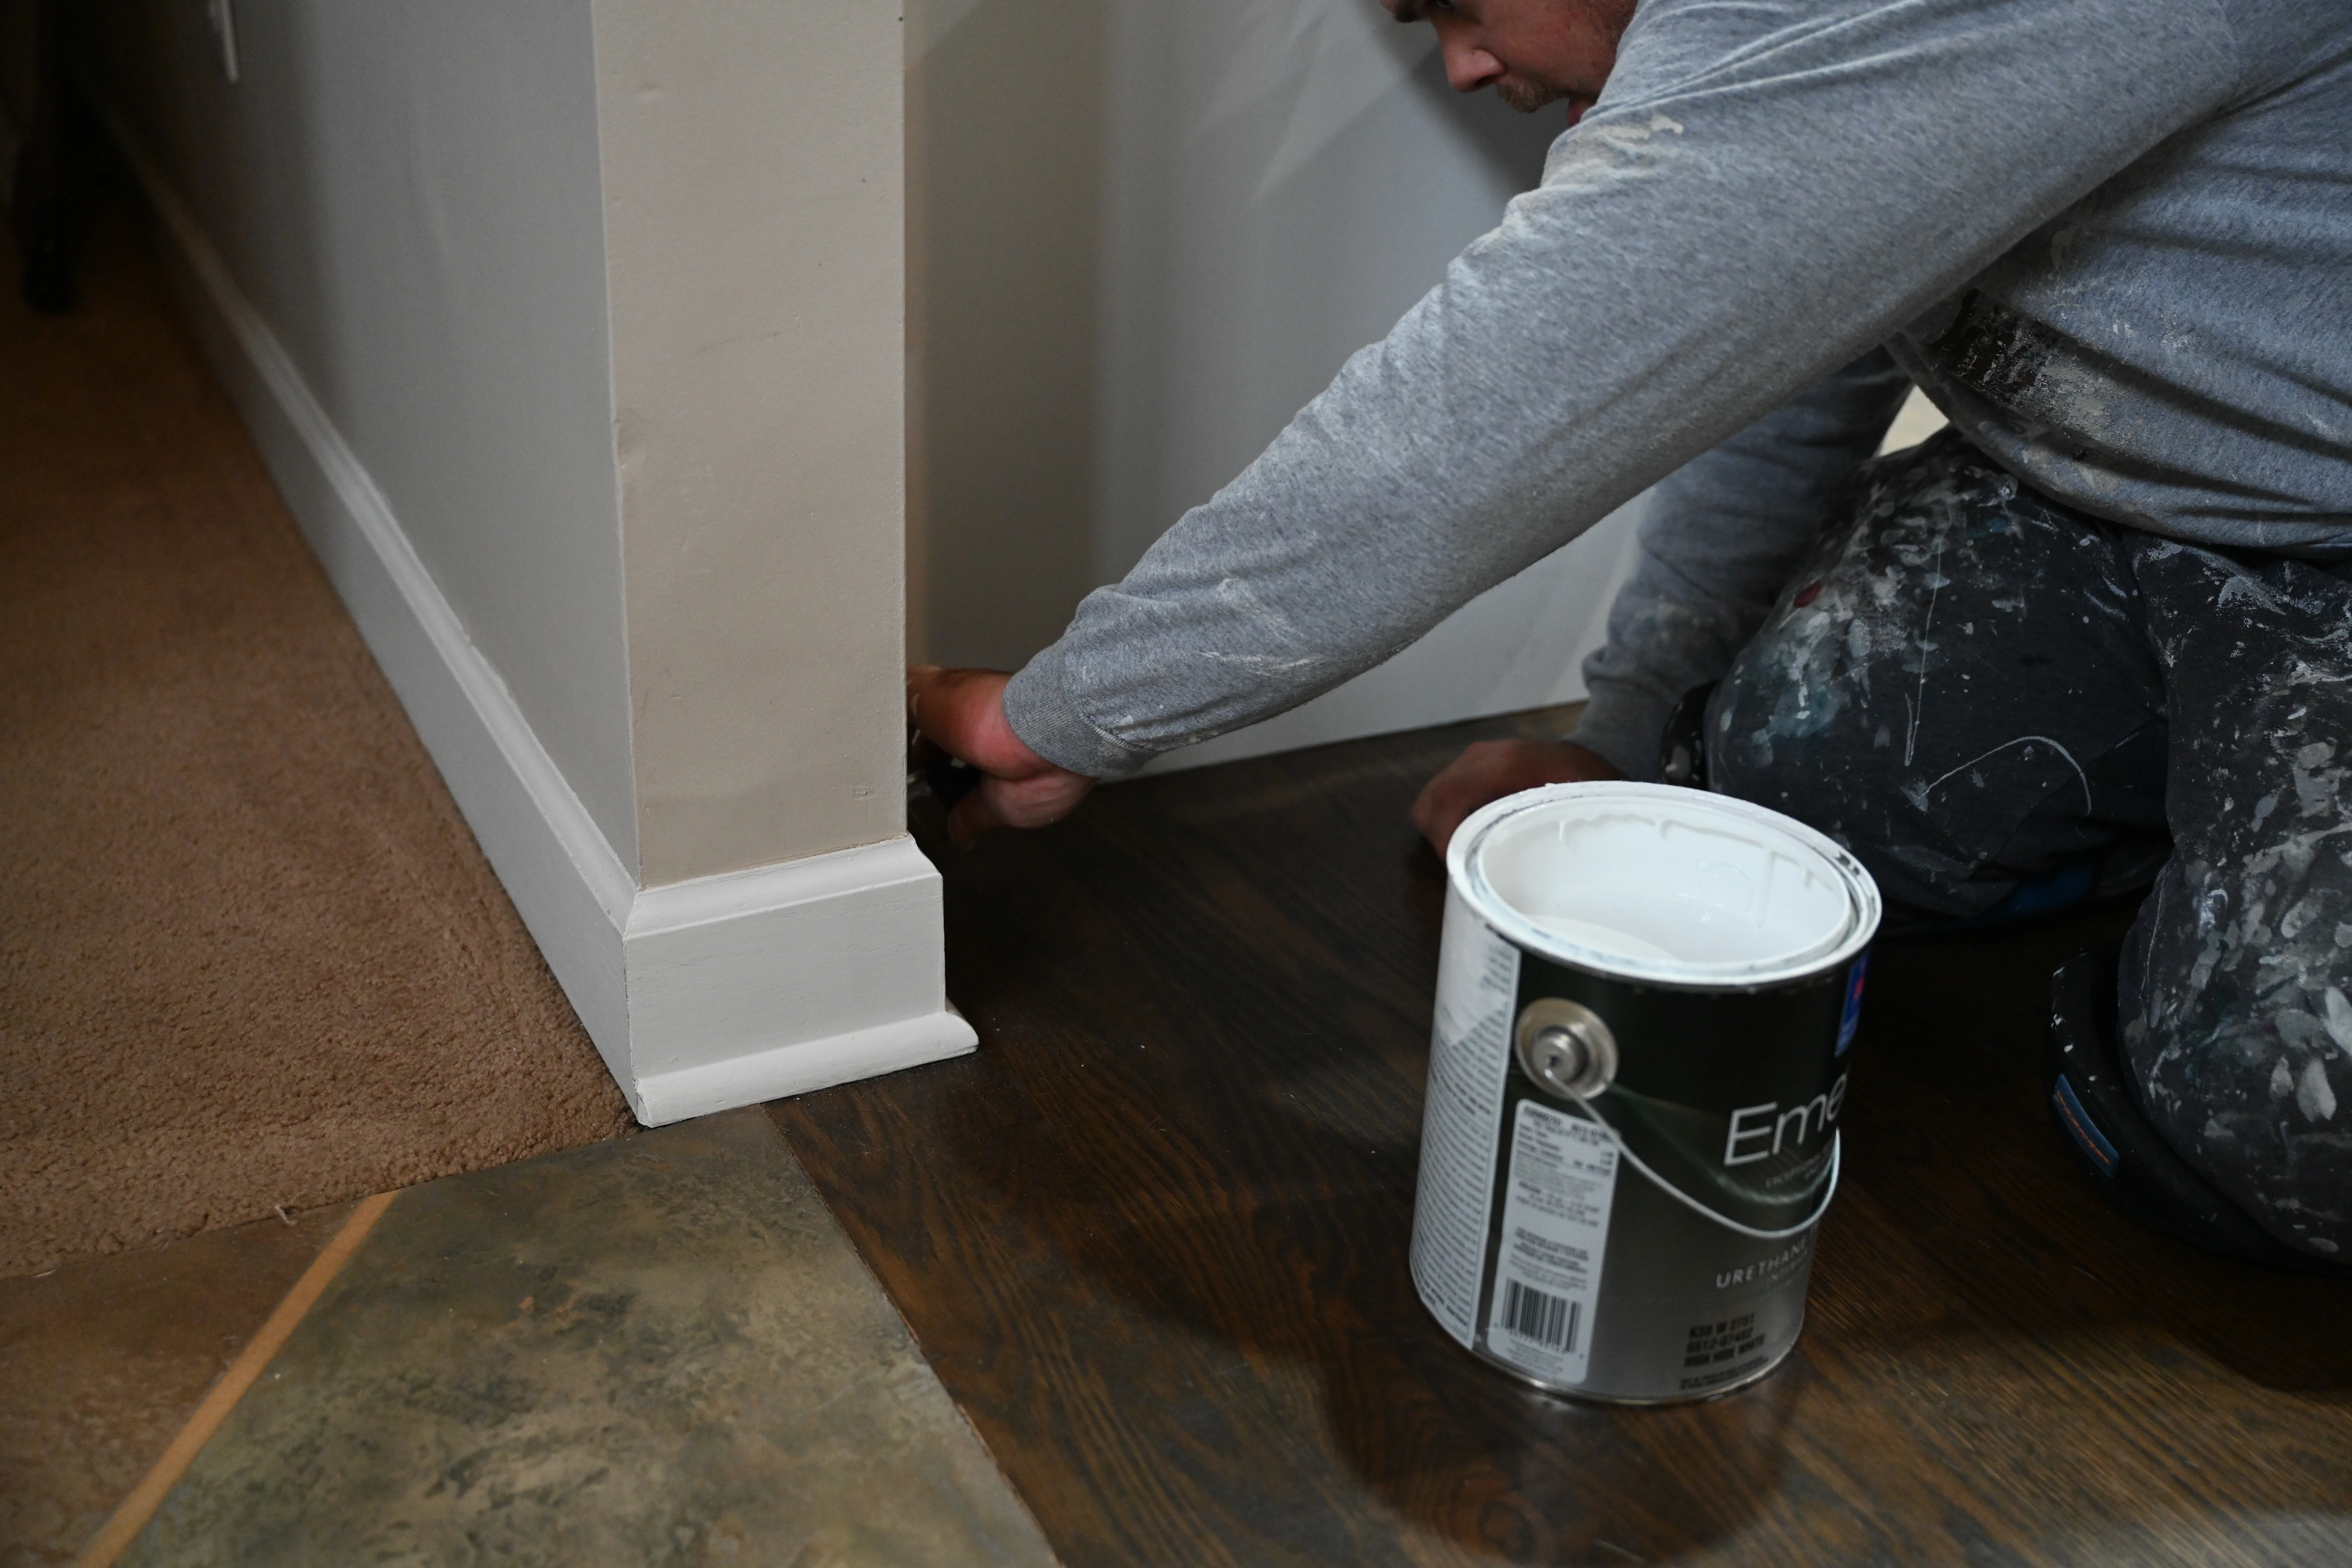
When Brushing: High-quality brushes may cost a bit more but the ability to get paint into detailed areas makes it a worthy investment.
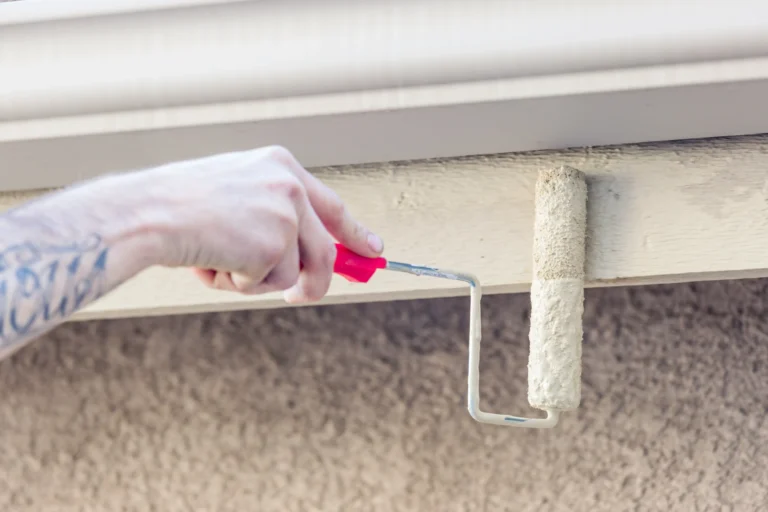
Roller: Using a roller on flat surfaces helps tremendously with making paint spread evenly and not leaving brush marks.
Sprayer: For the highest-quality finish and professional look, try a paint sprayer. Use fluent movements and pay attention to overlap to avoid uneven coats.
Apply thin, even coats, allowing ample drying time between each. Typically, two to three coats are needed.
- Reassemble Your Cabinets
Once you have given the paint enough time to completely dry and cure, start reattaching the hardware. Be careful with the tools now. You want to avoid slipping off the screws and scratching the beautiful surface you just created.
Pro Tip: Wait a few days before heavy use to let the paint cure completely.
- Maintain Your New Look
Maintenance on your cabinets is simple when you take all the necessary steps to paint them properly. Avoid harsh chemicals and abrasive scrubbers that could damage the finish. Warm water and dish soap is the common go-to.
If you keep a maintenance routine you can avoid the need to deep clean your cabinets. Consistency is key for long-lasting, great-looking kitchen cabinets.
Why DIYers Choose Pros For Cabinets
On paper, this is a simple task. Those who have attempted it before know the difficulty that comes with painting kitchen cabinets. This is the method for cabinets that do not any resurfacing. Most cabinets that get repainted have small bits of damage throughout and require an expert touch to look new again.
Pro painters use advanced techniques from years of experience working with many different cabinet material types. They also have all the tools necessary to get the job done with a top-quality finish.
Conclusion
DIY projects are rewarding and cost-effective. Knowing how to paint kitchen cabinets like a pro is a great skill for anyone to have. This is especially useful for someone looking to purchase a new home and fix up their existing space. Whether you go the DIY route or call the pros at Four Seasons Interior & Exterior Painting, you’re on your way to a stunning kitchen makeover!
Click Here to read the easy version of how to paint your kitchen cabinets!

