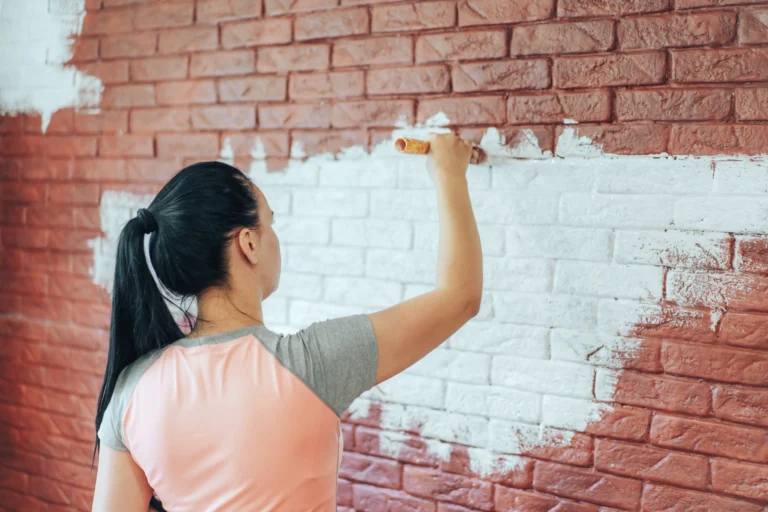
A fresh coat of paint can completely transform a space, breathing new life into tired walls and creating a setting that reflects your personality and taste. But while the result is often worth it, the process itself can seem daunting to many homeowners. Learning how to paint a room effectively requires attention to detail, preparation, and the right tools.
Whether you’re painting a bedroom, living area, or office space, taking the time to understand each step in the process ensures a cleaner finish, longer-lasting results, and a more enjoyable painting experience. From choosing the right color and prepping the space to applying coats with precision, the process involves more than simply picking up a roller and getting started.
Choosing the Right Paint and Finish
The first decision to make is selecting the appropriate paint type and finish for your room. Different finishes serve different functions:
- Flat or matte finishes offer a soft, non-reflective appearance ideal for ceilings or low-traffic areas.
- Eggshell and satin finishes are popular for walls due to their slight sheen and durability.
- Semi-gloss and gloss finishes are better suited for trim, doors, and areas prone to moisture like bathrooms and kitchens.
Color choice is equally important. Lighter colors can make a room feel larger, while darker shades create intimacy. It’s helpful to test paint swatches on your wall under different lighting before making a final decision.
Paints with built-in primer can save time, though highly porous or stained surfaces may still benefit from a dedicated primer coat. If you’re painting over a dark or bright color, primer becomes even more critical to achieve full coverage.
Prepping the Room
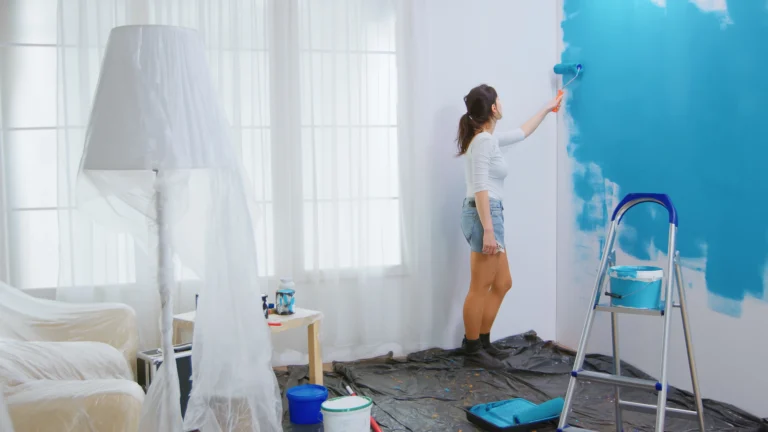
Proper preparation is key to professional-looking results. Start by removing furniture or moving it to the center of the room and covering it with plastic sheeting. Lay down a canvas or plastic drop cloth to protect floors from drips and spills.
Clean the walls using a mild detergent solution to remove dirt, grease, or dust. Rinse and let dry completely. Fill nail holes, dents, and cracks with spackle or filler, and sand them smooth once dry. Dust the surface thoroughly to ensure paint adhesion.
Use painter’s tape to mask off trim, window frames, and edges where different colors meet. This step helps create clean, crisp lines.

Tools and Supplies Checklist
Painting a room requires more than just a brush and a can of paint. Before you begin, gather the following supplies:
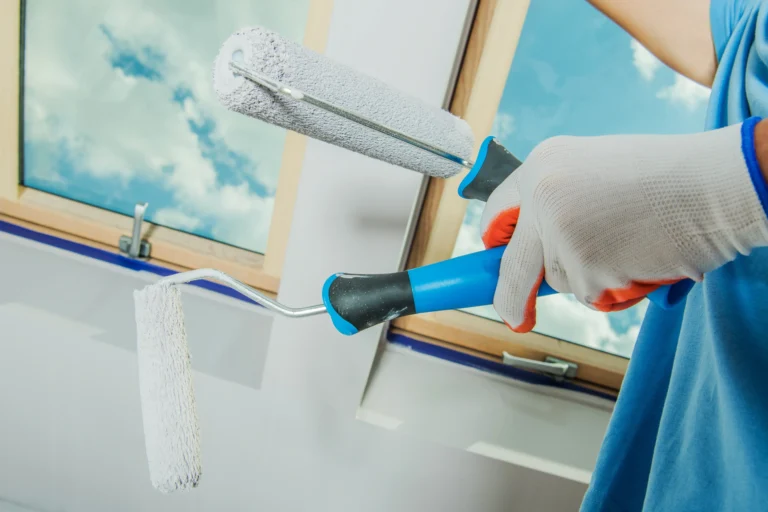
- High-quality rollers and roller covers (3/8″ to 1/2″ nap for smooth walls)
- Angled brush for cutting in at edges and corners
- Paint tray and liner
- Ladder or step stool
- Stir sticks and paint can opener
- Drop cloths and painter’s tape
Using quality tools improves your efficiency and reduces visible brush marks or roller lines.
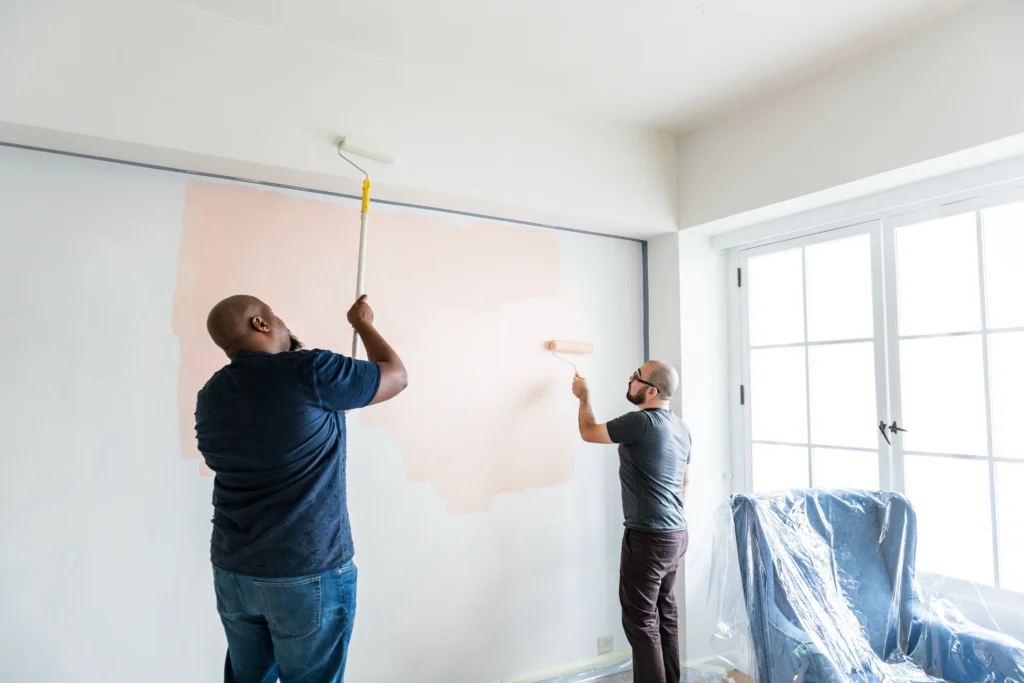
Cutting In the Edges
Begin by “cutting in” the edges of the room—this means using an angled brush to carefully paint a border around the ceiling line, corners, baseboards, and trim. Cutting in allows you to reach places a roller can’t, and creates a frame so you can roll the center sections seamlessly.
It’s best to cut in a section and then immediately fill in with the roller while the edge is still wet. This helps blend the brushed and rolled sections together, avoiding visible overlap lines.
Rolling the Walls
Pour your paint into a tray and load your roller evenly. Avoid overloading to prevent drips, but ensure the roller is saturated enough to apply an even coat. Use a “W” or “M” pattern to roll the paint on in sections of about 3′ x 3′. This technique helps distribute paint evenly and avoids streaks.
Start at the top of the wall and work your way down. Always maintain a wet edge to reduce the risk of lap marks. Allow the first coat to dry completely according to the manufacturer’s recommendations before applying a second coat, typically four hours later for latex paints.
Checking for Touch-Ups and Imperfections
Once your second coat is dry, inspect the walls in natural and artificial lighting. Look for missed spots, roller marks, or uneven coverage. Use your brush or roller to lightly blend in any areas that need attention.
Peel off painter’s tape slowly and at an angle while the paint is still slightly soft to prevent chipping or peeling. If paint has dried over the tape, scoring lightly with a utility knife will help release it cleanly.
Clean-Up and Ventilation
Once painting is complete, clean your brushes and rollers immediately with warm water and soap for latex paints. For oil-based paints, use mineral spirits according to the product instructions. Proper tool care extends their lifespan and saves money on future projects.
Ensure the room remains well-ventilated for at least 24 hours. Keep windows open and use fans if necessary. Proper ventilation not only helps paint cure but also dissipates odors and airborne particles.
Store leftover paint in a cool, dry place. Seal the lid tightly and label the can with the room, color name, and date of use for future touch-ups.
Common Mistakes to Avoid
Rushing the process is one of the most common painting errors. Skipping prep, overloading the roller, or recoating too soon can lead to peeling, bubbling, or streaking. Using low-quality brushes or rollers can also result in visible marks and wasted time.
Failing to let the paint dry thoroughly between coats compromises durability and appearance. Be sure to follow product instructions closely and give your work the time it needs.
When to Hire a Professional
If your room has high ceilings, intricate trim work, textured walls, or a complex color scheme, hiring a professional may be a worthwhile investment. At Four Seasons Painting Co, we specialize in precise, detail-oriented interior painting services that save you time and guarantee quality results.
We bring years of experience and refined techniques to every project—from surface preparation to cleanup. Our team ensures every edge, corner, and finish meets professional standards.

Additional Resources
If you’re looking to improve your painting technique or learn more about the science behind different finishes, reputable sources like This Old House, Benjamin Moore, and Sherwin-Williams offer in-depth guides and video tutorials that can assist you throughout the process.
Conclusion
Mastering how to paint a room requires more than just a brush and determination. From planning and preparation to technique and patience, every step plays a role in the final outcome. With the right tools, a bit of know-how, and attention to detail, your next painting project can deliver smooth, professional-quality results.
Whether you tackle it yourself or enlist the help of trusted professionals like Four Seasons Painting Co., a well-painted room can refresh your space and enhance your home for years to come.