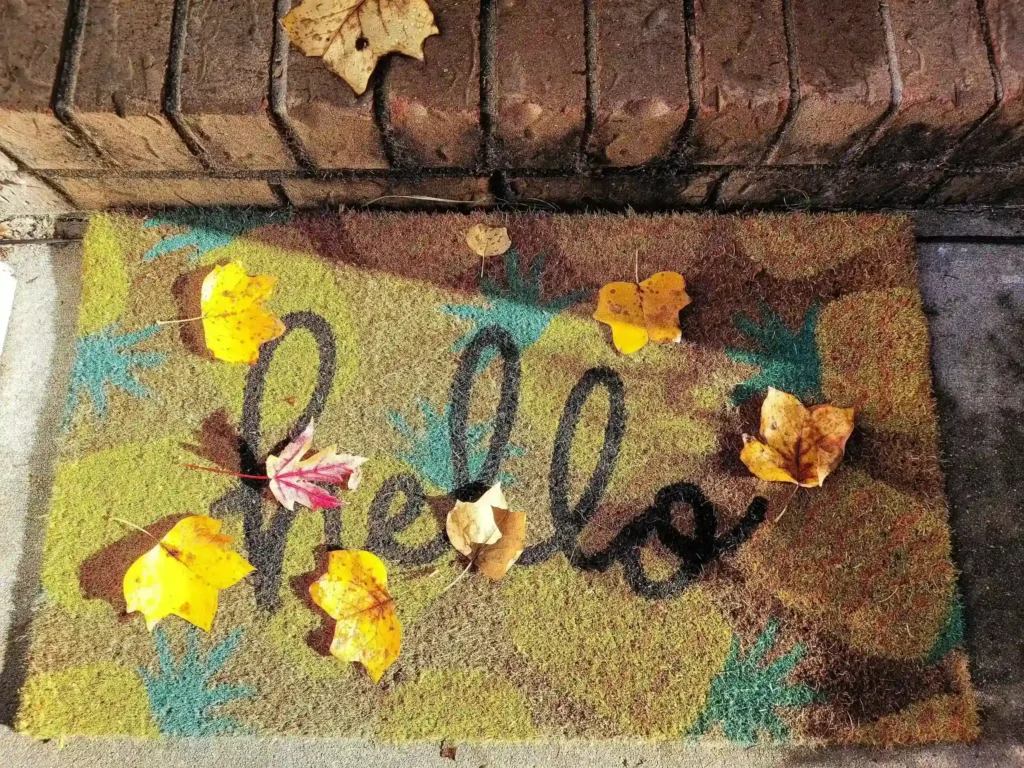
A door mat may seem like a small detail, yet it plays a big role in how your home feels from the moment someone steps up to the entrance. A faded or stained mat can make an otherwise freshly painted door look unfinished. Instead of throwing it away, many homeowners search for practical ways to upgrade it. That is where the question How To Paint Door Mats comes in. With the right preparation and exterior grade materials, you can transform a plain mat into a custom feature that complements your entryway.
Painting a door mat is a straightforward project, but durability depends on using the correct technique. Because mats face constant foot traffic, moisture, and sun exposure, paint must bond well and resist wear. In this guide, you will learn exactly How To Paint Door Mats so your design holds up and looks intentional rather than temporary.
Why Paint a Door Mat Instead of Buying a New One
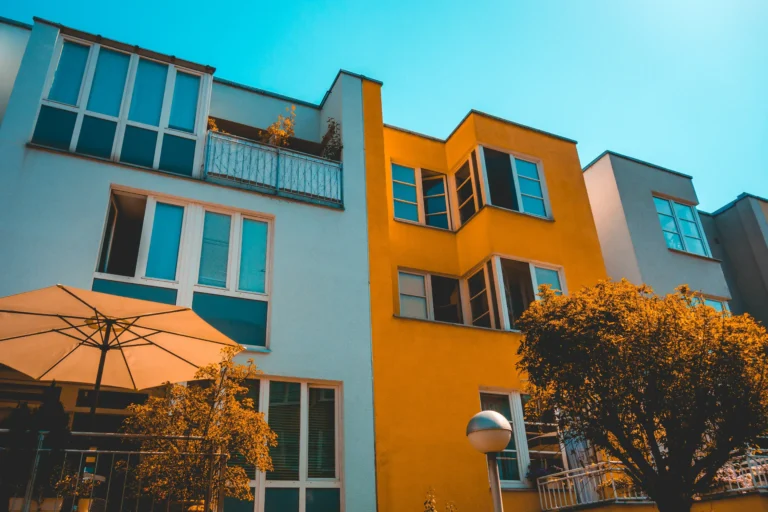
Store bought mats often come with generic phrases and limited color options. Painting allows you to match your front door, shutters, or trim for a coordinated look. If you recently updated your entry as part of an exterior painting project, customizing your mat creates a finished appearance.
Cost is another reason homeowners look into How To Paint Door Mats. A quality coir mat is affordable, and adding a custom design costs far less than ordering a specialty printed option. This small upgrade can boost curb appeal without stretching your budget.
Selecting the Best Type of Mat for Painting
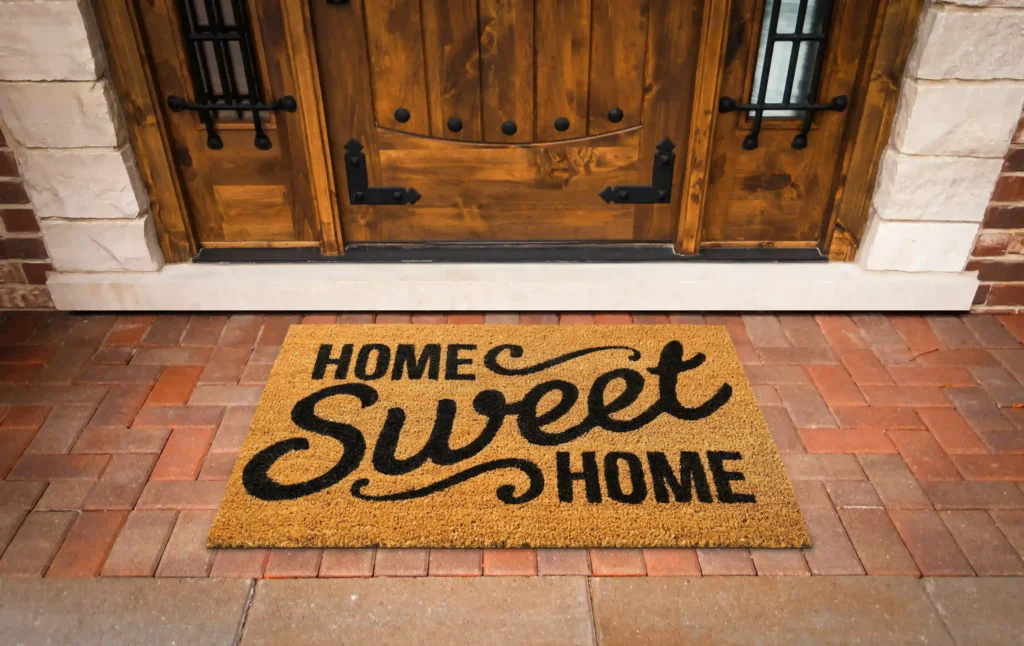
Not every mat works well with paint. Natural coir mats made from coconut fibers are the most popular choice. Their firm texture grips paint and creates crisp stencil lines. Low profile rubber mats can also be painted, though they require flexible coatings designed for nonporous materials.
Avoid plush fabric mats with long fibers. Paint does not distribute evenly across soft loops and may crack quickly. If you want clean lettering or sharp patterns, start with a dense, flat surface.
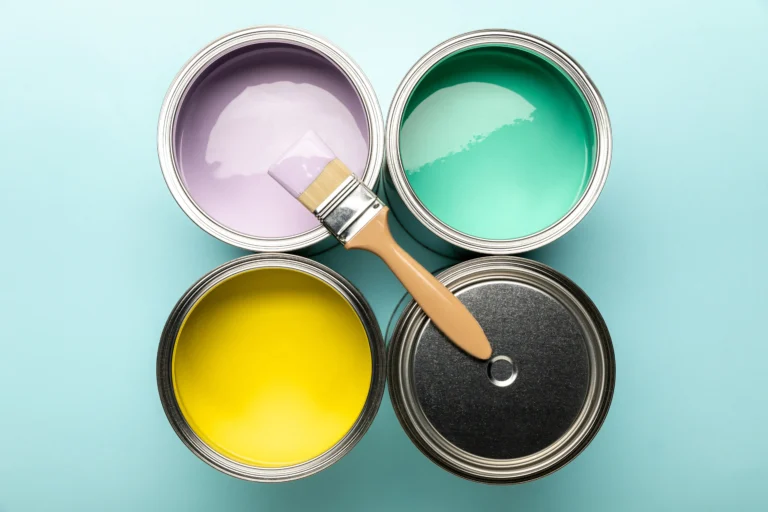
Choosing Paint That Withstands Outdoor Conditions
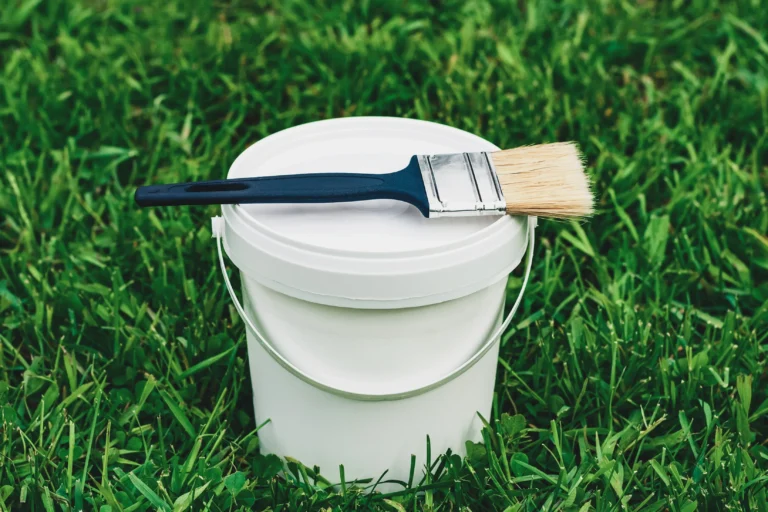
According to the Paint Quality Institute, exterior grade paints contain resins and additives that improve adhesion, flexibility, and long term weather resistance. You will also need painter’s tape, a stencil or vinyl lettering, a stiff stencil brush, and a drop cloth. Using the right brush helps prevent bleeding under the stencil and keeps edges sharp.
Preparing the Mat for Best Results
Preparation is a key step in How To Paint Door Mats successfully. Shake the mat thoroughly to remove loose dirt. If needed, vacuum it to pull debris from deep within the fibers. Any dust left behind can interfere with adhesion.
Place the mat on a flat surface protected by a drop cloth. If the mat has curled edges, weigh down the corners so it lies flat. Secure your stencil tightly with painter’s tape. Movement during painting leads to blurred lines.
Applying Paint With the Right Technique
Dip your stencil brush lightly into paint, then blot off excess on a paper towel. Less paint reduces the chance of seepage. Use a gentle dabbing motion straight up and down rather than brushing side to side. This technique pushes paint into the fibers without forcing it under the stencil.
Apply thin coats and allow the first layer to dry before adding a second. Two light coats provide richer color and better durability than one thick layer. Patience during this stage defines the final look.
Creative Design Ideas That Complement Your Entry
Once you understand How To Paint Door Mats, design possibilities expand. Classic monograms create a timeless appearance. Simple welcome messages feel inviting. Geometric borders add structure without overwhelming the space.
Color coordination matters. If your front door features a bold shade from a recent project with Four Seasons Painting Co, incorporating that color into the mat ties everything together visually. High contrast tones such as black on natural coir provide the clearest definition.
Drying and Sealing for Long Term Performance
After painting, allow the mat to dry flat for at least 24 hours. Humid conditions may extend drying time. Avoid placing the mat outside until the paint feels fully cured. Premature exposure to moisture can weaken adhesion.
For added protection, apply a clear exterior sealer once the paint dries completely. A light spray sealer helps guard against rain and heavy foot traffic. Although wear will occur over time, sealing significantly extends the life of your design.
Maintaining Your Painted Door Mat
Even after mastering How To Paint Door Mats, maintenance keeps it looking fresh. Shake out debris regularly to prevent dirt buildup. Avoid pressure washing, since strong water streams can strip paint from the fibers. If fading appears after months of use, touch up the design using the same stencil and paint color.
Whenever possible, place the mat under a covered porch. Protection from direct rain and harsh sunlight preserves color and reduces wear.
Pairing a Painted Mat With a Full Entry Refresh
A custom mat makes the strongest impact when paired with a refreshed entryway. Updating trim, shutters, or the front door enhances the overall appearance. If you are planning a broader exterior improvement, reach out through our contact page to discuss options. Coordinated details create a welcoming and polished first impression.
Conclusion
Learning How To Paint Door Mats gives you control over one of the first details guests notice. By selecting the right mat, using exterior grade paint, applying thin coats, and sealing properly, you can achieve a durable and attractive result. This simple project adds personality and enhances curb appeal without significant expense.
If you are upgrading your door, trim, or full exterior in Lake County, Four Seasons Painting Co. can help you create a cohesive and lasting finish from the door down to the details.