Garage Paint Guide: Tips From a Pro in Lake County, OH
Want to turn your garage into a man cave or she-shed? Overdue for a facelift or getting ready to sell your home? We have you covered. In today’s blog, we are going to talk about painting your garage like a professional. We will cover tips for prep, paint selection, and finishing below to help you get the best results on your new DIY Project.
Are you not up to painting your space in Lake County, OH? CLICK HERE to give us a call.
1. Preparation: The Foundation of a Successful Paint Job
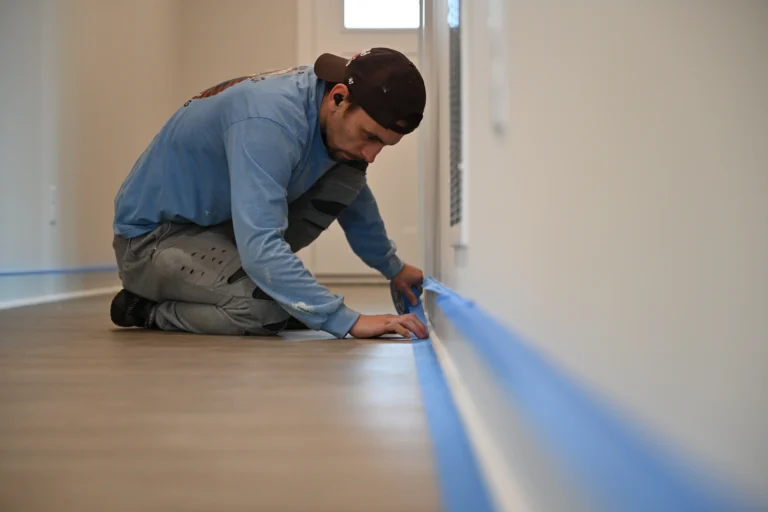
- Clear the Space: This should be a no-brainer but a garage should be an easy space to clean out. Roll everything out to the lawn for the day and cover anything that can’t be moved.
- Clean the Surfaces: We all know it, the garage is a dirty place. Take the extra time to dust cobwebs and wipe down the surfaces where you are going to paint so the paint can adhere properly. Wait until everything is completely dry to begin painting.
- Repair Imperfections: Inspect for cracks, holes, or seams. Fill these with painter’s caulk, avoiding silicone-based products as paint doesn’t adhere well to them. Sand any rough areas to create a smooth surface.
2. Choosing the Right Paint and Color
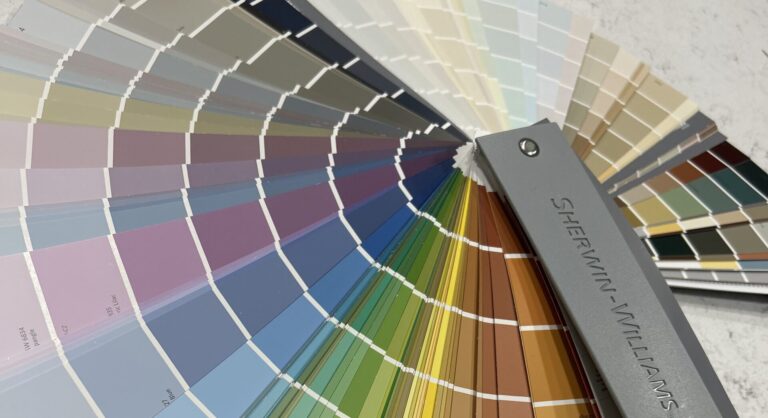
Getting the right paint can have a huge impact on your results. Many aren’t aware that different finishes like matte or glossy affect how the paint handles scuffs, scratches and even how well it can be cleaned.
- Wall Paint: We recommend a high quality latex paint with an eggshell finish because this will be durable and easy to clean. This is perfect for the garage walls.
- Floor Paint: Concrete specific paint or epoxy coating makes the most sense when covering the garage floor. Once again this is hinging on how durable and easy to clean these are.
- Color Selection: Using neutral colors that bounce light around will make your space feel bigger. Bigger garages are cool but in case you want to shrink the space you can use dark colors. Paint the ceiling a dark color also for the maximum shrinking effects.
3. Garage Painting Process: Step-by-Step
Process, process, process. Using a step-by-step approach will keep you clean and efficient while avoiding common mistakes.
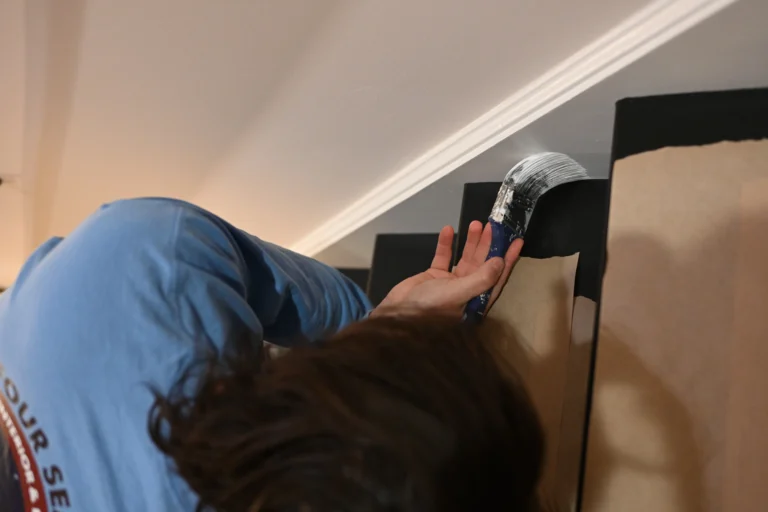
- Priming: Get a full coat of primer applied to your drywall base and if you already have lighter paint on the wall just spot prime and hole patches or surface correction.
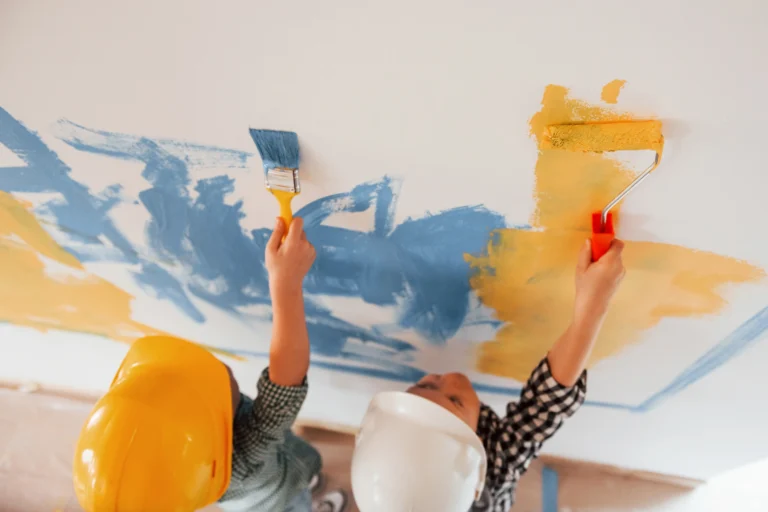
The important piece here is that the surface is sealed and allows paint to adhere properly. - Cutting In: Use an angled brush to get around the edges of the walls and ceiling when using different color paints. If you are using one color for all surfaces in the garage, just sling it!
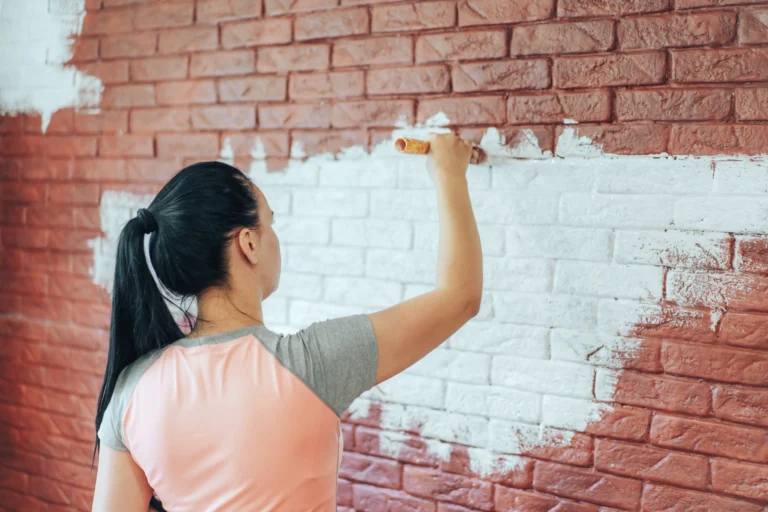
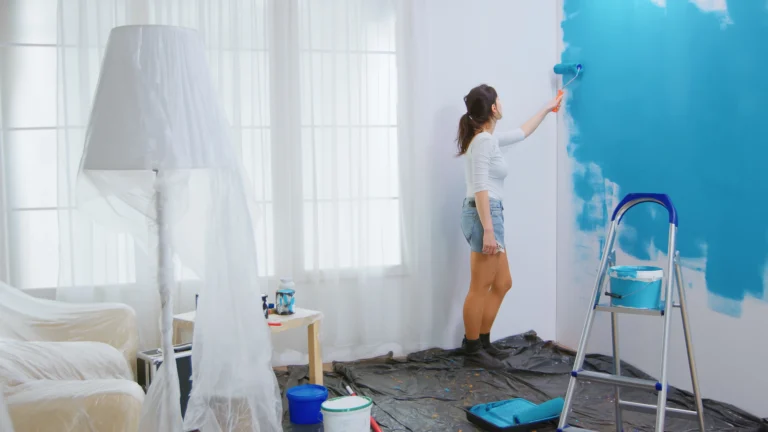
- Rolling: In order to keep the paint even on the surfaces put plenty of paint on your roller and maintain even pressure while rolling as far as you can. Rollers are known for leaving tiny spots of walls unpainted. To avoid this make sure to roll over the same area many times before moving on. This will also help thin the paint and spread the application evenly.
- Multiple Coats: when you are going to apply multiple coats for, give more than enough time for each coat do dry completely before applying the next. This is going to help with keeping things even and consistent for the finish.
4. Floor Painting: Adding the Finishing Touch
Just do it. It sounds strange but it will make your garage paint pop and look 1 million times better. It will also add a layer of protection to the garage floor which is great for anyone.
- Preparation: This is very similar to painting any other surface, the basics apply. Take your time with preparation and get rid of dirt, debris and moisture before you apply anything. Repair any cracks or holes now and wait plenty of time for proper drying.
- Application: Floor paint and epoxy likely has specific manufacturer instructions that should be followed closely.
5. Final Touches and Maintenance
Great work, you did it! Now lets talk about the future of your garage paint.
- Reinstall Fixtures: Should be self explanatory but since prepping involves making your space easier to paint, dont forget to put back light covers and other fixtures that you removed earlier.
- Regular Cleaning: This goes for any painting but frequently cleaning the paint once applied will help the longevity. The key point to call out is to make sure you are using cleaning chemicals that are not harsh enough to damage the paint. Many time, soap and hot water will do the trick.
Follow these steps if you want to get professional looking results for your garage paint. If you read through this and decided this is not something you want to spend your time or effort on, that is when you CLICK HERE to contact Four Seasons Interior & Exterior Painting Company to get a free quote and finance your paint project!