Learning how to paint cabinets is one of the most effective ways to transform a kitchen, bathroom, laundry room, or built-in storage area without the expense of a complete renovation. Cabinets occupy a large amount of visual space in any room, which means outdated colors, worn finishes, and visible wear can make the entire area feel older than it actually is. A high-quality cabinet painting project can dramatically improve the appearance of your home while extending the life of your existing cabinetry.
Many homeowners begin researching how to paint cabinets because replacing cabinets can be expensive and disruptive. Painting offers a cost-effective alternative that allows homeowners to modernize their space while keeping the cabinet structure intact. Whether you are updating oak cabinets from the 1990s, refreshing painted cabinets that have become chipped, or changing the color scheme of your kitchen entirely, understanding the proper painting process is essential for achieving professional-looking results.
The difference between cabinets that look professionally finished and cabinets that look obviously painted often comes down to preparation, patience, and product selection. Cabinet painting involves much more than simply applying paint to wood surfaces. Every stage, from cleaning and sanding to priming and curing, plays an important role in the final outcome.
Why Cabinet Painting Has Become So Popular
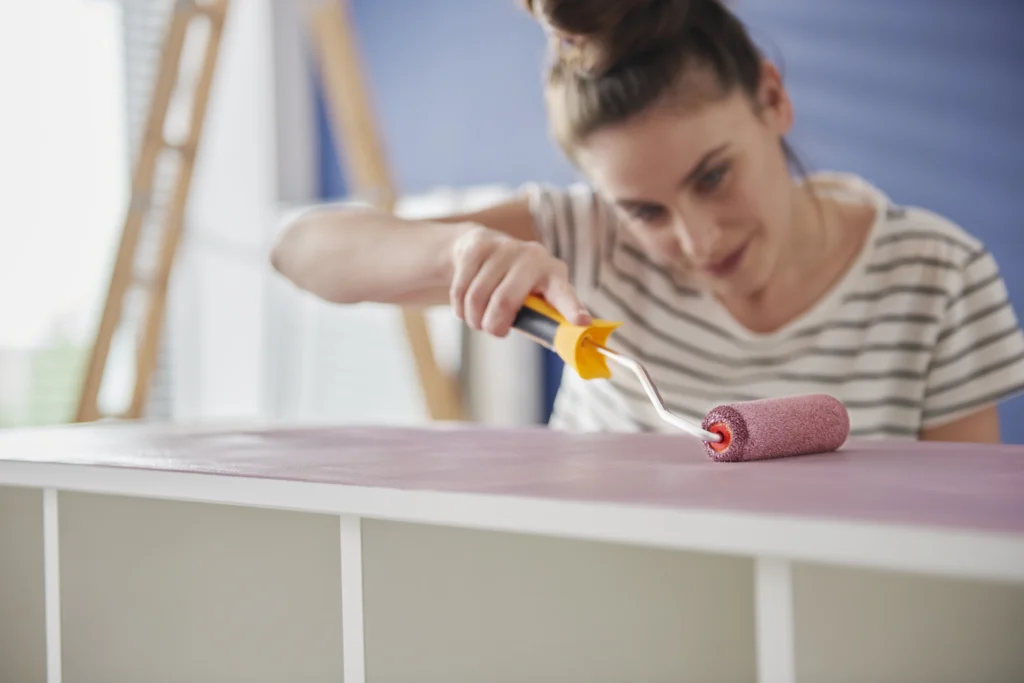
Cabinet painting has grown significantly in popularity because homeowners want updated spaces without the cost and inconvenience associated with full kitchen remodels. New cabinetry can cost tens of thousands of dollars when materials, demolition, installation, and finishing are included. By comparison, painting existing cabinets can provide a dramatic transformation at a fraction of the cost.
Modern paint technology has also contributed to this trend. Today’s cabinet-specific paints offer exceptional durability, smooth finishes, and long-lasting protection. Products specifically designed for cabinetry can withstand frequent cleaning, moisture exposure, and daily use far better than standard wall paint.
In many homes, the cabinets themselves remain structurally sound despite having an outdated appearance. Painting allows homeowners to preserve quality construction while creating a completely new aesthetic. White, gray, navy blue, greige, and natural earth tones continue to be among the most popular cabinet colors because they provide timeless appeal and complement a wide variety of design styles. According to the National Kitchen & Bath Association, painted cabinetry remains one of the most requested kitchen design features in modern renovations.
Understanding Cabinet Materials Before Painting
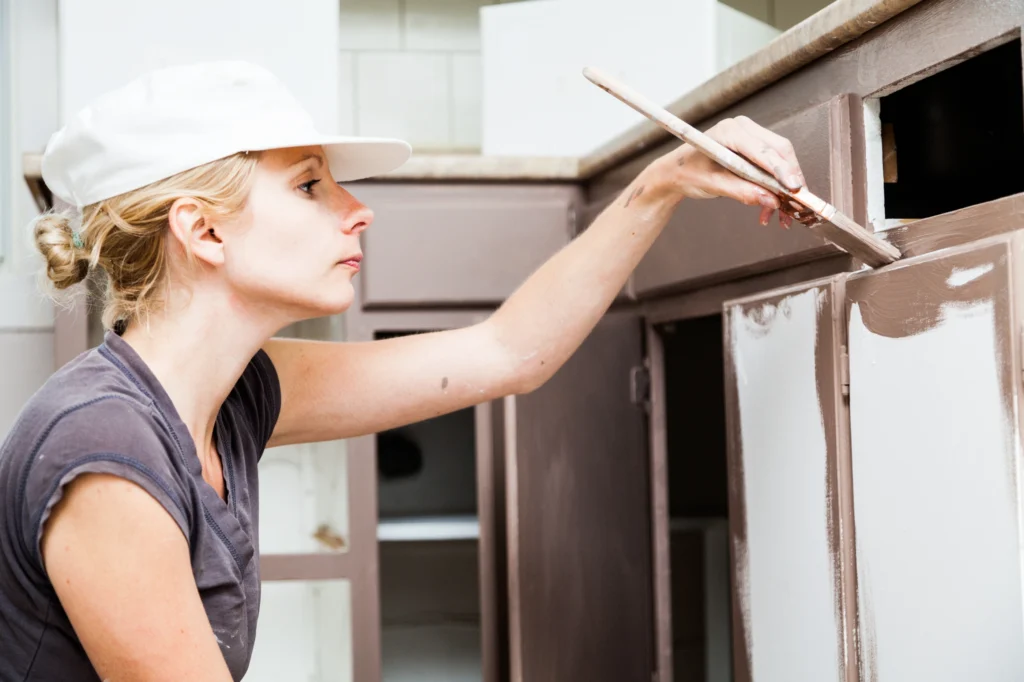
Before beginning a cabinet painting project, it is important to understand the type of material you are working with. Different cabinet materials require different preparation techniques and products. Solid wood cabinets are generally considered the easiest to paint because they accept sanding, primer, and paint well. Oak, maple, cherry, and birch cabinets can all be successfully painted when properly prepared. However, wood grain patterns may remain visible unless grain-filling products are used.
Medium-density fiberboard, commonly called MDF, is another popular cabinet material. MDF offers a smooth surface that paints beautifully, although edges may require additional sealing because they absorb moisture more readily than flat surfaces. Laminate cabinets present additional challenges because paint does not naturally adhere well to their slick surfaces. Thorough cleaning, careful sanding, and high-quality bonding primers become particularly important when painting laminate cabinetry. Understanding your cabinet material before starting helps determine the best preparation process and improves the likelihood of long-term success.
Proper Cleaning Is The Foundation Of Success
Anyone researching how to paint cabinets quickly discovers that cleaning is one of the most important steps in the entire process. Kitchen cabinets accumulate years of grease, cooking residue, oils, fingerprints, and cleaning product buildup. Even cabinets that appear clean often contain contaminants that interfere with paint adhesion. A degreasing cleaner specifically formulated for kitchen surfaces should be used to thoroughly remove residue. Areas around stove tops, ovens, and frequently used cabinet doors often require extra attention because grease accumulates more heavily in these locations.
Skipping proper cleaning can lead to peeling, bubbling, or adhesion failure later. Paint cannot bond effectively to grease-covered surfaces. Taking extra time during the cleaning stage often saves significant frustration during later phases of the project. After cleaning, surfaces should be allowed to dry completely before proceeding with sanding or priming. Moisture trapped beneath paint layers can compromise durability and finish quality.
Removing Doors And Hardware
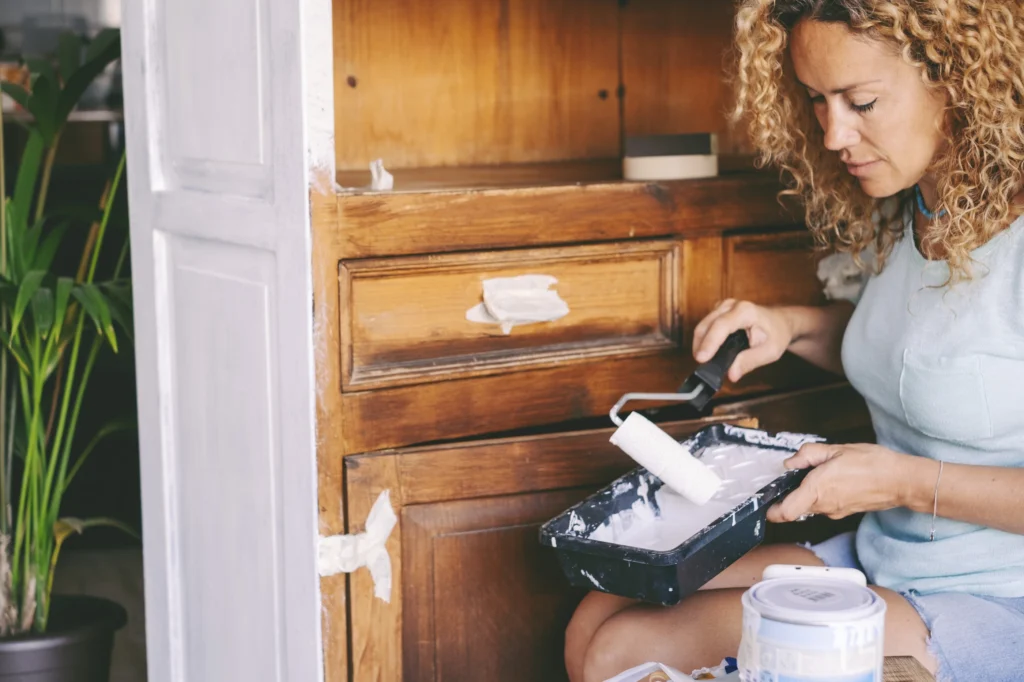
Professional-quality results often begin with disassembly. Removing cabinet doors, drawer fronts, handles, knobs, hinges, and other hardware allows painters to work more efficiently and achieve smoother finishes. Labeling each door and corresponding location simplifies reassembly after painting is complete. Many professionals use numbered stickers or masking tape labels to ensure every component returns to its original location.
Painting cabinet doors while they are removed allows for better coverage and reduces the risk of visible brush marks or drips. It also provides easier access to edges, corners, and recessed areas that can be difficult to reach when doors remain attached. Hardware removal creates cleaner finished lines and prevents paint from accumulating around knobs, hinges, and mounting plates.
Sanding Creates A Better Surface For Adhesion
Sanding plays a critical role in learning how to paint cabinets successfully. Contrary to popular belief, sanding is not always intended to remove all existing finishes. In many situations, sanding simply creates microscopic scratches that help primer and paint adhere more effectively. Glossy finishes require special attention because smooth surfaces provide little mechanical grip for coatings. Light sanding dulls the existing finish and improves bonding potential.
Cabinets with damaged finishes, peeling paint, or visible imperfections may require more aggressive sanding. Areas with scratches, dents, or chipped surfaces should be repaired before priming begins. Using dust extraction systems or vacuum attachments helps reduce airborne particles during sanding. Afterward, surfaces should be wiped thoroughly with tack cloths or microfiber towels to remove residual dust. The Painting Contractors Association consistently emphasizes proper surface preparation as one of the most important factors affecting paint longevity and finish quality.
Choosing The Right Primer
Primer serves as the bridge between the existing cabinet surface and the new paint system. High-quality primers improve adhesion, seal stains, block tannin bleed, and create a consistent foundation for finish coats. Bonding primers are often recommended for previously finished cabinets, especially laminate or glossy surfaces. These specialty products create strong adhesion even under challenging conditions. Wood cabinets containing tannins, such as oak and cherry, may require stain-blocking primers to prevent discoloration from bleeding through the finish. Without proper primer selection, yellow or brown stains can appear months after painting. The primer should be allowed to dry fully according to manufacturer specifications before sanding lightly and applying paint.
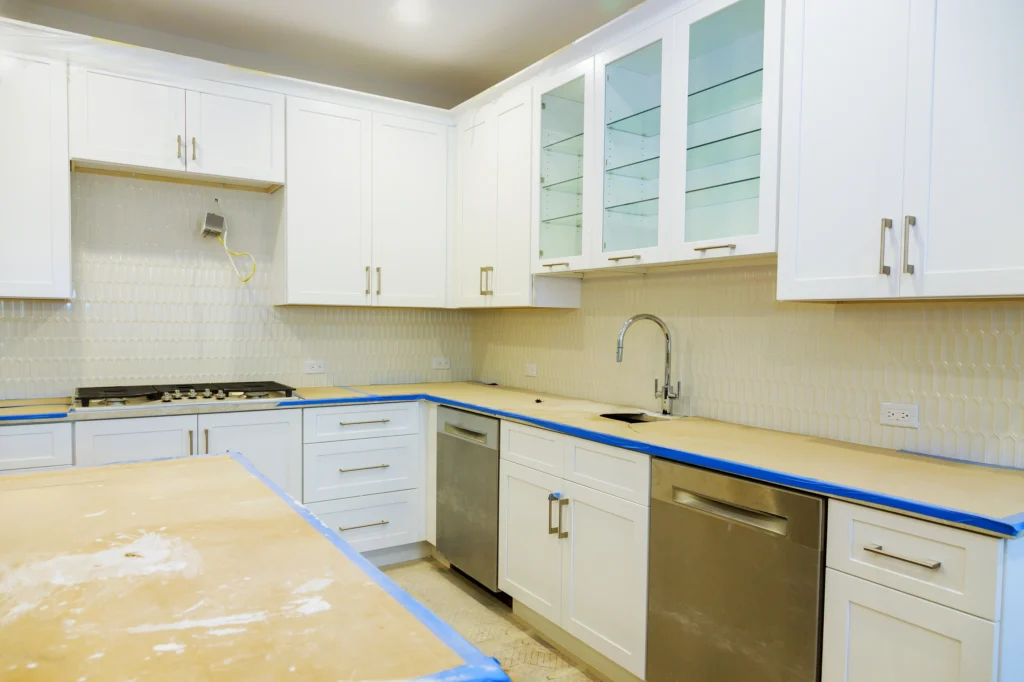
Selecting The Best Paint For Cabinets
Paint selection is one of the most important decisions in any cabinet painting project. Standard wall paints are generally unsuitable because cabinets experience significantly more wear and cleaning than walls. Cabinet-specific paints are formulated to create harder, more durable finishes capable of withstanding daily use. Waterborne alkyd paints have become particularly popular because they combine the durability of traditional oil-based products with easier cleanup and lower odor. Many homeowners researching how to paint cabinets also explore premium products such as those discussed in Four Seasons Painting’s article about cabinet paint options. High-quality cabinet coatings resist chipping, staining, and moisture damage more effectively than general-purpose paints. Finish selection also matters. Satin and semi-gloss sheens remain popular choices because they offer durability while maintaining an attractive appearance. Higher gloss levels provide greater cleanability but may highlight surface imperfections.
Applying Paint For Professional Results
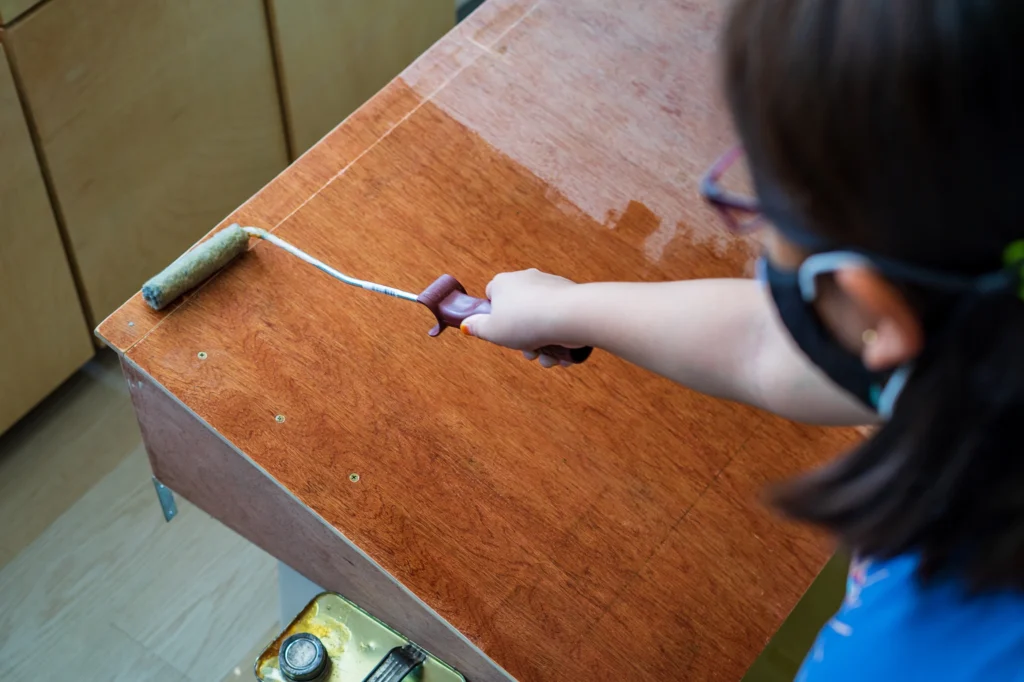
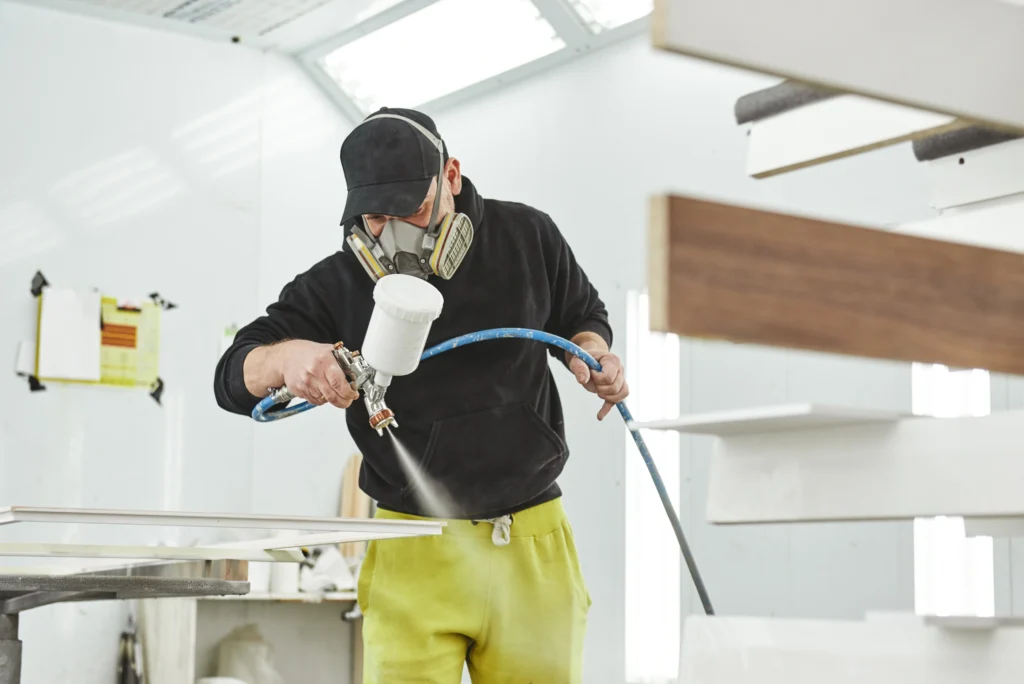
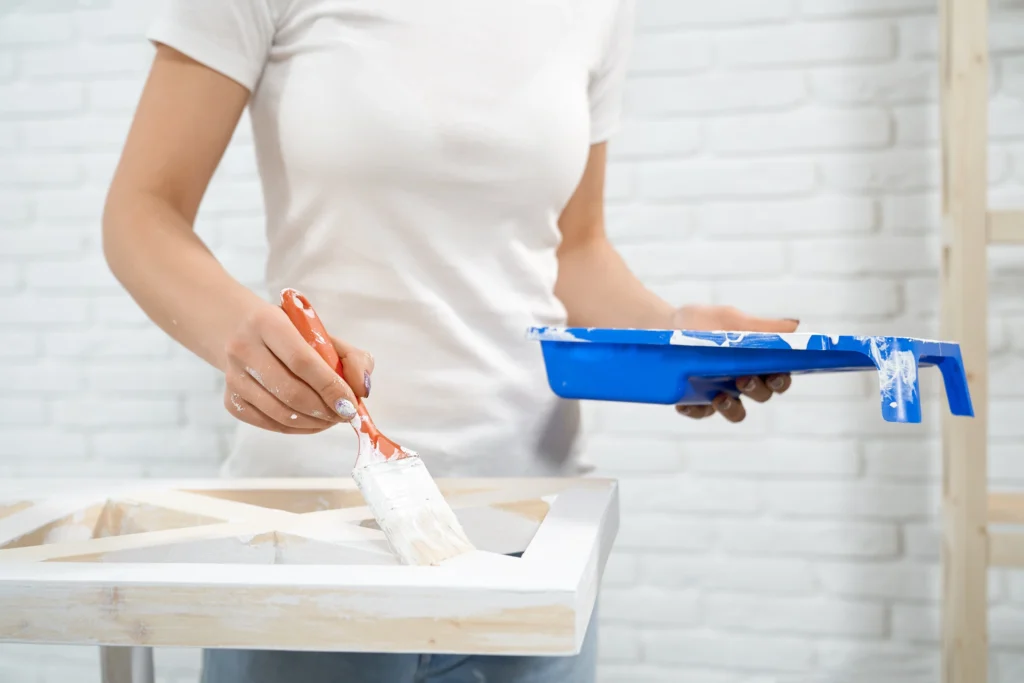
Application technique significantly impacts final appearance. Even the best products can produce disappointing results if applied incorrectly. Multiple thin coats generally produce superior finishes compared to fewer heavy coats. Thick applications increase the likelihood of drips, sagging, and prolonged drying times. High-quality brushes and microfiber rollers can produce excellent results, although many professionals prefer spray equipment for achieving factory-like finishes. Spraying creates smooth, consistent coverage with minimal texture when performed correctly. Each coat should be allowed to dry fully before additional applications are added. Rushing between coats can lead to adhesion problems and finish defects. Patience remains one of the most valuable tools during cabinet painting projects.
Drying Versus Curing
One of the most misunderstood aspects of cabinet painting involves the difference between drying and curing. Paint may feel dry to the touch within hours, but complete curing often requires several weeks. During the curing period, paint continues hardening and developing maximum durability. Heavy use, aggressive cleaning, or reinstalling hardware too early can damage finishes before they reach full strength. Manufacturers provide curing timelines that should be followed carefully. Protecting newly painted cabinets during this period improves long-term results and reduces the risk of scratches or impressions. Understanding curing requirements helps homeowners avoid damaging otherwise successful projects.
Common Mistakes To Avoid
Many cabinet painting failures stem from avoidable mistakes. Insufficient cleaning remains one of the most common problems because contaminants interfere with adhesion. Inadequate sanding, poor primer selection, and rushing between coats can also compromise results. Using wall paint instead of cabinet-grade coatings often leads to premature wear and chipping. Skipping primer entirely may create adhesion problems or visible stain bleed. Another frequent mistake involves neglecting environmental conditions. Excessive humidity, cold temperatures, or poor ventilation can affect drying and curing performance. Learning how to paint cabinets properly requires recognizing that preparation typically consumes more time than painting itself. Successful projects prioritize preparation rather than rushing toward finish coats.
Maintaining Painted Cabinets
Once cabinet painting is complete, proper maintenance helps preserve appearance and durability. Gentle cleaning products are generally recommended because harsh chemicals may damage finishes over time. Microfiber cloths and mild soap solutions often provide sufficient cleaning power for routine maintenance. Abrasive scrubbers should be avoided because they can scratch painted surfaces. Promptly addressing spills, grease buildup, and moisture exposure helps maintain appearance and prolong finish life. With proper care, professionally executed cabinet painting projects can remain attractive for many years. Regular inspections can also identify minor issues before they develop into larger problems requiring refinishing.
Bringing New Life To Existing Cabinets
Understanding how to paint cabinets empowers homeowners to dramatically transform their living spaces without the cost of complete replacement. Successful cabinet painting requires careful cleaning, thorough preparation, appropriate primers, durable paints, and patience throughout the process. Every stage contributes to the final appearance and longevity of the finish. For homeowners who want lasting results and a smooth professional appearance, working with experienced cabinet painters can help eliminate many of the challenges associated with complex painting projects. Four Seasons Painting has extensive experience transforming kitchens, bathrooms, and built-in cabinetry throughout Northeast Ohio through detailed preparation, premium materials, and proven application techniques. Homeowners interested in exploring professional cabinet refinishing can view examples of completed projects in the Cabinet Painting Gallery or learn more about available painting solutions at Four Seasons Painting Interior & Exterior Painting. The right approach can turn outdated cabinets into a beautiful focal point that enhances the entire home.