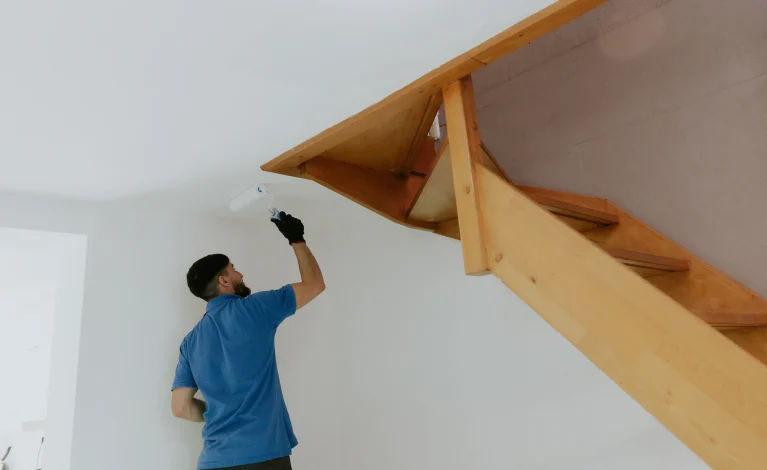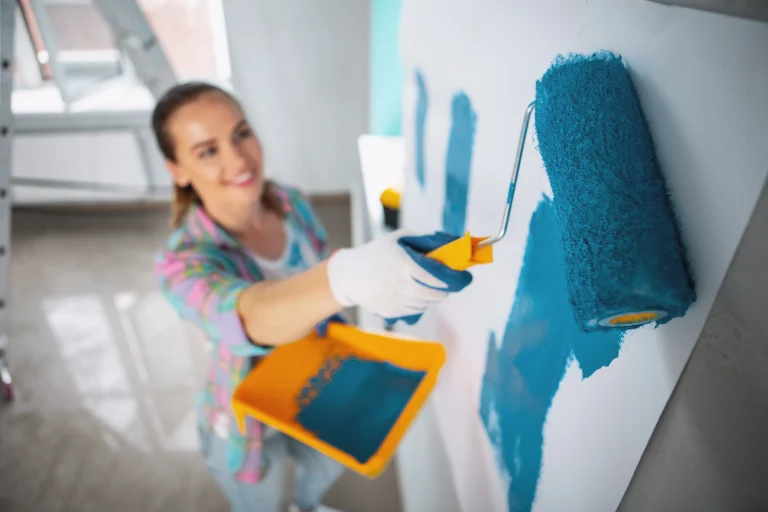
A freshly painted wall should look smooth, even, and consistent from every angle, but roller marks can quickly ruin that professional appearance. Streaks, lap lines, and uneven textures often become more noticeable after the paint dries, leaving homeowners disappointed with the final result. Fortunately, learning how to avoid roller marks when painting is not difficult once you understand what causes them. The right roller cover, proper paint application, quality products, and good painting techniques all work together to create a flawless finish.
Whether you are repainting a bedroom, living room, hallway, or an entire home, taking time to prepare correctly and apply paint evenly helps eliminate visible roller marks while producing results that look professionally completed and last for years.
How To Avoid Roller Marks When Painting Starts With The Right Tools
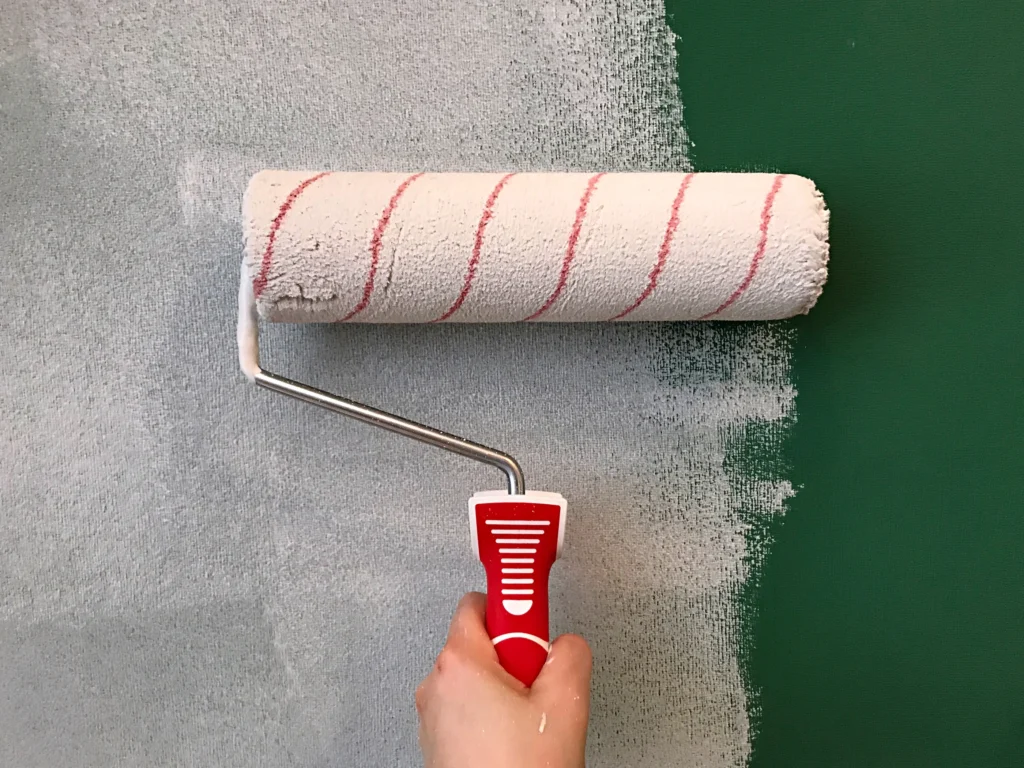
One of the biggest factors in how to avoid roller marks when painting is selecting the correct equipment before the project begins. Many homeowners focus on choosing paint colors while overlooking the importance of quality rollers, roller covers, extension poles, and paint trays. The roller cover should match the surface being painted because different nap thicknesses are designed for different textures. Smooth drywall usually performs best with a shorter nap roller that produces a consistent finish, while textured walls require a thicker nap to reach into surface variations without leaving uneven coverage.
Low-quality roller covers may shed lint, apply paint unevenly, or create inconsistent textures that remain visible after drying. A sturdy roller frame allows even pressure across the wall, reducing streaks caused by uneven application. Using an extension pole also helps maintain consistent rolling pressure from floor to ceiling instead of changing your angle as you reach higher sections. Premium paint contributes as well because higher-quality products generally level out more effectively before drying.
Before beginning how to avoid roller marks when painting, make sure every tool is clean, properly assembled, and suitable for the surface you are painting. Investing in quality equipment often makes a greater difference than homeowners expect and significantly improves the final appearance.
Preparing The Surface Before Applying Paint
Proper preparation is another essential part of how to avoid roller marks when painting because even the best paint cannot hide surface defects or poor preparation. Begin by inspecting the wall carefully under bright lighting to locate nail holes, dents, peeling paint, cracks, or rough patches that could become more noticeable after painting. Fill imperfections using an appropriate patching compound, allow repairs to dry completely, and sand them smooth until they blend with the surrounding wall.
Dust should then be removed using a microfiber cloth or vacuum because loose particles can become trapped beneath the paint and create unwanted texture. Grease, fingerprints, and other contaminants should also be cleaned away, especially in kitchens, hallways, and areas around light switches where oils accumulate over time. If the existing wall has glossy paint, light sanding improves adhesion and helps the new coating spread more evenly.
Primer should be applied whenever bare drywall, patched areas, stains, or dramatic color changes are present because it creates a uniform surface that absorbs paint consistently. Homeowners planning larger interior painting projects can also learn more about professional preparation techniques through the Interior Painting services available from Four Seasons Painting Co. Thorough preparation creates the smooth foundation needed to achieve professional-looking results while greatly reducing the chance of visible roller marks.
Using Proper Rolling Techniques Makes A Big Difference
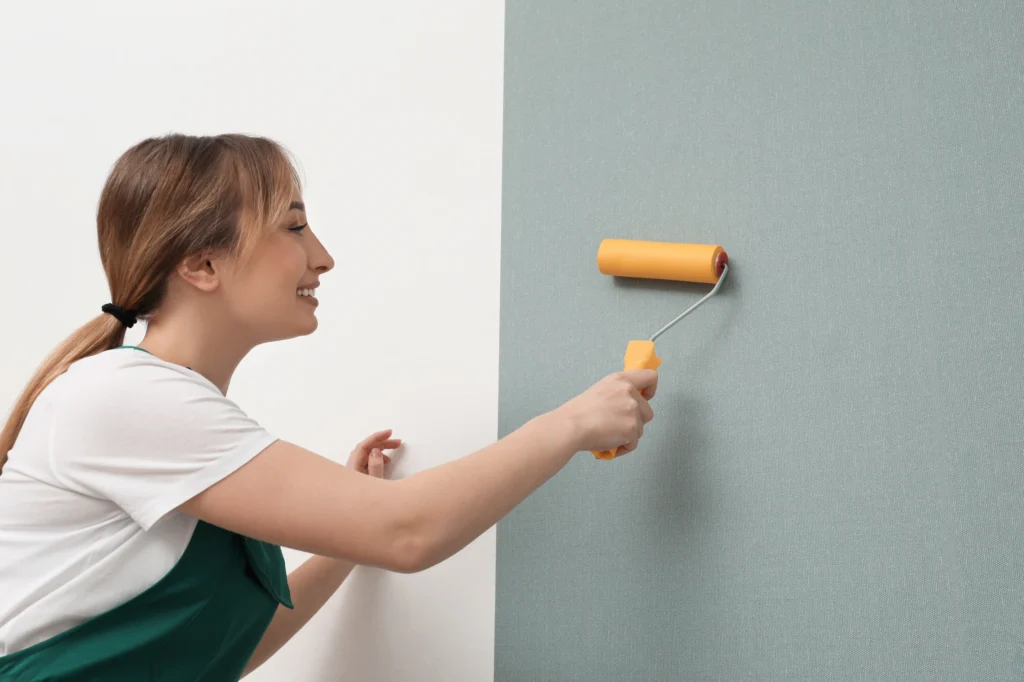
Even with high-quality paint and perfectly prepared walls, poor application techniques can still produce noticeable roller marks. Learning how to avoid roller marks when painting requires maintaining a consistent rolling pattern from the first section of the wall to the last. Load the roller evenly instead of soaking it with excessive paint, then roll off the excess in the tray before applying paint to the wall. Work in manageable sections rather than attempting to paint an entire wall at once. Many professional painters use a “W” or “M” pattern to distribute paint before filling in the remaining area with long, overlapping vertical strokes.
Maintaining a wet edge is equally important because allowing one section to dry before overlapping it often creates lap marks that remain visible after the paint cures. Apply light, even pressure throughout each pass and avoid pressing harder when the roller begins to lose paint. Excessive pressure squeezes paint unevenly across the surface and leaves streaks that become difficult to hide with additional coats. Careful, consistent technique remains one of the most effective ways to master how to avoid roller marks when painting while creating smooth walls that reflect light evenly from every angle.
Choosing The Right Amount Of Paint On The Roller
Loading the roller correctly is another key part of learning how to avoid roller marks when painting because too much or too little paint creates an uneven finish. A roller overloaded with paint often leaves heavy ridges, drips, and thick edges that remain visible after drying. On the other hand, a roller that is too dry requires extra pressure to spread the paint, creating streaks and inconsistent coverage across the wall.
The best approach is to roll the cover evenly through the paint and then distribute the excess using the textured area of the paint tray until the roller is fully coated without dripping. Reload the roller before it becomes completely dry instead of trying to stretch one load across a large section of the wall. This keeps the paint application consistent from beginning to end. Working with moderate amounts of paint also helps maintain a wet edge, allowing each section to blend smoothly into the next.
If you notice the roller beginning to skip or leave lighter areas, reload it immediately instead of pressing harder against the wall. Maintaining the proper amount of paint throughout the project is one of the simplest yet most effective techniques for anyone learning how to avoid roller marks when painting because it produces even coverage while reducing the need for unnecessary touch-ups.
Common Painting Mistakes That Cause Roller Marks
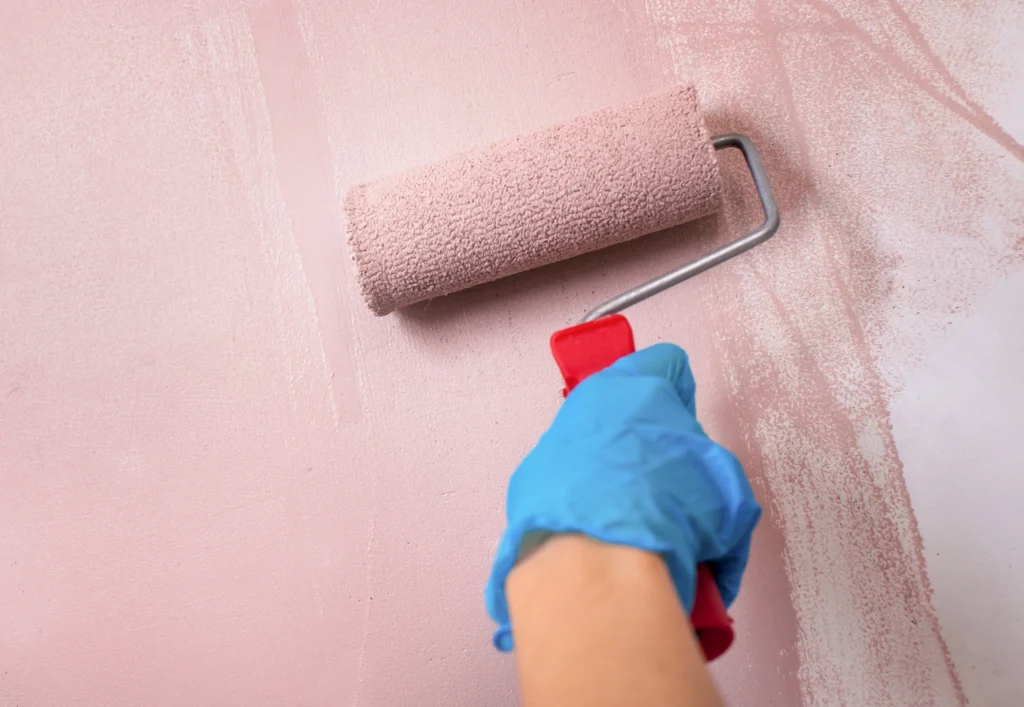
Even experienced DIY painters occasionally create roller marks by making small mistakes during application. One common problem is repeatedly rolling over paint that has already started drying. This pulls partially cured paint away from the wall and leaves visible lap marks. Another mistake is changing rolling direction constantly instead of maintaining a consistent finishing pattern. Poor lighting also contributes because imperfections may not become visible until the paint has dried completely. Painting during very hot weather or with strong air conditioning blowing directly onto the wall can accelerate drying and make it difficult to maintain a wet edge. Cheap roller covers, worn roller frames, and low-quality paint may also contribute to uneven texture.
Understanding how to avoid roller marks when painting means paying attention to every part of the process instead of focusing only on the paint itself. Professional painters work methodically, complete one section before moving to the next, and inspect their work under different lighting angles throughout the project. These simple habits dramatically improve the finished appearance while reducing the likelihood of visible streaks and uneven roller patterns.
Creating A Professional Finish On Every Wall
Professional-looking walls are the result of careful planning, consistent technique, and patience rather than expensive equipment alone. After applying paint to a section, many painters make one final series of light vertical passes from ceiling to floor without adding additional paint. This process, sometimes called laying off the paint, helps even out the finish and minimizes visible roller lines. It is also important to maintain a comfortable pace throughout the project. Rushing often leads to uneven pressure, missed areas, or excessive overlap, while working too slowly increases the chance that one section will dry before the next section is painted. Room conditions also matter. Moderate temperatures and good ventilation help paint level naturally before curing.
The National Institute of Standards and Technology offers valuable research about coating performance, helping homeowners better understand how environmental conditions influence paint finishes. By combining quality tools, proper preparation, and consistent application methods, homeowners can master how to avoid roller marks when painting and achieve smooth walls that closely resemble a professionally completed project.

When Professional Painters Deliver The Best Results
Some painting projects involve challenges that make professional assistance a worthwhile investment. Large open walls, high ceilings, stairwells, vaulted rooms, and luxury finishes demand consistent technique across expansive surfaces where even small roller marks become highly visible. Professional painters understand how to avoid roller marks when painting because they use commercial-grade equipment, premium coatings, and proven application methods developed through years of experience. They also know how to evaluate lighting conditions, surface preparation, and drying times to achieve consistent results throughout the home.
Hiring experienced painters often saves homeowners significant time while eliminating the frustration of correcting uneven finishes after the paint dries. If you are planning an interior painting project and want flawless results, visit the Contact page to speak with the experienced team at Four Seasons Painting Co. Professional workmanship helps ensure every wall receives a smooth, durable finish that enhances the beauty of your home.
Conclusion
Knowing how to avoid roller marks when painting allows homeowners to achieve cleaner, smoother walls without unnecessary frustration. Success comes from using quality tools, preparing the surface thoroughly, loading the roller correctly, and maintaining consistent application techniques from start to finish. Paying attention to drying conditions and avoiding common mistakes also helps create a finish that looks even under every lighting condition. Whether you are refreshing a single room or repainting your entire home, careful preparation always leads to better results. If you want beautifully painted walls with a professional finish, Four Seasons Painting Co is ready to provide expert painting services tailored to your home’s needs.