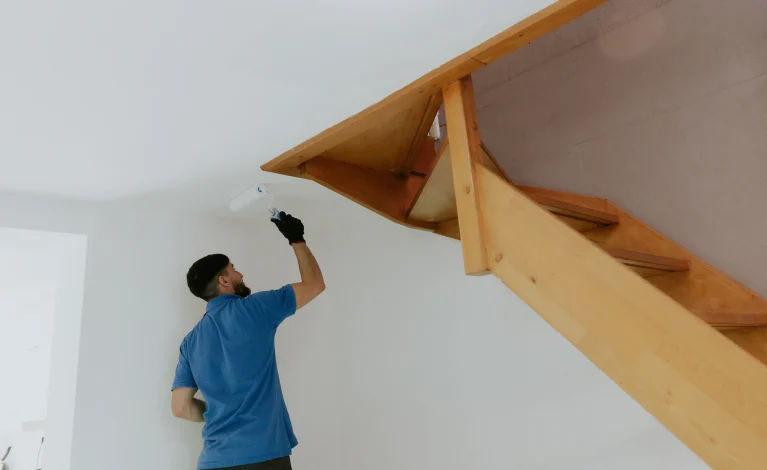
Painting a ceiling can completely refresh a room, making it look brighter, cleaner, and more inviting. However, many homeowners hesitate because they worry about roller marks, splatters, uneven coverage, or sore arms after hours of work. The good news is that a professional-looking ceiling is achievable with the right preparation, quality tools, and proper painting technique. Learning how do I paint a ceiling with a roller involves much more than simply dipping the roller into paint and covering the surface. From selecting the correct roller nap to maintaining a consistent rolling pattern, every step affects the final appearance.
Whether you are painting a smooth ceiling in a bedroom or a lightly textured ceiling in a living room, following the right process helps create an even finish while reducing fatigue and minimizing cleanup.
How Do I Paint A Ceiling With A Roller Successfully
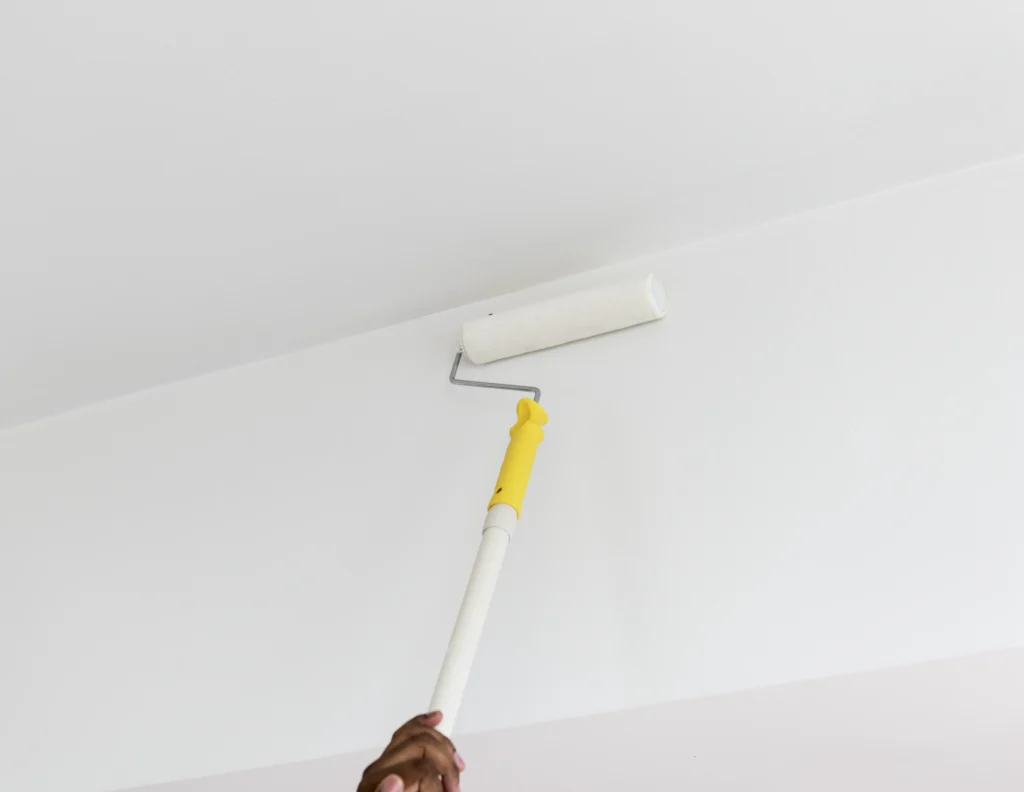
Many homeowners ask how do I paint a ceiling with a roller because ceilings can be more difficult to paint than walls. Gravity works against you throughout the project, making proper technique essential for achieving even coverage without excessive splatter. The first step is choosing the correct roller. Smooth ceilings usually require a ⅜-inch nap roller, while lightly textured ceilings perform better with a ½-inch nap that holds more paint without leaving heavy texture.
Using an extension pole also makes the project much easier because it allows you to maintain a comfortable working position instead of constantly climbing up and down a ladder. Before opening the paint, remove or cover furniture, protect the flooring with drop cloths, and apply painter’s tape around ceiling fixtures, vents, crown molding, and wall edges if needed.
Good lighting is equally important because it helps reveal missed spots and uneven coverage while the paint is still wet. Before applying the finish coat, inspect the ceiling for cracks, nail pops, water stains, or peeling paint that should be repaired first. Taking time to prepare everything properly makes learning how do I paint a ceiling with a roller much easier while producing cleaner, more professional-looking results that last for years.
Preparing The Ceiling Before Any Paint Is Applied
Surface preparation has a major impact on how well ceiling paint adheres and how smooth the finished surface appears. Dust, cobwebs, cooking residue, and smoke particles often collect on ceilings over time, preventing fresh paint from bonding properly. Before beginning how do I paint a ceiling with a roller, clean the ceiling using a microfiber dust mop or vacuum with a soft brush attachment. Kitchens and bathrooms may require additional cleaning with a mild detergent solution to remove grease or humidity-related buildup.
After cleaning, inspect the surface carefully under bright lighting. Fill small cracks or nail holes with lightweight spackling compound and sand repairs smooth once they have dried. Water stains should never be painted directly because they can bleed through fresh paint unless sealed with an appropriate stain-blocking primer. If sections of the ceiling have peeling or flaking paint, scrape away all loose material before sanding the surrounding edges smooth.
Applying primer to repaired areas creates a more uniform surface and prevents flashing after the finish coat dries. Careful preparation reduces the chance of visible imperfections and allows the paint to spread evenly across the ceiling instead of highlighting existing defects.

Choosing The Right Roller And Ceiling Paint
Selecting the proper tools makes a noticeable difference in both the application process and the finished appearance. High-quality roller covers hold paint more evenly, release it consistently, and reduce lint compared to inexpensive alternatives. Paint trays with sturdy liners help distribute paint across the roller without overloading it, reducing drips and splatter while painting overhead. Most homeowners choose flat ceiling paint because it hides minor imperfections and reflects less light than eggshell or satin finishes.
However, moisture-resistant ceiling paints are often recommended for bathrooms, laundry rooms, and kitchens where humidity levels are higher. Premium paints generally provide better coverage, allowing many ceilings to be completed with fewer coats while improving long-term durability.
Choosing quality products also makes rolling easier because better paints level more smoothly as they dry. Homeowners planning a complete interior refresh can also explore the professional services available through the Interior Painting page from Four Seasons Painting Co. Starting with the right tools and paint creates the foundation for successfully learning how do I paint a ceiling with a roller while producing a clean, consistent finish throughout the room.
Using The Right Rolling Technique For Even Coverage
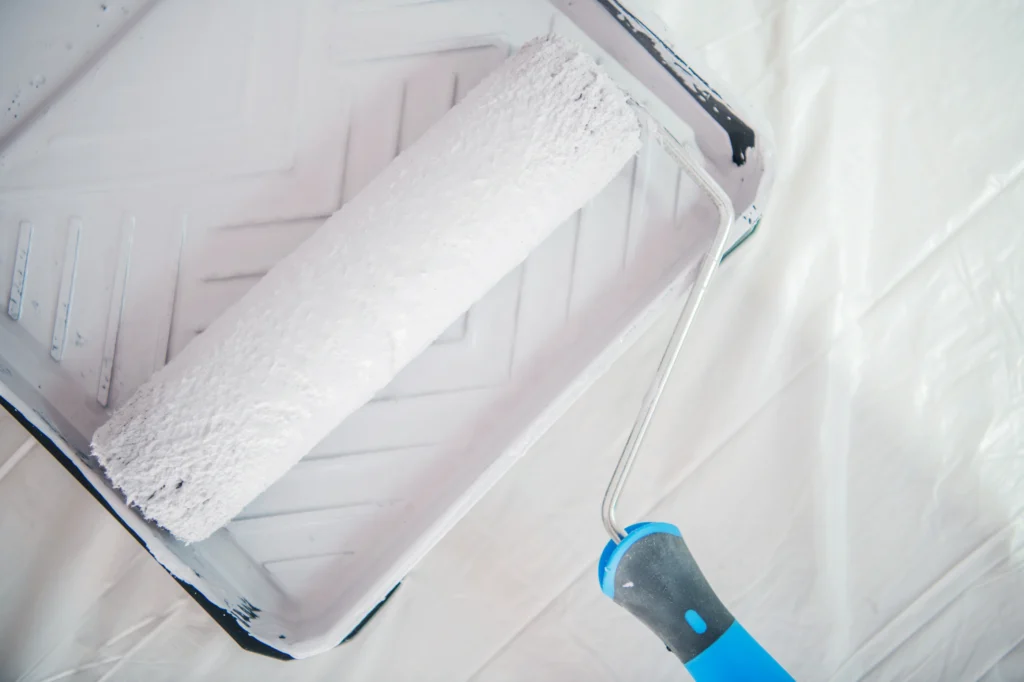
Mastering the rolling technique is one of the most important parts of learning how do I paint a ceiling with a roller. Start by loading the roller evenly without soaking it in paint because an overloaded roller causes drips and unnecessary splatter. Roll the cover back and forth on the tray’s ridged section until the paint is distributed evenly across the entire nap. Begin painting in one corner of the room and work in manageable sections of approximately three to four feet. Apply the paint using slow, controlled strokes while maintaining consistent pressure on the roller.
Pressing too hard squeezes excess paint from the roller and often leaves streaks or lap marks. Each new pass should overlap the previous one by about fifty percent to maintain uniform coverage. Once a section has been covered, lightly roll over it in the same direction using long, continuous strokes without adding more paint. This process, often called back rolling, helps level the paint and creates a more consistent appearance after drying. Continue working across the ceiling while keeping a wet edge, which prevents visible lines from forming between sections. Homeowners who practice these techniques while learning how do I paint a ceiling with a roller usually achieve smoother finishes that closely resemble professional workmanship.
Avoiding Roller Marks And Common Ceiling Painting Mistakes
Even high-quality paint cannot hide poor application techniques, which is why avoiding common mistakes is essential. One frequent mistake is allowing the roller to become too dry before reloading it with paint. A dry roller creates uneven texture and leaves visible streaks across the ceiling. Another mistake is repeatedly rolling over paint that has already begun drying because this often causes roller marks and uneven sheen. Working too quickly without maintaining a wet edge can also create noticeable lap marks where one section overlaps another. Painting under poor lighting makes it difficult to see missed spots until the paint has dried, requiring additional touch-ups later.
Using the wrong roller nap may create problems as well because thick roller covers leave excessive texture on smooth ceilings while thinner covers struggle to apply enough paint to textured surfaces. Taking regular breaks to inspect the ceiling from different angles helps identify areas needing additional attention before the paint dries completely. Understanding these common mistakes makes learning how do I paint a ceiling with a roller much less frustrating and greatly improves the final appearance.
Knowing When To Apply A Second Coat
Many ceilings require a second coat to achieve complete, uniform coverage, particularly when changing colors or covering stains. Before applying another coat, allow the first coat to dry according to the paint manufacturer’s recommendations. Drying times vary depending on temperature, humidity, ventilation, and the specific paint product being used. Rushing into a second coat before the first has dried properly can cause peeling, roller marks, or uneven texture. Once the ceiling is dry, inspect it carefully under bright lighting from several directions. Slight differences in coverage often become visible only after the paint has dried completely. If another coat is needed, repeat the same rolling pattern used during the first application while maintaining a wet edge throughout the room.
Good airflow helps paint dry more consistently, but avoid placing fans directly on freshly painted ceilings because excessive airflow may cause uneven drying. For additional guidance on maintaining healthy indoor painting conditions, homeowners can review recommendations from the U.S. Environmental Protection Agency regarding indoor air quality during home improvement projects. Following proper drying and recoating procedures ensures better durability and helps achieve the smooth finish homeowners expect when learning how do I paint a ceiling with a roller.

When Professional Ceiling Painting Is Worth It
While many homeowners successfully paint ceilings themselves, certain situations are better handled by experienced professionals. High ceilings, vaulted ceilings, textured finishes, extensive water damage, or rooms with difficult access often require specialized equipment and techniques. Professional painters understand how do I paint a ceiling with a roller while minimizing splatter, preventing roller marks, and maintaining consistent coverage across large areas. They also complete projects more efficiently because they use commercial-grade equipment and proven application methods developed through years of experience. Professional preparation includes repairing imperfections, priming stained areas, and selecting products that perform well under the specific conditions of each room.
If your ceiling project involves multiple rooms or you simply want a flawless finish without the time and effort of doing it yourself, visit the Contact page to connect with the experienced team at Four Seasons Painting Co. Their attention to preparation and detail helps homeowners achieve beautiful ceilings that enhance the appearance of every room.

Conclusion
Learning how do I paint a ceiling with a roller becomes much easier when you combine careful preparation, quality tools, and the correct rolling technique. Taking time to clean the ceiling, repair imperfections, maintain a wet edge, and allow proper drying between coats creates a smooth, even finish that brightens the entire room. Although many ceiling projects are suitable for homeowners, larger or more challenging spaces often benefit from professional expertise. If you want dependable results and a ceiling that looks professionally finished, Four Seasons Painting Co is ready to provide expert painting services throughout Lake County with lasting quality and attention to detail.