Bathroom cabinets can be painted successfully when the surfaces are cleaned, prepared, primed, and coated with a durable product that can handle regular use. Learning how to paint bathroom cabinets starts with more than choosing a new color. Bathroom vanities collect soap residue, skin oils, cleaning products, moisture, and grime, all of which can interfere with paint adhesion. Doors and drawers also receive frequent handling, so poor preparation can quickly lead to scratches or peeling around knobs and edges. A careful refinishing process can give structurally sound cabinets a cleaner, updated appearance without requiring complete replacement.
The existing cabinet material and condition should guide the project. Solid wood, engineered wood, laminate, and previously painted cabinets can require different preparation methods and primers. Loose coatings, swollen panels, damaged laminate, or ongoing moisture problems should be addressed before painting begins. When deciding how to paint bathroom cabinets, homeowners should also plan for drying and curing time because the vanity may need to remain partially out of service while coatings harden. Careful preparation takes time, but it creates the foundation for a finish that looks better and withstands everyday bathroom activity.
Inspect The Cabinets Before Starting The Project
Begin by examining the cabinet boxes, doors, drawer fronts, edges, and areas around the sink. Look for peeling paint, damaged veneer, loose laminate, swollen engineered wood, cracks, and signs of repeated moisture exposure. Cosmetic imperfections can often be repaired, but significant water damage may require replacement of affected components. Before learning how to paint bathroom cabinets step by step, make sure the cabinetry itself is stable. Fresh paint can improve appearance, but it cannot correct material that continues to swell, separate, or deteriorate underneath the coating.
This is also a good time to identify the cabinet material and existing finish. Previously painted wood may require a different primer than slick laminate, while stained or varnished surfaces usually need preparation that promotes adhesion. Check doors and drawers for alignment problems and decide whether worn hinges or hardware should be replaced during the project. Taking photographs before disassembly can make reassembly easier. A thorough inspection helps prevent surprises after painting begins and lets you choose preparation products based on the actual surface rather than assuming every bathroom vanity should be treated the same way.
Remove Hardware And Clean Every Paintable Surface
Remove doors and drawer fronts when practical, then take off knobs, pulls, hinges, and other hardware that could interfere with preparation. Label doors and drawers so each piece returns to its original position. Cleaning should come before sanding because sanding a greasy surface can spread contamination instead of removing it. Anyone researching how to paint bathroom cabinets should pay particular attention to areas around handles and sink-side doors, where residue often accumulates. Use an appropriate degreasing cleaner according to its instructions and avoid saturating exposed engineered wood or vulnerable seams with excessive water.
Once the surfaces are clean, remove any cleaner residue as directed and allow everything to dry completely. Inspect the cabinets under strong lighting because remaining glossy or greasy patches may need another cleaning pass. This preparation is especially important in bathrooms, where personal care products and cleaning sprays can leave films that are difficult to see. Homeowners who prefer professional refinishing can explore the Cabinet Painting services available from Four Seasons Painting Co. Whether the project is DIY or professional, thorough cleaning is a crucial part of how to paint bathroom cabinets for dependable adhesion.
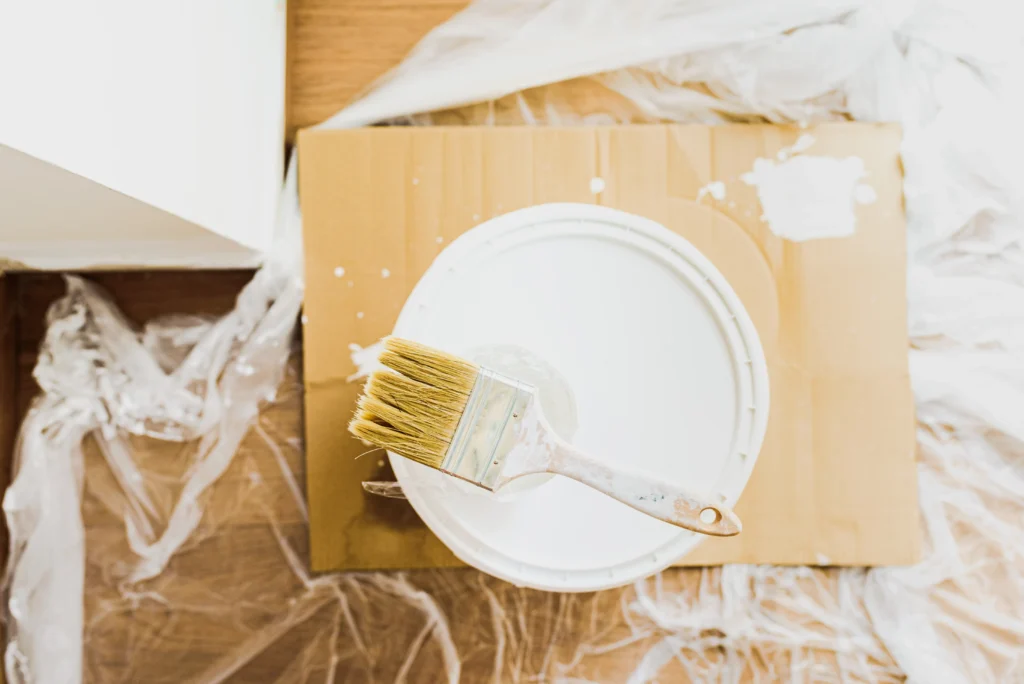
Sand And Repair The Cabinets Before Priming
After cleaning and drying, prepare the existing finish so the primer has a dependable surface to grip. Sanding requirements depend on the cabinet material and coating, so use an abrasive appropriate for the surface and follow the primer manufacturer’s preparation instructions. The objective is generally to remove failing material, smooth repairs, and reduce excessive gloss rather than aggressively strip every cabinet to bare wood. When learning how to paint bathroom cabinets, pay close attention to edges and decorative profiles. Over-sanding these areas can change their shape or damage thin veneers and laminate surfaces.
Fill dents, unused hardware holes, or minor imperfections with a compatible repair material when needed. Allow repairs to dry, sand them smooth, and remove all sanding dust before primer is applied. A vacuum and clean lint-free cloth can help keep particles from becoming trapped in the new coating. Inspect the cabinets one final time by looking across them under angled light, which can reveal scratches and rough repairs more clearly. Careful surface preparation makes how to paint bathroom cabinets easier during the finishing stages because primer and paint cannot hide every defect. A smooth, clean foundation gives the new coating a much better chance of looking consistent across doors, drawers, and cabinet frames.
Choose The Right Primer And Cabinet Paint
Primer creates the bond between the prepared cabinet surface and the finish coats, so choose one that matches the cabinet material. Wood, laminate, previously painted surfaces, and stain-prone materials may require different products. When deciding how to paint bathroom cabinets, look for a primer designed to promote adhesion and work with your chosen cabinet paint. Apply it in a thin, even coat rather than trying to completely hide the original color. Heavy primer can create drips and texture that become more noticeable after the finish coats are applied.
For the finish, choose a durable coating intended for cabinets, trim, or other frequently handled surfaces. Bathroom cabinetry must tolerate regular touching, cleaning, and changes in humidity, so standard flat wall paint is not an ideal choice. Satin and semi-gloss finishes are popular because they offer greater washability and a clean appearance. Allow the primer to dry according to its instructions before applying paint. Following compatible product recommendations is an important part of how to paint bathroom cabinets because even careful application cannot compensate for a primer and finish coat that do not work properly together.
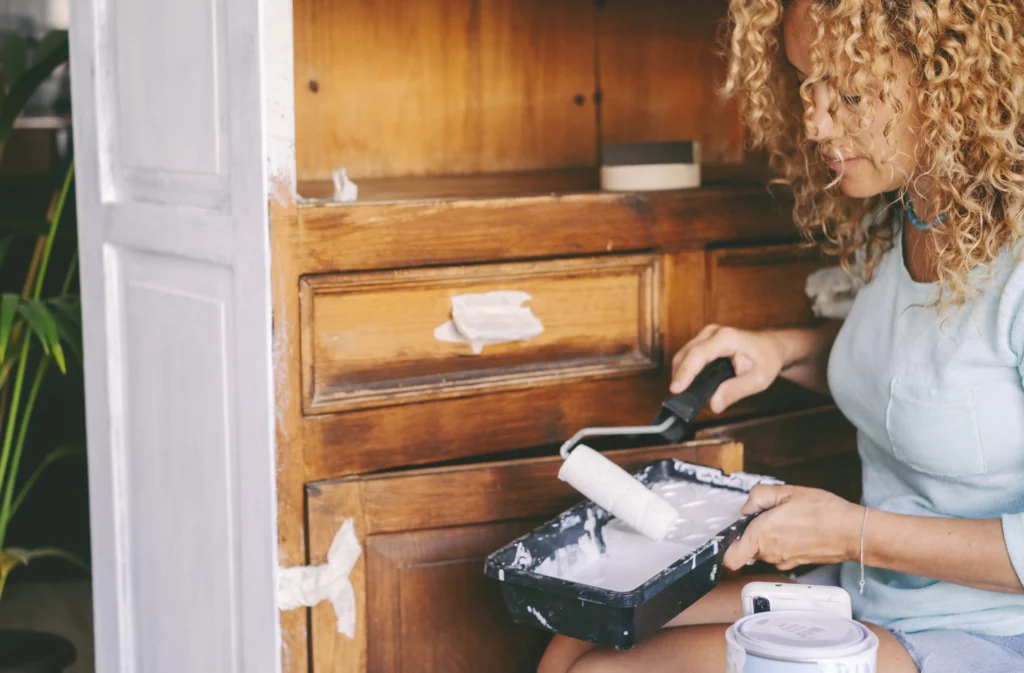
Apply Thin And Consistent Coats Of Paint
Once the primer is ready, begin applying the finish paint with a quality brush, fine-finish roller, or suitable spraying equipment. Flat doors and drawer fronts are often easier to coat with a small smooth-finish roller, while brushes provide control around profiles and corners. Spraying can create an especially smooth finish when performed correctly in a properly prepared space. Whatever method you choose, how to paint bathroom cabinets successfully depends on applying controlled coats rather than loading the surface with excessive paint. Heavy applications increase the chance of runs, sagging, slow drying, and noticeable buildup around edges.
Allow the first coat to dry for the manufacturer’s stated recoat period before applying the next layer. Do not repeatedly brush or roll areas that have already started setting because this can create texture in the finish. Inspect doors under good lighting between coats and correct imperfections only after the coating has dried enough to work safely. The U.S. Environmental Protection Agency provides information about volatile organic compounds from paints and other household products, making ventilation another consideration during indoor projects. Careful application helps create a consistent finish without unnecessary paint buildup.
Allow Enough Time For The Cabinets To Cure
One of the easiest mistakes is reinstalling and heavily using bathroom cabinets as soon as the final coat feels dry. Drying and curing are different stages. Paint may become dry enough to touch within hours while continuing to develop hardness for days or longer. When learning how to paint bathroom cabinets, check the coating manufacturer’s instructions for both drying and curing guidance. Reinstalling hardware too soon can leave impressions around knobs and pulls, while closing freshly painted doors against frames may cause surfaces to stick together.
Handle doors and drawer fronts gently during reassembly and avoid aggressive cleaning while the coating is still curing. Bathroom humidity can also affect drying, so provide appropriate ventilation and avoid unnecessary moisture around freshly painted surfaces. If possible, allow additional curing time before returning the vanity to heavy daily use. Patience at this stage protects the preparation and painting work completed earlier. A cabinet finish that receives enough time to harden is better prepared for fingerprints, cleaning, and routine contact than one placed under immediate stress. Proper curing is therefore an essential part of how to paint bathroom cabinets for lasting results.
Conclusion
Learning how to paint bathroom cabinets involves careful preparation from beginning to end. Inspect the cabinetry first, remove hardware, clean away residue, sand appropriately, make repairs, and use compatible primer and cabinet paint. Thin coats and sufficient drying time help create a smoother finish, while proper curing protects the completed surface from early damage. A well-planned cabinet update can refresh a bathroom without replacing sound cabinetry. If you prefer professional preparation and finishing, Four Seasons Painting Co helps Lake County homeowners transform cabinets with durable, attractive finishes designed for everyday use.