Painting a home exterior can improve curb appeal while helping protect siding, trim, and other surfaces from weather damage. The process requires more than choosing a color and applying paint. Proper cleaning, repairs, priming, weather planning, and application technique all affect the final result.
Understanding how to paint exterior house surfaces correctly can also help prevent common problems such as peeling, cracking, uneven coverage, and early fading. The following steps explain the full process in a practical order, from inspection through final maintenance.
Inspect The Exterior Before Painting
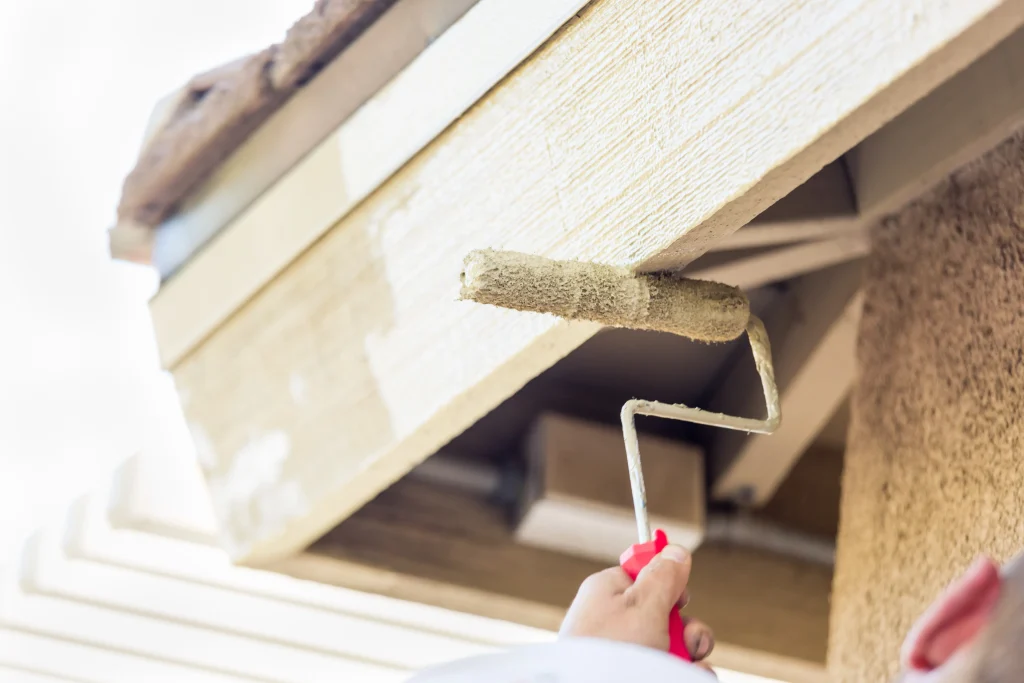
Before starting any exterior painting project, inspect every surface carefully. Walk around the home and look for peeling paint, cracks, loose caulk, mildew, exposed wood, damaged siding, and moisture problems. Areas around windows, doors, gutters, rooflines, and trim often show wear first because they receive more water and weather exposure.
Any damaged material should be repaired before painting begins. New paint cannot correct rotten wood, loose siding, or moisture trapped behind a surface. Homes built before 1978 may also require extra precautions because older coatings can contain lead. The U.S. Environmental Protection Agency provides guidance for renovation and painting projects that may disturb lead-based paint. Taking time to inspect the home first makes the remaining steps in how to paint exterior house surfaces easier and more effective.
Clean The Exterior Thoroughly
Exterior paint adheres best to a clean surface. Dirt, pollen, mildew, dust, chalky residue, and other contaminants can interfere with adhesion and shorten the life of the coating. Cleaning should always take place before scraping, priming, or applying new paint.
Homeowners can use gentle washing methods, soft brushes, or controlled pressure depending on the siding material. Excessive pressure may damage wood, loosen siding, or push water behind exterior surfaces. Professional pressure washing services can help remove accumulated dirt and buildup before painting. After cleaning, allow the exterior to dry completely. Painting damp siding can trap moisture beneath the coating and contribute to blistering or peeling. Proper cleaning is one of the most important preparation steps when learning how to paint exterior house surfaces correctly.
Scrape, Sand, And Repair Damaged Areas
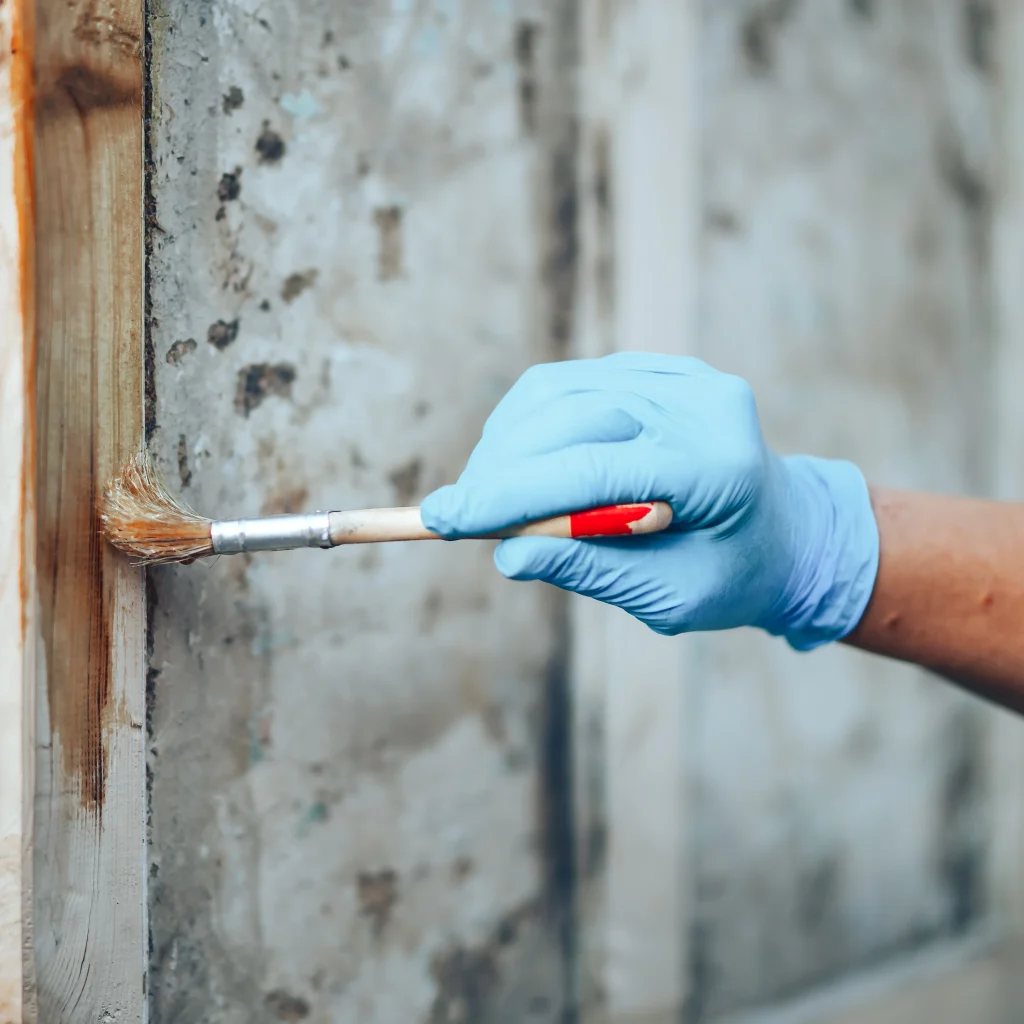
Once the exterior has dried, remove any paint that is loose, flaking, or peeling. Scrapers help remove failing coatings, while sanding smooths rough edges between exposed areas and paint that remains firmly attached. A stable surface gives the new coating a better foundation.
Check joints around windows, doors, trim boards, and siding transitions. Remove deteriorated caulk and replace it with a paintable exterior product where needed. Fill suitable holes and repair damaged wood or siding before moving forward. Never rely on fresh paint to hold down loose material. If the old layer fails, the new layer may fail with it. This preparation stage often takes significant time, but it strongly affects the final result. Professional exterior painting services typically include detailed preparation because long-lasting exterior paint depends on a properly repaired surface.
Prime Bare And Problem Areas
Primer helps create a stable surface and improves paint adhesion. However, a complete primer coat may not be necessary on every home. Bare wood, exposed repairs, patched areas, stains, and surfaces with adhesion problems usually need priming before finish paint is applied.
Choose a primer made for the material being painted. Wood, masonry, metal, and other exterior surfaces may require different products. Using the wrong primer can affect adhesion and durability. Follow the manufacturer’s drying and recoat instructions before applying paint. Temperature and humidity may also influence drying time. Primer should be fully ready before the next coating is added. Proper priming is an important part of how to paint exterior house surfaces because it helps create consistent coverage and protects vulnerable areas that might otherwise absorb paint unevenly.
Choose The Right Paint And Weather
Exterior paint must withstand rain, sunlight, humidity, temperature changes, and seasonal weather. Select a high-quality exterior coating designed for the specific siding, trim, or surface being painted. Acrylic exterior paints are commonly used because they offer flexibility, durability, and resistance to changing weather conditions.
Weather conditions also matter when deciding when to paint. Avoid working when rain is expected or when temperatures fall outside the paint manufacturer’s recommended range. Strong direct sunlight can cause paint to dry too quickly, while high humidity can slow drying. Wind may carry dust and debris onto fresh coatings. Check the forecast before starting and plan the project during stable conditions. Learning how to paint exterior house surfaces successfully means understanding that good weather gives paint enough time to level, dry, and begin curing properly.
Apply The Paint In Manageable Sections
When possible, begin near the top of the house and work downward. This approach makes it easier to control drips and maintain a consistent finish. Divide large walls into manageable sections so you can keep a wet edge and reduce visible lap marks.
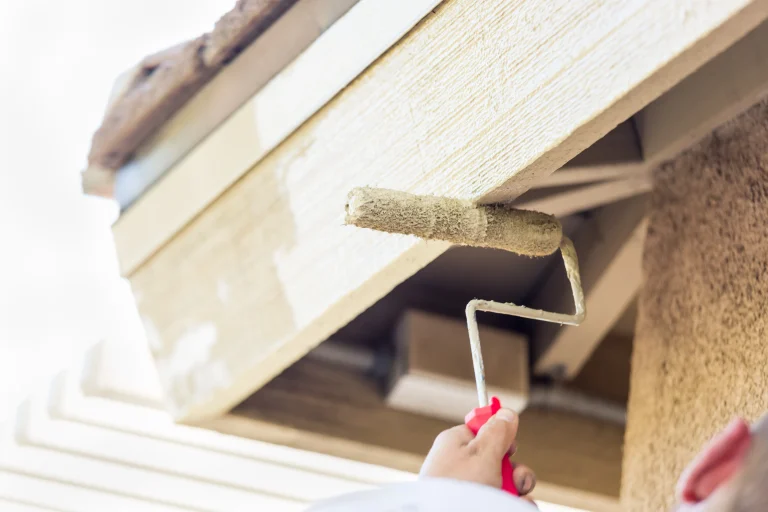
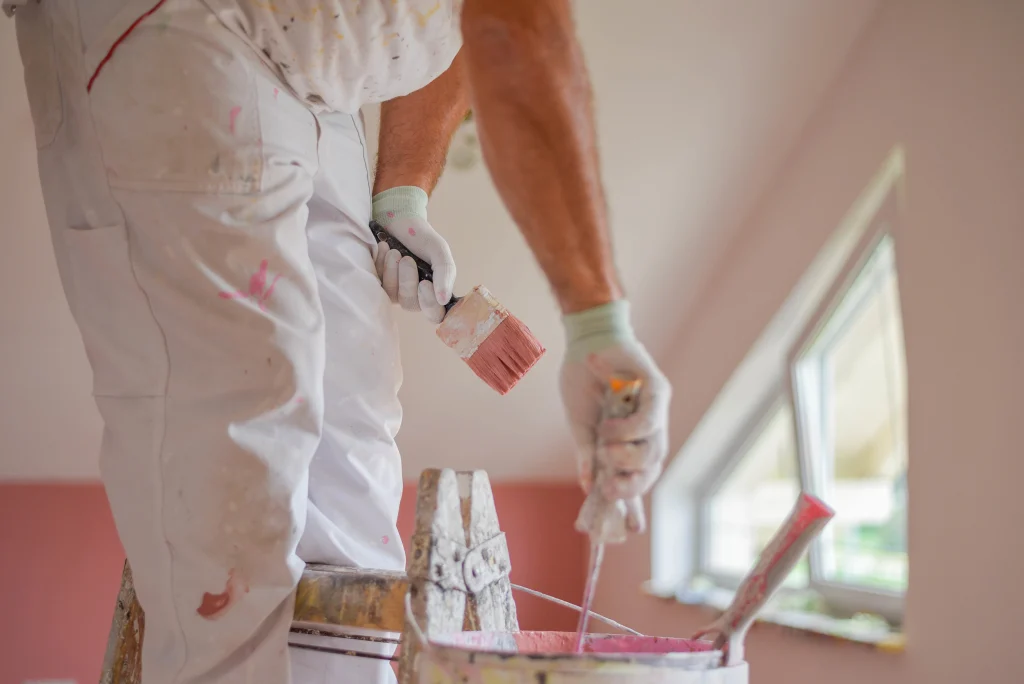
Brushes are useful for trim, corners, edges, and detailed areas. Rollers work well on many broad surfaces, while sprayers can cover larger areas quickly when used correctly. Spraying often requires careful masking and may also require back-brushing or back-rolling depending on the material. Avoid stretching the paint too thin simply to cover more surface area. Manufacturers provide coverage recommendations for a reason. When following how to paint exterior house instructions, consistent film thickness is important for both appearance and durability. Check each section for drips, missed areas, and uneven coverage before moving on.
Apply A Second Coat When Needed
Many exterior surfaces benefit from a second finish coat even when the first coat appears to cover well. A second coat can improve color consistency and create a stronger protective layer against sunlight, moisture, and changing temperatures.
Allow the first coat to dry for the full recommended recoat period before applying another layer. Drying times depend on the paint formula, temperature, humidity, airflow, and surface material. Applying the next coat too early can interfere with drying and reduce finish quality. During the second coat, inspect corners, trim edges, siding joints, and textured areas carefully. These locations are easy to miss. Good exterior painting focuses on complete, even coverage rather than speed. Following the correct coating process is essential when learning how to paint exterior house surfaces that will remain attractive and protected for years.
Conclusion
Exterior maintenance helps protect the work after the final coat has dried. Inspect painted surfaces from time to time for cracks, peeling, mildew, damaged caulk, dirt, or moisture problems. Small areas of wear are usually easier to repair before they spread across a larger section.
Keep gutters and downspouts working properly so water does not repeatedly run across siding or trim. Trim plants that rub against painted surfaces and address leaks or drainage issues early. Knowing how to paint exterior house surfaces is useful, but large homes, tall elevations, damaged siding, and difficult surfaces may require professional help. Four Seasons Painting Co provides exterior painting services for homeowners in Lake County, Ohio, with careful preparation and professional application designed to create a clean, durable finish.