Painting a room can make the entire space feel cleaner, brighter, and more updated. However, good results depend on more than simply rolling paint onto the walls. Surface preparation, protection, product selection, application technique, and drying time all affect how the finished room looks.
So, how do you paint a room properly? Start by clearing and protecting the space, repair the walls, clean the surfaces, and select suitable paint and tools. Cut in around edges before rolling larger areas, apply even coats, and allow adequate drying time between applications. Following the right order reduces mess and helps produce smoother, more consistent coverage.

Clear And Protect The Room Before Painting
Start by removing smaller furniture, wall decorations, lamps, curtains, and other movable items from the room. Push larger furniture toward the center if it cannot be removed, then cover it completely. Protect the flooring with canvas drop cloths or another suitable covering before opening any paint.
Remove switch plates and outlet covers when practical, and use painter’s tape around trim, windows, doors, and other surfaces that should remain unpainted. Good preparation makes how do you paint a room much easier because you can move freely without constantly worrying about splashes. Do not rely on being careful enough to protect everything without coverings. Paint can drip from rollers, brushes, or trays unexpectedly. Spending extra time preparing the room usually saves much more time during cleanup and reduces the risk of damaging flooring, furniture, hardware, or decorative finishes.
Inspect And Repair The Walls
Look closely at every wall before applying paint. Nail holes, dents, cracks, loose paint, rough patches, and damaged drywall can become more visible after a fresh coat is applied. Fill suitable holes and imperfections with the correct patching material, then allow repairs to dry completely.
Sand repaired areas until they blend smoothly with the surrounding wall. Remove the sanding dust afterward so it does not become trapped in the new paint. If the existing walls are dirty, greasy, or dusty, clean them before moving forward. Homeowners planning a larger project can use professional interior painting services when several rooms need repair, preparation, and repainting. Understanding how do you paint a room starts with recognizing that paint cannot correct poor surface preparation. A smooth, clean wall gives the new coating a much better foundation and helps reduce visible imperfections.
Take Extra Care With Older Painted Surfaces
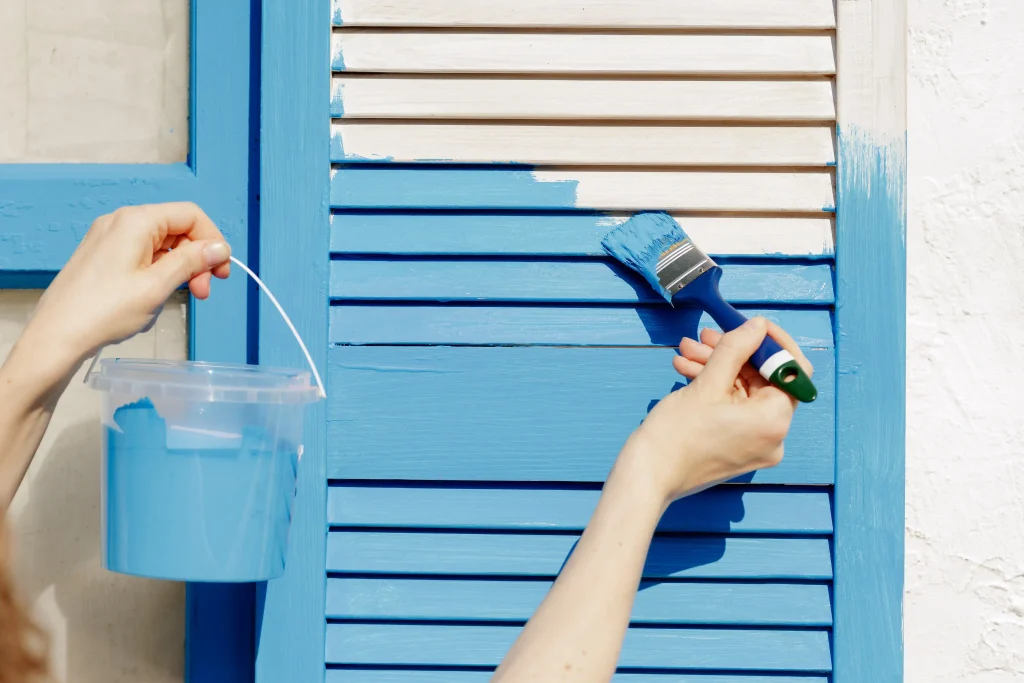
Older homes can require additional precautions before sanding, scraping, or disturbing existing coatings. Homes built before 1978 may contain lead-based paint, particularly on older walls, trim, windows, and doors. Disturbing these surfaces can create contaminated dust if appropriate precautions are not followed.
The U.S. Environmental Protection Agency Lead Renovation, Repair and Painting Program provides official information about lead-safe work practices and requirements for projects involving pre-1978 housing. EPA notes that renovation and painting activities that disturb lead-based paint can produce hazardous dust. When homeowners ask how do you paint a room in an older property, determining whether special lead-safe practices are needed should come before sanding or scraping. Taking this precaution protects the people inside the home and helps ensure preparation work is handled responsibly.
Choose The Right Paint And Painting Tools
Select paint based on the room, surface, and level of everyday use. Bedrooms and living rooms may work well with flat, matte, or eggshell finishes, while kitchens, bathrooms, and high-traffic spaces often benefit from more washable coatings. Trim and doors may require a more durable finish.
You will also need the right tools. A quality angled brush helps with corners and edges, while a roller covers larger wall areas efficiently. Smooth drywall typically needs a shorter roller nap than heavily textured walls. Gather trays, extension poles, drop cloths, painter’s tape, stirring sticks, and cleaning supplies before starting. Knowing how do you paint a room properly includes matching the tools to the surface. Cheap rollers that shed fibers or poor brushes can leave visible imperfections even when the paint itself is high quality. Good tools usually make application easier and more consistent.
Cut In Around The Room Before Rolling
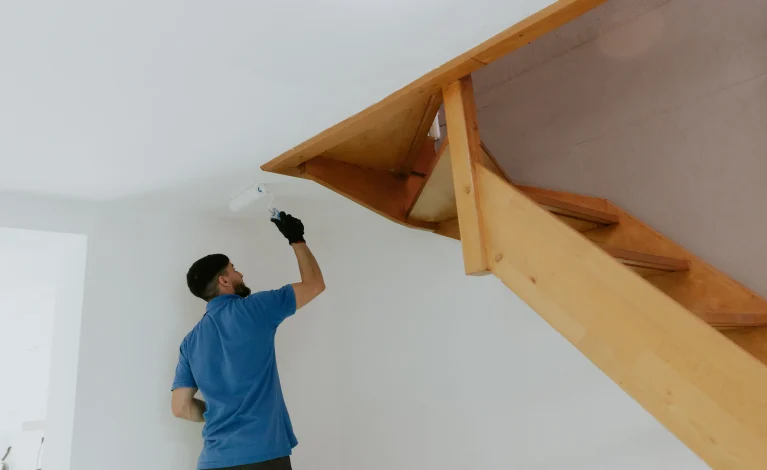
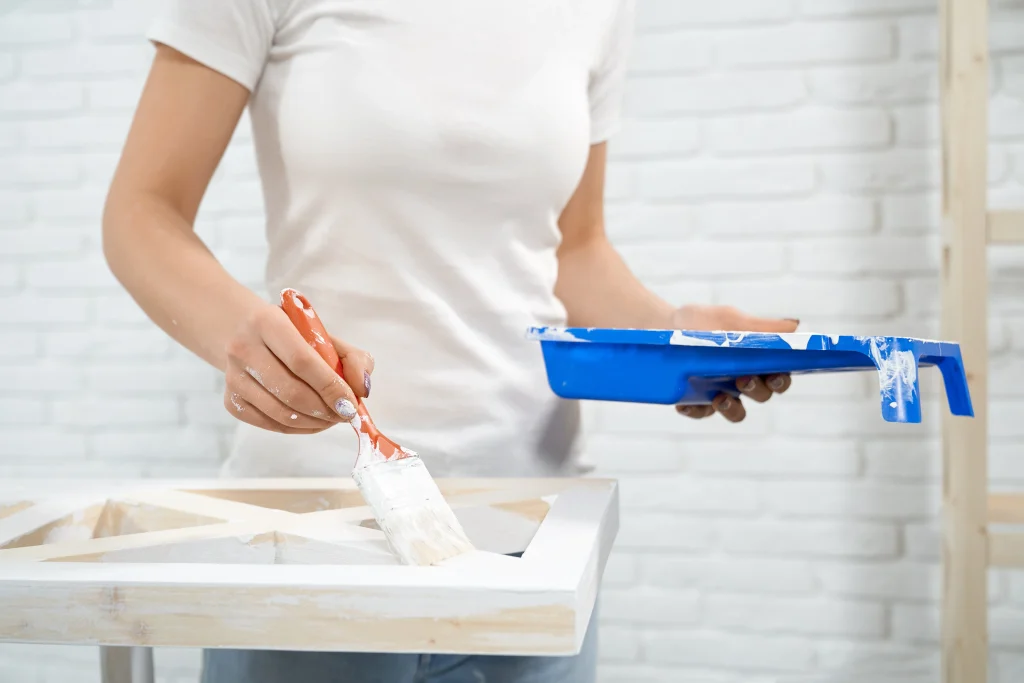
Use an angled brush to paint around ceilings, baseboards, windows, doors, corners, and other areas that a roller cannot reach cleanly. This process is called cutting in. Apply a controlled strip of paint wide enough for the roller to overlap slightly without touching nearby surfaces.
Work on one wall or manageable section at a time so the brushed edges remain relatively fresh when you begin rolling. This helps the textures blend more smoothly. Avoid applying an excessively thick band around the perimeter because heavy brush marks can remain visible after the wall dries. Learning how do you paint a room effectively means balancing detailed brushwork with broader roller application. Keep enough paint on the brush for smooth coverage, but avoid overloading it. Check corners and edges for drips before moving to the next section because they are easier to correct while the paint remains wet.
Roll The Walls In Manageable Sections
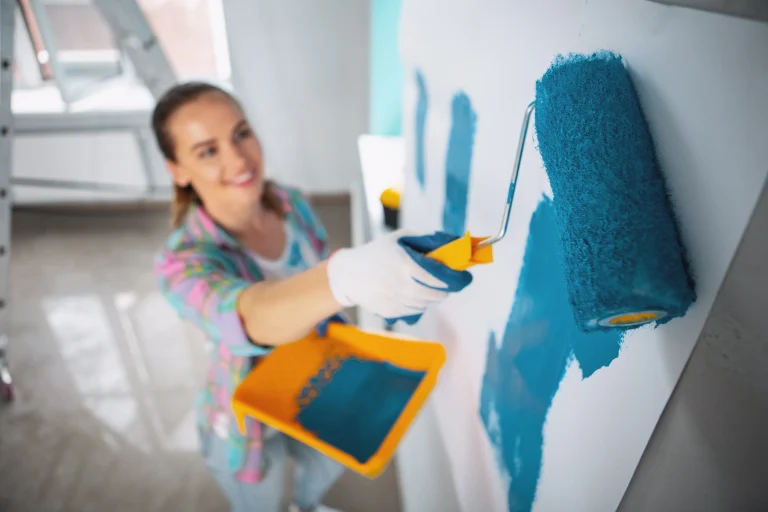
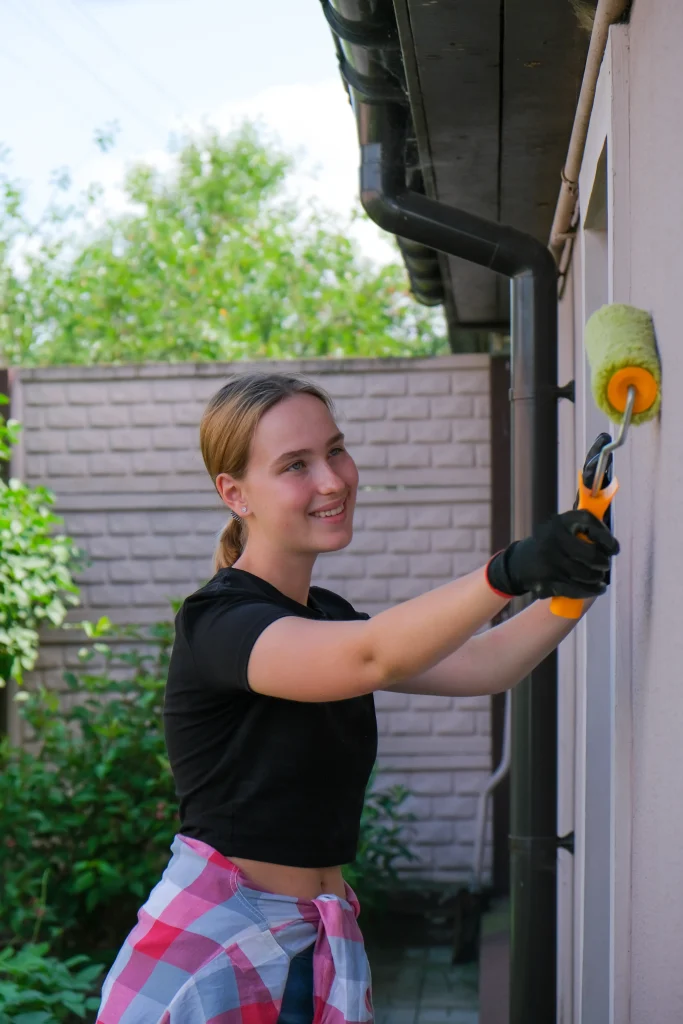
Load the roller evenly with paint, then remove excess material on the tray or screen before touching the wall. Start several inches from the edge and spread the paint across a manageable section. Use controlled vertical or slightly angled passes rather than random strokes.
Maintain a wet edge by overlapping each new section slightly with the previous one. Apply consistent pressure and let the roller do the work instead of pressing hard against the wall. Excessive pressure can create ridges, splatter, and uneven texture. One of the most important parts of how do you paint a room is maintaining a steady application method from one wall to the next. Avoid repeatedly rolling over paint that has already started drying because this can create visible lap marks. Complete an entire wall whenever possible before taking a long break so the finish dries more consistently.
Apply A Second Coat After Proper Drying
The first coat may look uneven while it is drying, especially when the new color differs significantly from the previous one. Allow the paint to dry for the manufacturer’s full recommended recoat period before deciding whether more coverage is needed. Do not judge the final appearance while the surface is still wet.
Before applying the second coat, inspect the walls for drips, rough spots, missed areas, or debris. Correct minor imperfections carefully and remove any resulting dust. Then repeat the same cutting-in and rolling process used for the first coat. Most room-painting projects benefit from a second coat because it improves color consistency and coverage. Patience is essential when learning how do you paint a room because applying another coat too early can soften or disturb the first layer. Proper drying helps each coat develop a smoother and more durable finish.
Inspect The Room And Complete The Cleanup
After the final coat has dried, inspect the room in both daylight and artificial light. Look for missed sections, thin spots, roller lines, drips, or uneven edges. Small touch-ups are much easier to complete while the matching paint, brushes, and rollers are still available.
Remove painter’s tape carefully, then reinstall switch plates, outlet covers, curtains, and other items after the paint has dried sufficiently. Clean brushes, rollers, trays, and reusable equipment according to the paint manufacturer’s instructions. So, how do you paint a room successfully? The best results come from careful preparation, consistent application, and enough drying time between coats. Homeowners who prefer professional help can contact Four Seasons Painting Co, serving Lake County, Ohio, for professional interior painting with proper preparation, clean application, and consistent finishes.