Starting a painting project often seems straightforward, but many homeowners quickly discover that even opening a paint can can be more challenging than expected. Understanding how to open a paint can properly helps prevent spills, damaged lids, wasted paint, and unnecessary frustration. Whether you are painting a bedroom, updating cabinets, refreshing exterior siding, or completing a DIY project, opening the paint can correctly is an important first step.
Many paint cans are designed with tight-fitting lids that create an airtight seal. This seal helps preserve the paint during storage and transportation, but it can also make the lid difficult to remove. Some homeowners attempt to force the lid open using inappropriate tools, which can bend the metal rim, damage the lid, or make resealing the can difficult later.
Learning how to open a paint can safely and effectively ensures a smoother painting experience from the very beginning. It also helps maintain the quality of any leftover paint that may need to be stored for future touch-ups or projects.
Why Paint Cans Are Sealed So Tightly
Before learning how to open a paint can, it helps to understand why manufacturers design paint cans with such secure lids. Paint contains solvents and other ingredients that can evaporate when exposed to air. Even small amounts of air entering the can may affect paint consistency, color quality, and performance over time.
The lid creates a tight seal that protects the paint from contamination and prevents drying. During transportation and storage, this seal also helps reduce leaks and spills. While the airtight design is beneficial for preserving the product, it can make opening the can more difficult than many homeowners anticipate.
The tight seal is especially important for premium paints because maintaining proper consistency helps ensure optimal coverage and finish quality during application.
The Best Tools For Opening A Paint Can
One of the most important aspects of how to open a paint can is selecting the proper tool. Although many people reach for screwdrivers, knives, or other household tools, paint can openers are specifically designed for this purpose. A paint can opener features a small curved end that slides beneath the lid and gently lifts it without causing damage. These inexpensive tools are widely available at hardware stores and paint retailers.
Flathead screwdrivers can also be used successfully when handled carefully. However, excessive force may bend the lid or damage the rim, making it difficult to reseal the can properly. The Paint Quality Institute offers additional guidance on paint handling and storage practices Using the correct tool minimizes damage and makes the opening process significantly easier.
How To Open A Paint Can Without Damaging The Lid
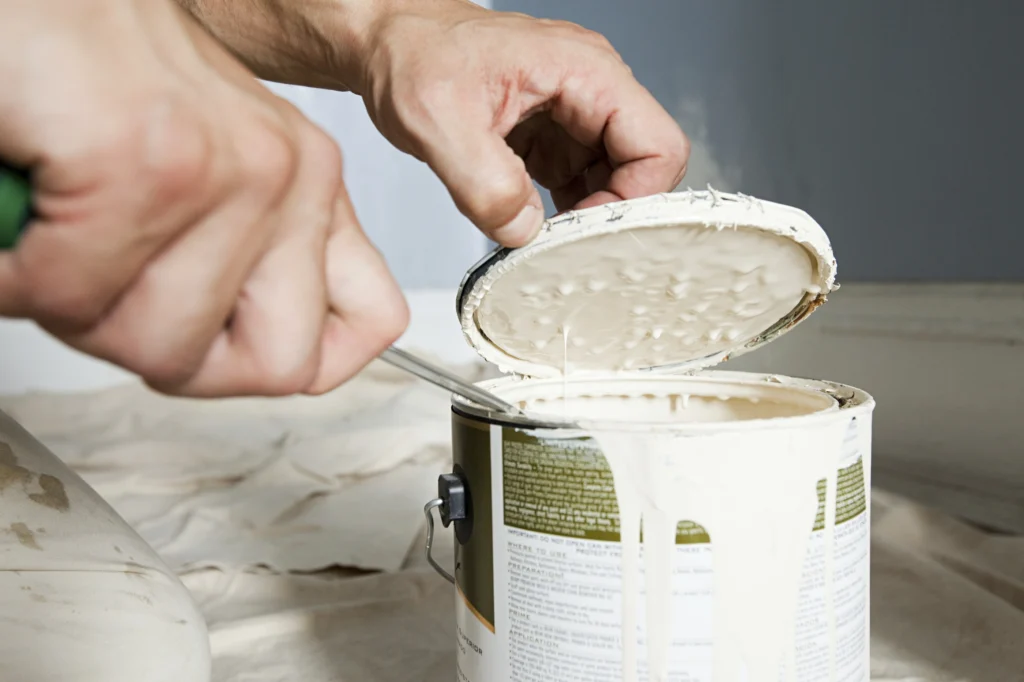
Many homeowners researching how to open a paint can want to avoid damaging the lid because they plan to store leftover paint after the project is complete. Preserving the lid’s shape is essential for maintaining an airtight seal. The best approach is to insert the opener beneath the edge of the lid and gently lift upward. Rather than attempting to remove the lid from one location, work around the entire circumference of the can. Gradually loosening multiple sections reduces stress on the metal and prevents bending.
Moving around the can in small increments allows the lid to release evenly. Once loosened, the lid can typically be removed by hand without excessive effort. This method protects both the lid and the can, making future storage much more reliable.
Common Mistakes Homeowners Make
Understanding how to open a paint can also involves knowing what mistakes to avoid. One of the most common errors is prying aggressively from a single point on the lid. This often bends the metal and creates sealing problems later. Another mistake involves using sharp tools such as knives. Not only can this damage the can, but it also creates a potential safety hazard. Slipping tools may cause injury or result in accidental paint spills.
Some homeowners attempt to strike the lid with hammers or other heavy objects. While this may occasionally loosen the seal, it can also deform the can and make painting more difficult. Using controlled, even pressure remains the safest and most effective approach.
Opening Older Paint Cans
Older paint cans sometimes present additional challenges. Dried paint can accumulate around the rim, effectively gluing the lid to the container. In these situations, understanding how to open a paint can requires a little extra patience. Carefully removing dried paint from the rim with a putty knife or similar tool can help loosen the seal. Working around the entire edge before attempting to lift the lid often improves success.
In some cases, gentle tapping around the perimeter with a rubber mallet may help break the bond created by dried paint. However, excessive force should be avoided because it can damage the container. Older paint should also be inspected before use to ensure it remains suitable for application.
Preparing The Paint After Opening
Opening the can is only the beginning of the painting process. Once homeowners learn how to open a paint can, the next step involves preparing the paint for use. Paint often separates during storage, with heavier pigments settling near the bottom. Thorough mixing helps restore consistency and ensures accurate color distribution throughout the product.
Professional painters frequently use mixing sticks or mechanical mixers to achieve uniform consistency. Proper mixing improves coverage, appearance, and overall performance. Homeowners planning interior painting projects can learn more about professional painting preparation through Four Seasons Painting Interior & Exterior Painting. Preparation plays a major role in achieving high-quality results.
Why Proper Storage Matters
One reason homeowners search for how to open a paint can is because they are returning to a partially used can from a previous project. Proper storage significantly affects whether leftover paint remains usable. Paint should be stored in a cool, dry environment away from extreme temperatures. Excessive heat or freezing conditions can damage paint and reduce performance.
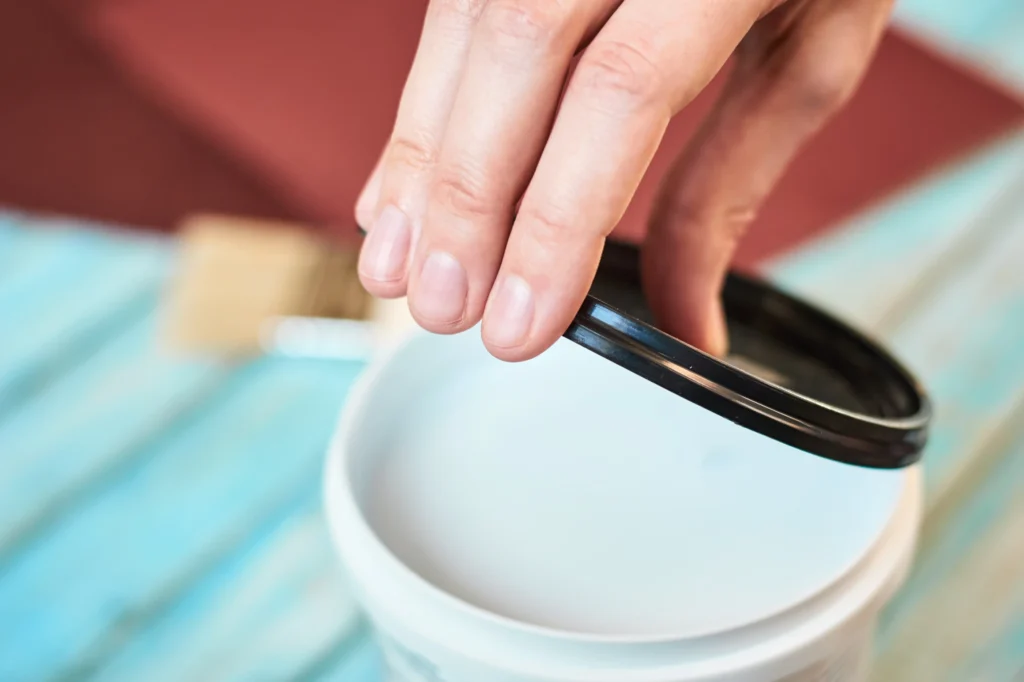
Before replacing the lid, the rim should be cleaned to remove excess paint. A clean rim helps create a stronger seal and minimizes air infiltration. When stored correctly, many paint products remain usable for several years, making future touch-ups easier and more cost-effective.
How To Open A Paint Can For Large Projects
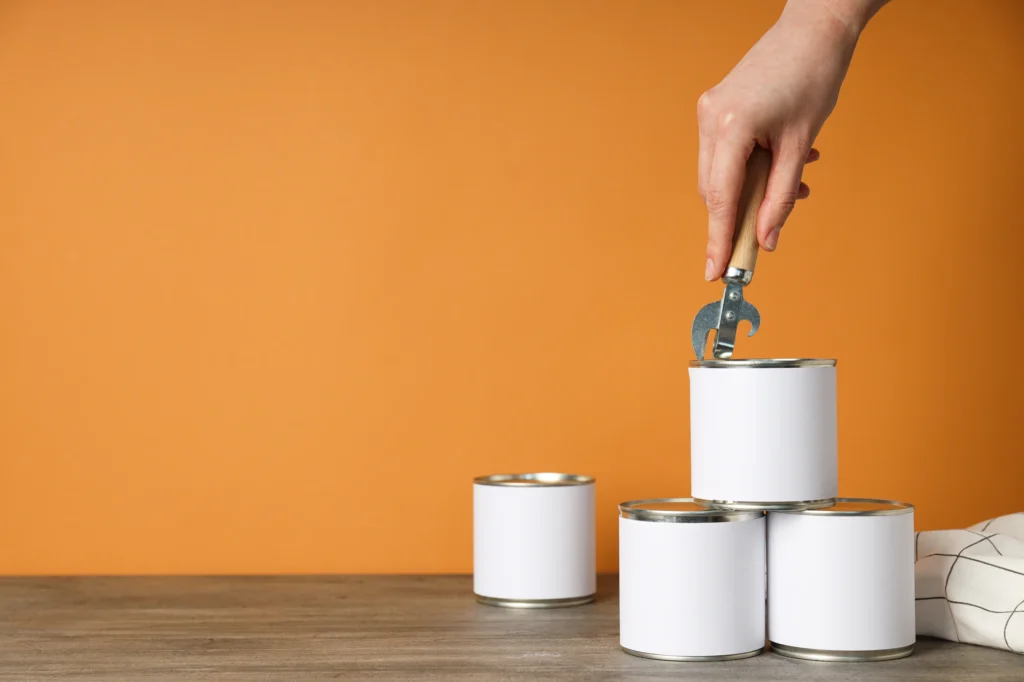
Large painting projects often involve multiple paint cans. Understanding how to open a paint can efficiently becomes especially valuable when preparing several gallons at once. Professional painters frequently inspect each can before opening to ensure there is no visible damage or contamination. Opening cans carefully helps maintain organization and reduces waste throughout the project.
For extensive projects involving multiple colors or finishes, proper labeling and storage procedures become increasingly important. Maintaining clean lids and rims simplifies resealing and transportation. Many contractors develop systematic workflows that improve efficiency and reduce cleanup time.
Safety Considerations During Paint Preparation
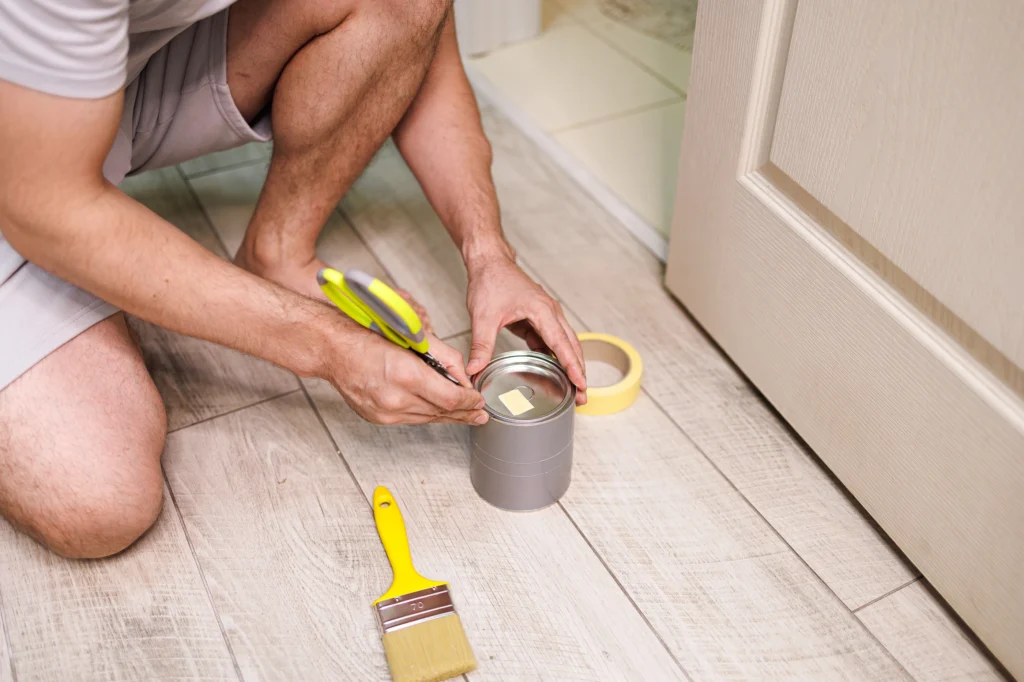
Although learning how to open a paint can seems simple, safety should always remain a priority. Paint products may contain chemicals that require proper handling and ventilation. Work areas should be well ventilated, particularly when using oil-based paints or specialty coatings. Gloves and safety glasses may provide additional protection during preparation and application. The Environmental Protection Agency provides information regarding safe handling and disposal of paint products. Following basic safety practices helps protect both people and property throughout the painting process.
Professional Painting Preparation Techniques
Professional painters understand that preparation contributes significantly to overall project quality. Knowing how to open a paint can properly is only one part of a larger preparation process that includes surface cleaning, repairs, masking, priming, and product selection. Careful preparation helps maximize paint performance and improves finish quality. Experienced painters use proven techniques to ensure consistency and efficiency throughout every stage of a project. Homeowners considering larger painting projects can explore additional resources through Four Seasons Painting Interior & Exterior Painting. Professional guidance often helps avoid common mistakes while improving overall project results.
Starting Your Painting Project The Right Way
Learning how to open a paint can may seem like a small detail, but it plays an important role in creating a successful painting experience. Proper opening techniques help prevent spills, preserve paint quality, protect the container, and simplify storage after the project is complete.
Whether using a dedicated paint can opener or a carefully handled screwdriver, working around the lid gradually remains the safest and most effective approach. Combined with proper paint preparation, storage, and application practices, this simple skill helps homeowners achieve better results and reduce unnecessary frustration.
For homeowners planning interior or exterior painting projects, Four Seasons Painting provides professional services backed by experience, quality workmanship, and attention to detail. Proper preparation at every stage of a painting project contributes to beautiful, long-lasting results.