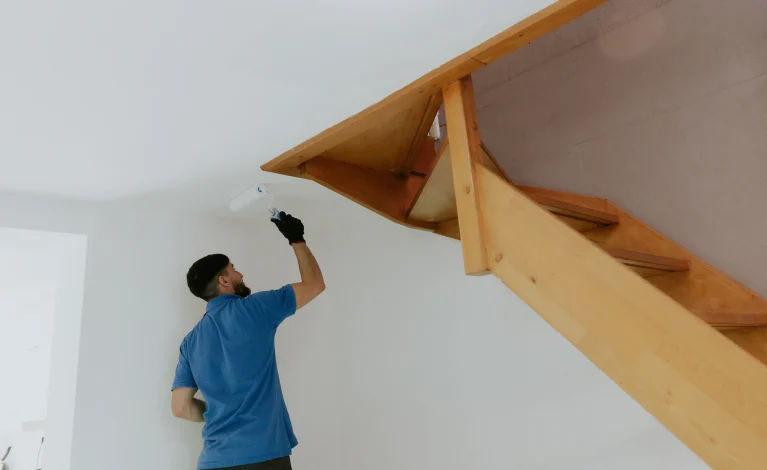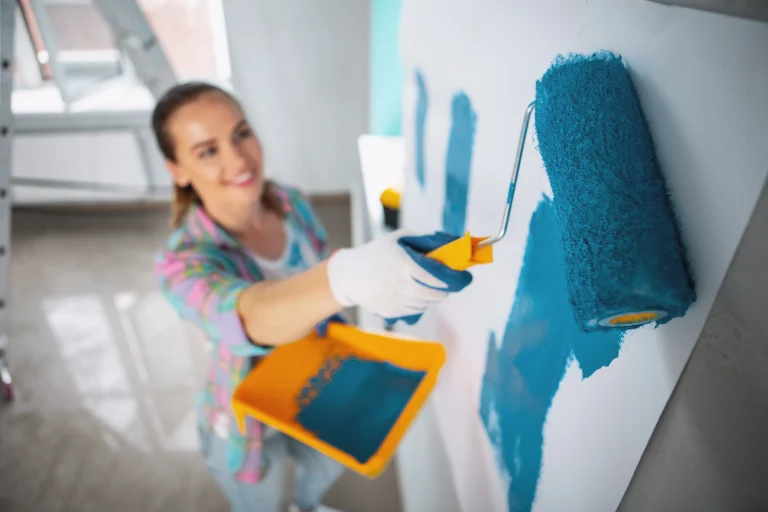
Small paint chips may seem like a minor cosmetic issue, but they often signal the beginning of a larger problem if left untreated. Once the protective paint coating breaks, the surface underneath becomes vulnerable to moisture, dirt, and everyday wear, allowing the damage to spread over time. Fortunately, knowing how to repair chipped paint can restore the appearance of your walls, trim, doors, or siding while preventing more expensive repairs later.
The key is not simply applying fresh paint over the damaged spot. Instead, a successful repair involves identifying why the paint chipped, preparing the surface properly, and using the right materials to create a smooth, durable finish. Whether you are fixing a small mark on an interior wall or repairing weathered exterior trim, taking the proper approach helps the repaired area blend naturally with the surrounding paint and keeps your home looking well maintained.
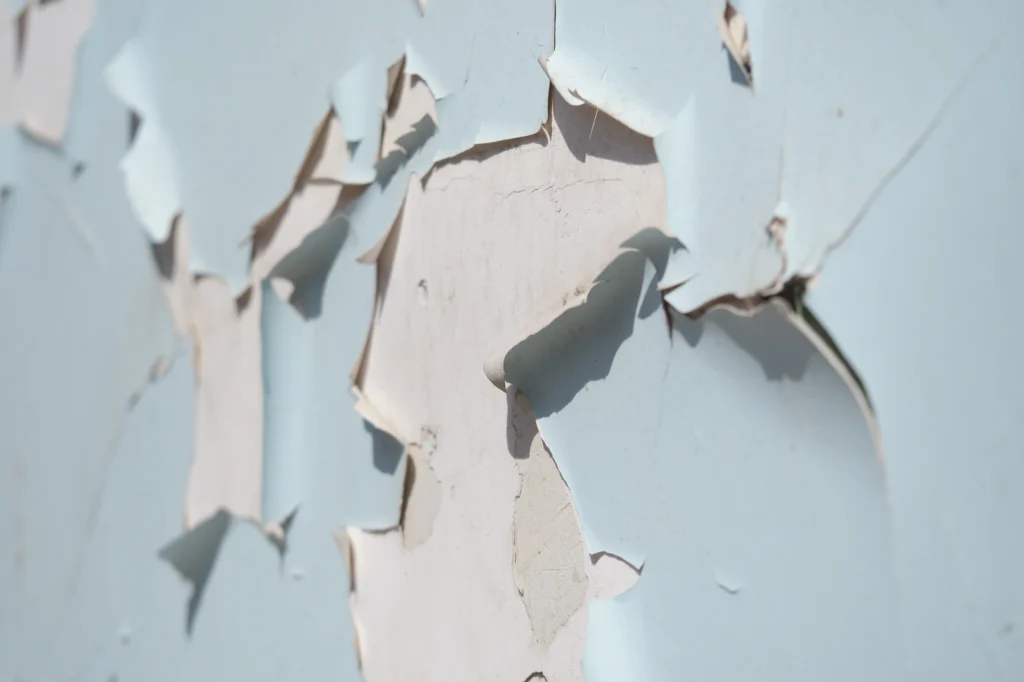
Why Paint Chips And Why The Cause Matters
Understanding why paint chips is the first step in learning how to repair chipped paint correctly. Paint is designed to protect a surface while improving its appearance, but it can only perform well when it remains firmly bonded to the material underneath. Moisture is one of the most common reasons paint begins to fail because water gradually weakens adhesion and lifts the coating away from drywall, wood, or masonry.
Exterior paint also faces constant exposure to sunlight, rain, snow, and temperature changes that cause building materials to expand and contract throughout the year. Indoors, chipped paint often develops after repeated contact from furniture, pets, children’s toys, or heavy foot traffic. In many homes, poor preparation during a previous painting project also contributes to early paint failure.
Painting over dust, grease, glossy finishes, or loose paint creates a weak bond that eventually breaks down. Low-quality paint products may wear more quickly, particularly in busy areas of the home. Before beginning how to repair chipped paint, spend time identifying what caused the damage because repairing the visible chip without addressing the underlying issue often results in the same problem returning within a short period. Homeowners who correct moisture problems, improve ventilation, or eliminate the source of repeated impacts usually enjoy much longer-lasting repairs.
Inspecting Every Damaged Area Before Starting Repairs
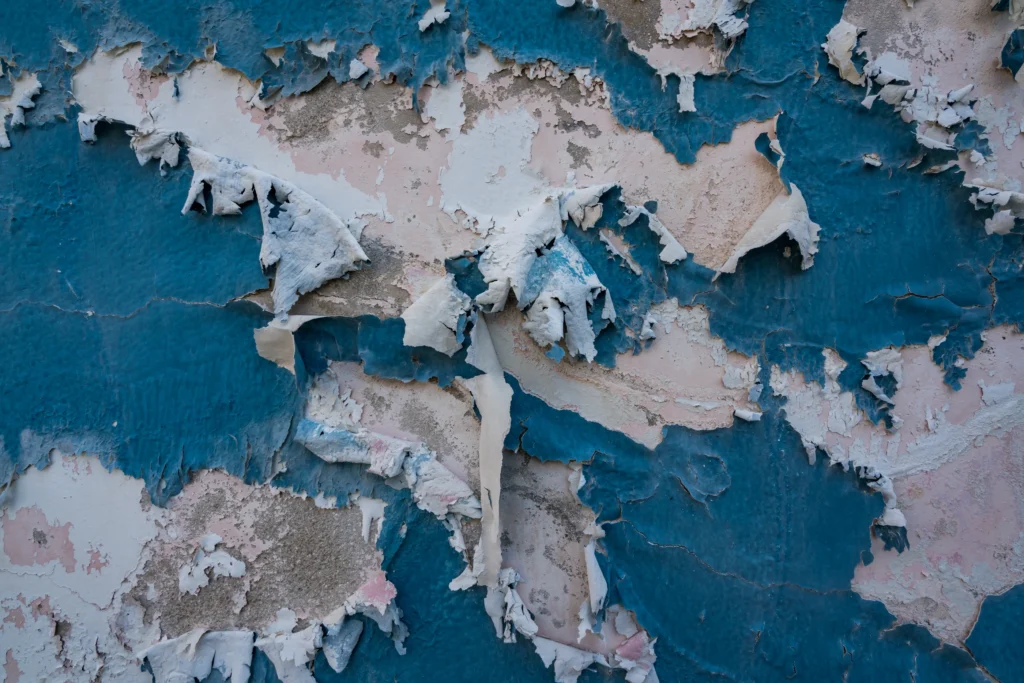
Many homeowners are eager to start repairing the visible damage, but a careful inspection greatly improves the final result. When planning how to repair chipped paint, begin by examining the damaged surface under bright lighting from several angles. What appears to be a single paint chip may actually be surrounded by additional loose paint that has already lost its bond with the wall. Use a putty knife to gently test the edges around each damaged area and remove any paint that lifts easily. Continue until only solid, firmly attached paint remains because weak edges can continue peeling after repainting.
Next, inspect the exposed material beneath the paint. Drywall should feel solid without soft spots caused by water damage, while wood should be free from rot, insect damage, or excessive moisture. Exterior siding should also be checked for mildew, mold, or weather-related deterioration before repairs begin.
Taking time to inspect the entire surface also helps identify additional chips that may not be immediately noticeable. Repairing every damaged area during the same project creates a more consistent finish and reduces the chance of repeating the work later. Careful inspection is an essential part of how to repair chipped paint because it ensures the repair begins with a stable surface rather than one that continues failing underneath.
Preparing The Surface For A Long Lasting Repair
Proper preparation determines whether a repair lasts for years or begins failing within months. After removing all loose paint, thoroughly clean the damaged area using a mild detergent solution to remove dust, grease, and other contaminants that reduce paint adhesion. Allow the surface to dry completely before continuing because trapped moisture can cause future peeling. Next, sand around the edges of each chipped area using fine-grit sandpaper to feather the transition between the existing paint and the exposed surface. This creates a smooth profile that helps the repaired section blend naturally after painting.
Once sanding is complete, remove every trace of dust with a microfiber cloth or tack cloth. If the repair exposes bare drywall, wood, or filler, apply a quality primer before painting. Primer seals porous materials, promotes adhesion, and helps the finish coat dry evenly without noticeable flashing. Skipping primer is one of the most common mistakes homeowners make when attempting how to repair chipped paint because repaired areas often absorb paint differently than surrounding surfaces.
If your project involves multiple interior walls with damaged finishes, professional preparation can save considerable time. Homeowners planning larger repainting projects can also learn more about complete residential solutions by visiting the Interior Painting service page from Four Seasons Painting Co, where proper preparation is the foundation of every long-lasting paint job.
Repairing The Chipped Area Correctly
After preparing the surface, you can begin the actual repair. This stage of how to repair chipped paint requires patience because rushing often creates visible patches that stand out after the paint dries. If the damaged area is shallow, apply a thin layer of lightweight spackling compound with a flexible putty knife and spread it evenly across the chip. For deeper damage that exposes drywall or wood, several thin layers produce a better result than one thick application because thinner coats dry more evenly and are less likely to crack.
Allow the filler to dry completely before sanding it smooth with fine-grit sandpaper until it is level with the surrounding surface. Remove all sanding dust before applying primer because leftover dust can affect paint adhesion and create a rough finish. A high-quality primer seals repaired areas, creates an even surface, and prevents repaired spots from absorbing paint differently than the surrounding wall.
Once the primer has dried, apply two light coats of matching paint rather than one heavy coat. Thin coats produce better coverage and blend more naturally with the existing finish. Taking your time during this stage is one of the most important parts of how to repair chipped paint because careful application produces repairs that are difficult to notice after the project is complete.
Matching The Existing Paint For A Seamless Finish
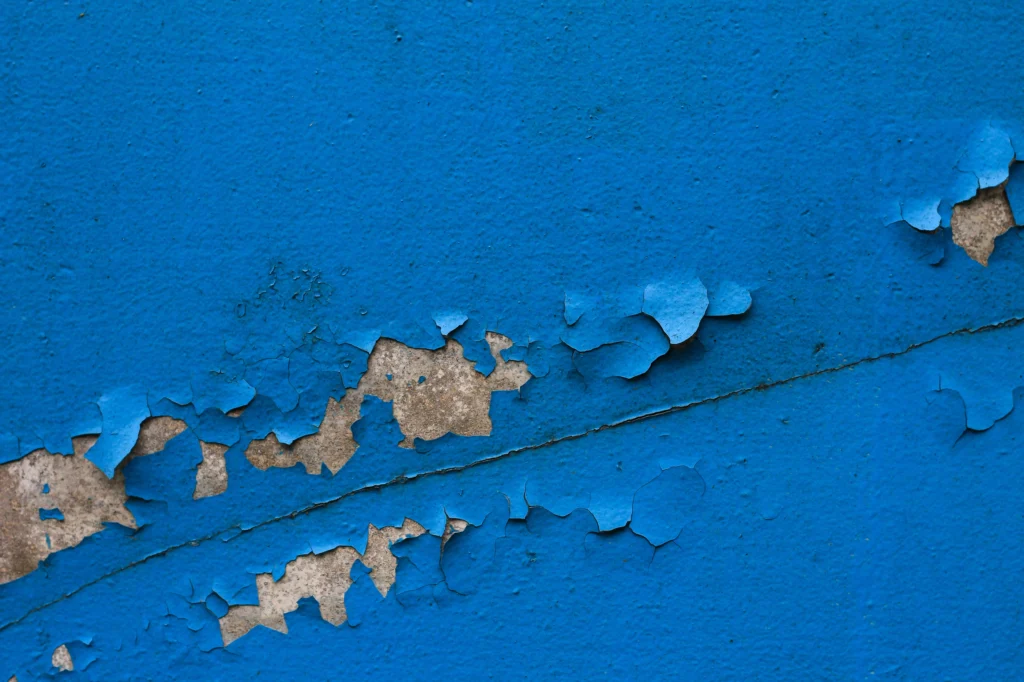
One of the biggest challenges in how to repair chipped paint is repairing disappear into the surrounding surface. Even perfectly prepared repairs can remain noticeable if the paint color or sheen does not match. Over time, paint naturally fades because of sunlight, cleaning products, and everyday wear, which means an old can of leftover paint may no longer match the existing wall perfectly. If the original paint is unavailable, remove a small sample from an inconspicuous location and have it professionally color matched.
Matching the sheen is equally important because flat, eggshell, satin, semi-gloss, and gloss finishes reflect light differently. Use the same type of brush or roller that was originally used because different applicators create different textures on the finished surface. Feather the new paint slightly beyond the repaired area to soften the transition and avoid noticeable edges. If multiple chips appear across the same wall, repainting the entire wall often provides a much more consistent appearance than touching up individual spots. Following these techniques while learning how to repair chipped paint helps create repairs that blend naturally with the rest of the painted surface.
Preventing Future Paint Damage
Successfully completing how to repair chipped paint should also include preventing the same problem from returning. Moisture remains one of the leading causes of paint failure, so repairing roof leaks, plumbing issues, poorly sealed windows, or excessive indoor humidity helps protect painted surfaces for years. High-quality primers and premium paints also offer better adhesion and durability than inexpensive products, making them a worthwhile investment for homeowners. Regular cleaning removes grease, dust, and other contaminants that gradually weaken paint over time, while avoiding harsh chemicals and abrasive scrubbers helps preserve the finish.
Inspect painted surfaces every year, especially around windows, doors, trim, and exterior siding where paint usually experiences the greatest amount of stress. Catching small chips early allows homeowners to repair minor damage before it spreads into larger peeling sections. The U.S. Environmental Protection Agency also provides valuable information about working safely around painted surfaces through its Lead Renovation, Repair and Painting Program, particularly for homes built before 1978. Following these maintenance practices extends the life of your paint while reducing future repair costs.
When Professional Help Is The Better Investment
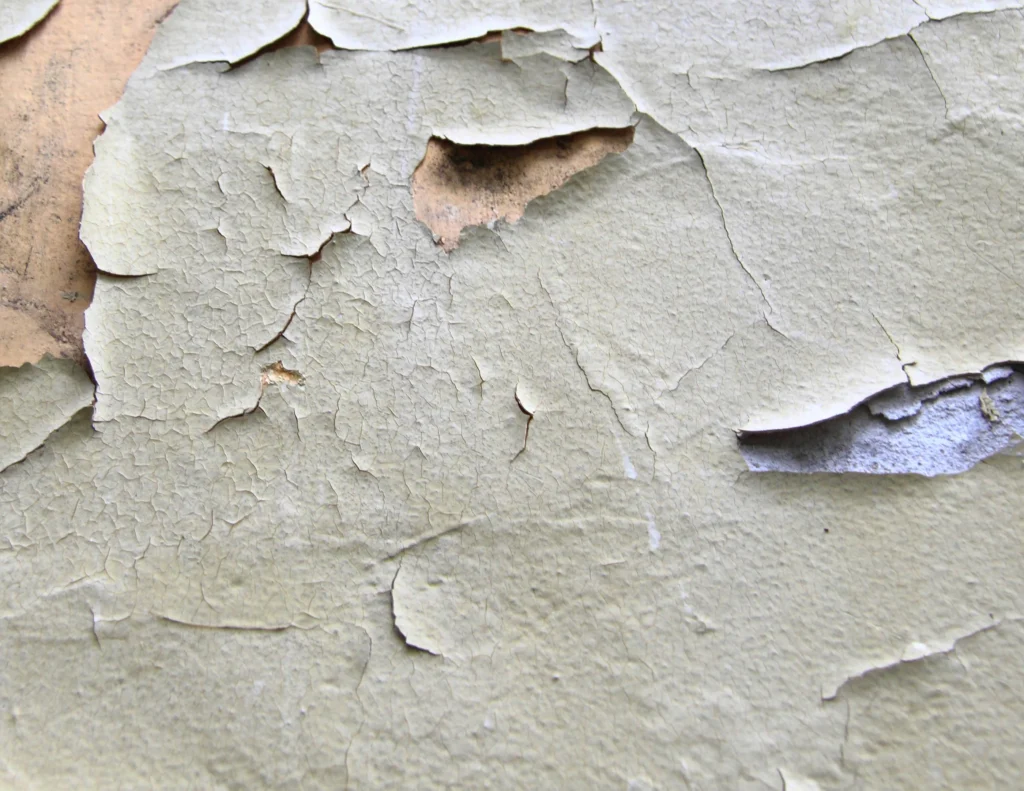
Although many homeowners can handle small repairs themselves, there are situations where professional painting services provide a better long-term solution. Extensive peeling, recurring paint failure, water damage, deteriorated wood, or large exterior repairs usually indicate underlying issues that should be corrected before repainting begins. Professional painters understand how to repair chipped paint by identifying the cause of the damage, preparing every surface correctly, and selecting products designed for long-term durability. Their experience also allows them to match colors and finishes more accurately, producing repairs that blend seamlessly with the surrounding paint.
Whether you are repairing one damaged wall or planning to repaint your entire home, investing in professional workmanship often saves time and reduces future maintenance. If you are ready to restore your home’s appearance or would like expert guidance for your next painting project, visit the Contact page to speak with the team at Four Seasons Painting Co. We provide dependable interior and exterior painting services throughout Lake County, helping homeowners achieve beautiful, long-lasting results with every project.
Conclusion
Learning how to repair chipped paint is about more than covering damaged areas with fresh paint. Proper inspection, careful preparation, quality materials, and correct application techniques all contribute to repairs that look natural and remain durable over time. Addressing the cause of the damage is just as important as repairing the visible chip because it helps prevent the problem from returning. Whether your project involves a small touch-up or widespread paint damage, following the right process leads to better results and protects your home’s surfaces. For professional painting services you can trust, Four Seasons Painting Co is ready to help homeowners achieve smooth, lasting finishes that enhance the beauty and value of their homes.