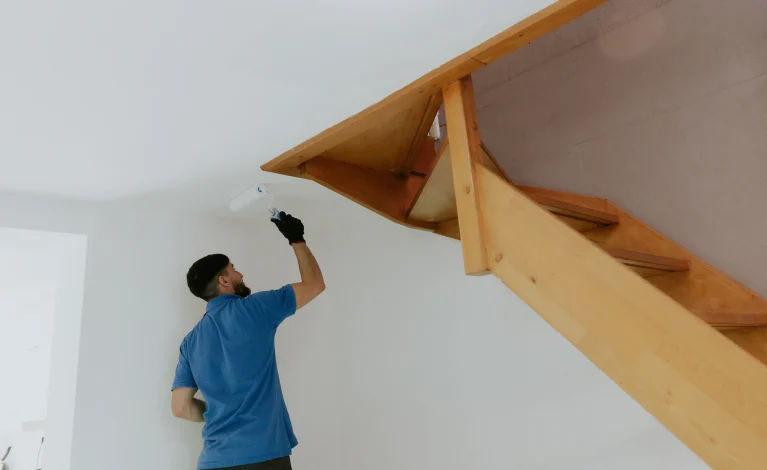
A freshly painted ceiling can make an entire room feel cleaner and brighter, but getting an even finish overhead requires the right method. For homeowners learning how to paint a ceiling with a roller, the process starts with protecting the room, repairing surface flaws, selecting the proper roller, and planning a rolling pattern that keeps the paint wet at the edges. A 3/8-inch nap roller often works well on smooth ceilings, while textured surfaces generally need a thicker nap to reach their uneven areas. Flat ceiling paint is a popular choice because its low sheen helps disguise minor imperfections and application marks.
The actual rolling technique matters just as much as the materials. Working in manageable sections, overlapping passes, maintaining consistent pressure, and avoiding repeated rolling over partially dried paint can prevent streaks and lap marks. You should also allow the first coat to dry for the period specified by the paint manufacturer before deciding whether another coat is necessary. This guide explains how to paint a ceiling with a roller from preparation through the final coat, including practical ways to control splatter, achieve uniform coverage, and avoid the mistakes that commonly make ceiling projects frustrating.

Preparing The Room And Ceiling Before Painting
Good preparation makes how to paint a ceiling with a roller considerably easier because you can concentrate on application instead of worrying about damaged furniture, dripping paint, or hidden surface problems. Begin by removing as much furniture as possible and moving anything that must remain toward the center of the room. Cover the floor and remaining furnishings with dependable drop cloths. Remove lightweight fixtures when practical, turn off electrical power when working around electrical components, and protect anything that cannot be removed.
Next, examine the ceiling in strong light. Nail pops, small holes, cracks, peeling coatings, and rough repairs can become more noticeable after fresh paint is applied, so correct them before opening the finish paint. Remove cobwebs and dust, then clean greasy or dirty areas with a cleaner suitable for the existing finish. Kitchens may need more degreasing than bedrooms because cooking residue can collect overhead. Let cleaned areas dry completely before sanding repaired spots and removing the resulting dust.
Stains also deserve attention. A water stain should prompt you to identify and correct the moisture source rather than simply hiding the discoloration. Once the underlying problem has been addressed, an appropriate stain-blocking primer can help keep discoloration from returning through the finish. This preparation may take longer than expected, but it creates the clean, stable surface needed for how to paint a ceiling with a roller successfully and helps the new coating maintain a uniform appearance.
Choosing The Best Roller And Paint For The Ceiling
Tool selection has a direct effect on coverage, texture, splatter, and the amount of effort required overhead. When deciding how to paint a ceiling with a roller, choose a quality roller cover that matches the surface rather than buying the thickest nap available. A smooth or lightly textured ceiling often works well with a 3/8-inch nap, while a more pronounced texture may need a 1/2-inch or thicker cover so paint reaches recessed areas. Check the coating and roller manufacturer’s recommendations because ceiling texture varies considerably. A sturdy extension pole is equally valuable. It lets you work from the floor in many rooms, provides better control over long passes, and reduces repeated trips up a ladder.
Choose a roller frame that holds the cover securely so it does not shift during use. Paint selection matters as well. Flat or matte ceiling coatings are commonly chosen for living spaces because lower sheen reflects less light and can make small surface flaws less obvious. Kitchens, bathrooms, or other moisture-prone rooms may call for a product specifically suited to those conditions. Quality paint can also improve coverage and leveling, reducing the temptation to apply an excessively heavy coat.
Homeowners tackling a larger room makeover can explore professional Interior Painting services for help with ceilings, walls, trim, and related preparation. Choosing compatible materials at the beginning makes how to paint a ceiling with a roller more predictable and gives the finished ceiling a cleaner, more consistent appearance.

Cutting In The Edges Before Using The Roller
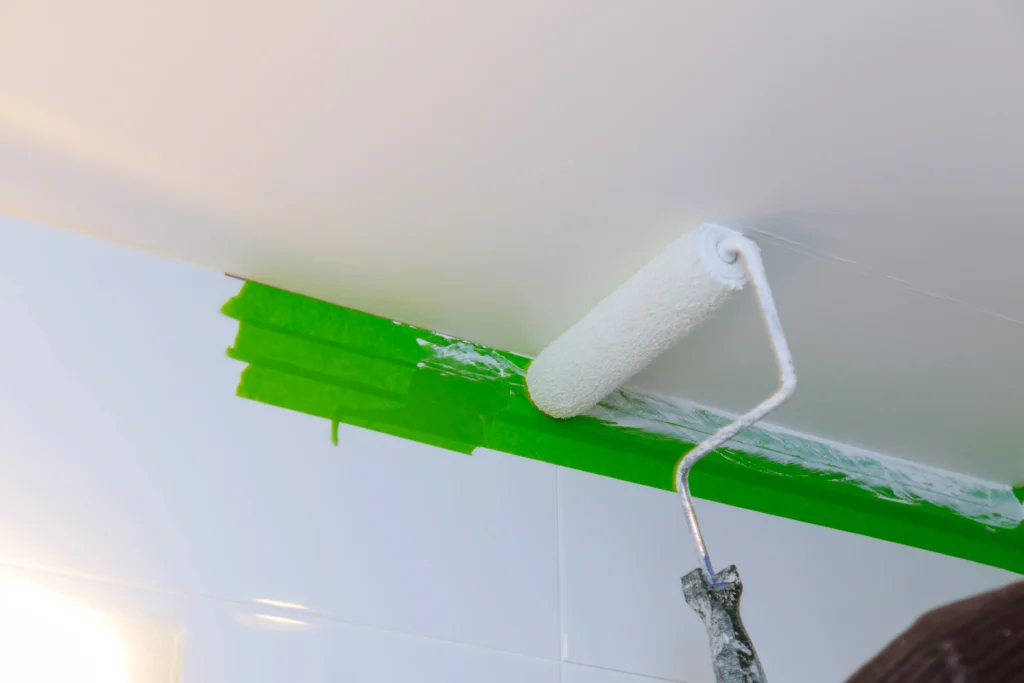
Before rolling the broad center of the ceiling, paint the perimeter and areas the roller cannot reach comfortably. This stage is an important part of how to paint a ceiling with a roller because clean edges make the finished surface look deliberate rather than rushed. Use a quality angled brush to apply paint where the ceiling meets the walls, crown molding, vents, and other fixed features. Work carefully and create a band wide enough for the roller to overlap without striking the adjacent wall.
Avoid making this band unnecessarily thick. Heavy brush application around the perimeter can dry with a different texture from the rolled surface and leave a visible border. For the best blend, begin rolling while the cut-in paint is still reasonably fresh whenever the room size and working conditions allow it. Keeping these areas close in the drying stage helps the brushed and rolled sections merge more naturally.
Homeowners who want to master how to paint a ceiling with a roller should also avoid cutting in the entire ceiling far in advance and then waiting too long to start rolling. By that point, the perimeter may have dried enough to produce noticeable differences in texture or sheen. Work methodically around obstacles and check for drips before moving on.
Once the edges are covered evenly, you have a defined working area and can concentrate on maintaining a steady rolling pattern across the larger ceiling surface. Careful cutting in takes patience, but it reduces cleanup and gives the completed room noticeably sharper transitions.
How To Paint A Ceiling With A Roller Using Even Strokes
The rolling stage is where technique has the greatest effect on the final appearance, so learning how to paint a ceiling with a roller requires more than simply moving the tool back and forth. Pour a manageable amount of paint into the tray and load the roller evenly, then roll it across the tray’s textured section to remove excess paint. The cover should be saturated without dripping. Start near one corner and work across the ceiling in sections roughly three to four feet wide.
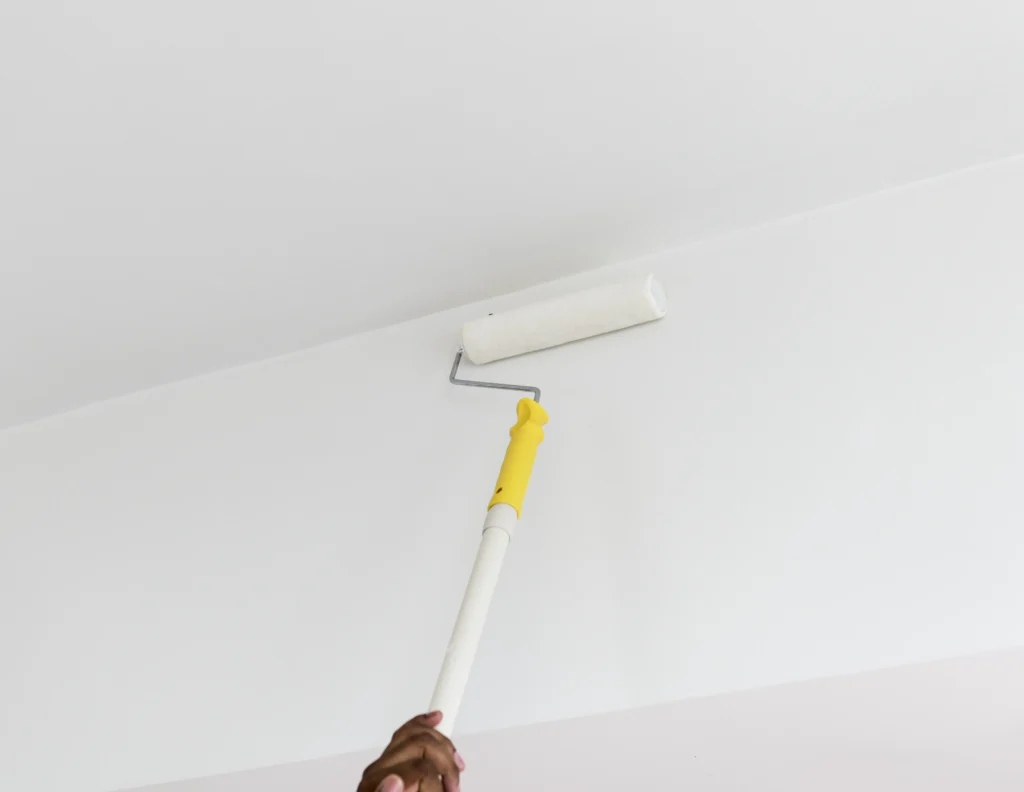
Keep the extension pole at a comfortable angle and apply moderate, consistent pressure rather than pushing hard against the ceiling. Each pass should overlap the previous pass enough to prevent thin lines between sections. Keep moving while the neighboring paint remains wet because maintaining a wet edge reduces lap marks and noticeable changes in texture.
Once a section has adequate coverage, finish it with light strokes in the same direction instead of repeatedly rolling over paint that has started to set. Reload the roller before it becomes completely dry, since trying to stretch a small amount of paint over too much surface often creates patchy coverage.
When learning how to paint a ceiling with a roller, periodically step away and examine the ceiling from different angles. Light coming through windows or fixtures can reveal missed areas, heavy spots, and inconsistent texture that are difficult to see while standing directly beneath the roller. A steady pace and consistent technique usually produce better results than trying to finish the ceiling as quickly as possible.

Avoiding Roller Marks, Splatter, And Uneven Coverage
Roller marks usually develop because of inconsistent pressure, insufficient paint, excessive reworking, or losing the wet edge between sections. One of the most useful lessons in how to paint a ceiling with a roller is knowing when to leave freshly applied paint alone. Once the coating begins to set, passing a roller over it again can pull at the surface and create visible texture differences. Instead, keep the roller properly loaded and complete one manageable section before advancing to the next. Excessive pressure should also be avoided. Pressing harder does not replace the need to reload the roller and can leave pronounced edge lines while increasing splatter.
If paint is flying from the roller, check whether it is overloaded or whether you are rolling too quickly. A moderate pace gives the coating time to transfer evenly onto the ceiling. Room lighting can make uneven coverage difficult to detect, so use both natural and artificial light when possible and inspect the surface from several positions. Ventilation matters too, although forcing strong airflow directly across wet paint may cause sections to dry at different rates.
When you understand how to paint a ceiling with a roller, the goal is not to make every pass perfect on its own. The goal is to build uniform coverage across the entire ceiling while keeping application pressure, paint quantity, direction, and working speed consistent. These habits help minimize streaks and create the flat, continuous appearance most homeowners want from a freshly painted ceiling.
Waiting Between Coats And Checking The Finish
A ceiling may appear dry shortly after painting, but that does not automatically mean it is ready for another coat. Following the manufacturer’s stated recoat time is an essential part of how to paint a ceiling with a roller because applying fresh paint over a coating that has not dried sufficiently can disturb the first layer and create an uneven finish. Temperature, humidity, airflow, paint formulation, and application thickness can all change the actual drying process. Once the recommended waiting period has passed, inspect the ceiling in good lighting before deciding whether a second coat is needed. Look across the surface rather than directly upward because low-angle light makes thin coverage, lap marks, and missed sections easier to identify.
If another coat is necessary, repeat the same controlled technique while keeping the roller adequately loaded and maintaining a wet edge. You can change the general direction of the final passes to help create consistent coverage across the surface, but avoid excessive back rolling as the paint begins to set. Indoor conditions also deserve attention while coatings dry.
The U.S. Environmental Protection Agency’s indoor air quality guidance provides useful information about ventilation and pollutants inside homes. Knowing how to paint a ceiling with a roller includes giving the coating enough time to dry rather than rushing toward completion. Patience between coats helps protect the work already completed and provides a better foundation for a uniform final finish.
Knowing When A Ceiling Project Needs Professional Help
Many standard-height ceilings are manageable DIY projects, but some conditions make professional painting a practical choice. Very high ceilings, vaulted designs, extensive cracking, persistent stains, damaged drywall, heavy textures, and difficult architectural details can require specialized equipment and more extensive preparation. A homeowner may understand how to paint a ceiling with a roller yet still struggle to maintain consistent pressure and coverage when working several feet above a normal ceiling height. Safety also becomes more important when ladders, scaffolding, or hard-to-reach areas are involved.
Professional painters can evaluate the surface before work begins, identify repairs that need attention, select compatible primers and coatings, and establish an application plan suited to the room. This becomes especially useful when ceilings are part of a larger interior renovation and must coordinate with freshly painted walls, doors, or trim.
If you would rather avoid the physical demands and cleanup associated with overhead painting, the Contact page provides a direct way to discuss your project with Four Seasons Painting Co. Knowing how to paint a ceiling with a roller is useful for homeowners who enjoy completing their own improvements, but knowing when the scope exceeds a comfortable DIY project is equally valuable. Professional workmanship can save time while helping ensure that repairs, preparation, paint application, and final coverage receive consistent attention throughout the room.
Conclusion
Learning how to paint a ceiling with a roller comes down to careful preparation, suitable tools, controlled application, and enough drying time between coats. Cleaning and repairing the surface first gives fresh paint a better foundation, while a quality roller and steady overlapping strokes help prevent patchy coverage and noticeable marks. Keeping a wet edge and resisting the urge to rework drying paint can further improve the final appearance. For homeowners who want a clean ceiling finish without handling the preparation and overhead work themselves, Four Seasons Painting Co provides professional painting services for homes throughout Lake County, Ohio.