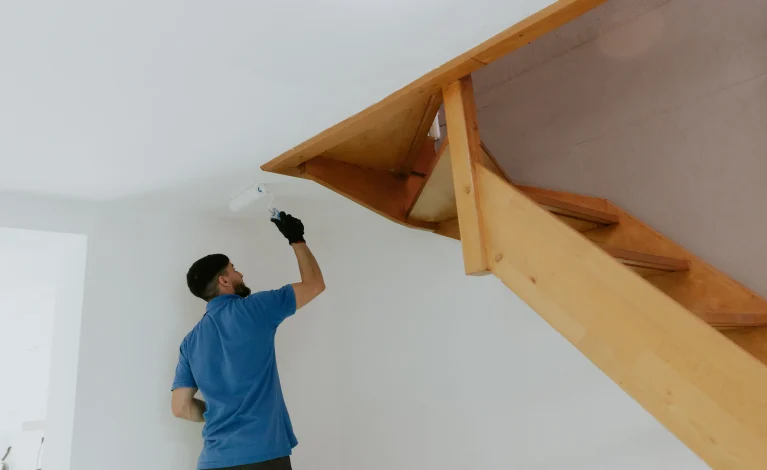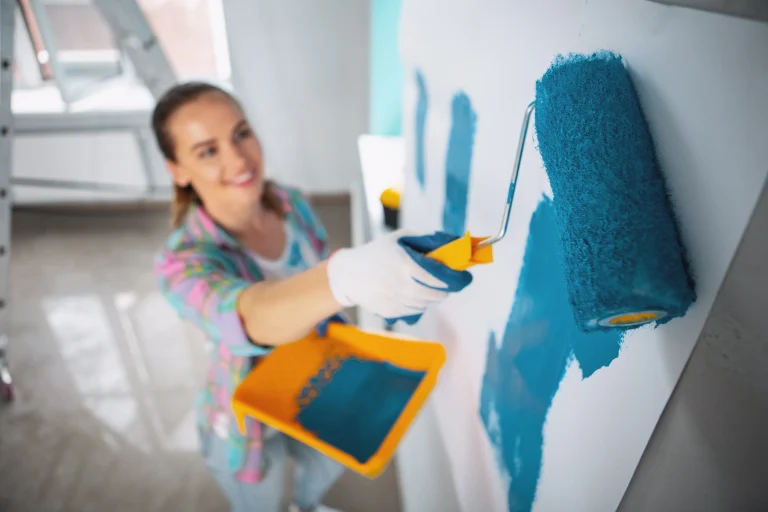
Painting a wall with a roller may look simple, but the finish depends heavily on preparation and technique. Using too much paint can create drips, while using too little often leaves thin patches and roller marks. The right roller cover, steady pressure, and consistent application make a noticeable difference.
Learning how to paint a wall with a roller can help homeowners refresh bedrooms, living rooms, hallways, and other interior spaces. A good result starts before the roller touches the wall. Proper cleaning, surface repairs, paint selection, and careful edging all help create a smooth and uniform finish.
Prepare The Wall Before You Start
How To Paint A Wall With A Roller? Start by removing pictures, switch plates, outlet covers, and other items attached to the wall. Move furniture away from the work area and cover the floor with drop cloths. Use painter’s tape where needed around trim, baseboards, windows, and other surfaces you want to protect from paint.
Clean the wall before painting, especially in kitchens, hallways, and high-touch areas. Dust, grease, and dirt can prevent paint from bonding properly. Fill nail holes, dents, and small cracks with a suitable patching compound, then sand the repaired areas once dry. Wipe away sanding dust before continuing. Proper preparation is one of the most important parts of how to paint a wall with a roller because a roller will not hide damaged or dirty surfaces. It often makes those imperfections more noticeable after the paint dries.
Choose The Right Roller And Paint
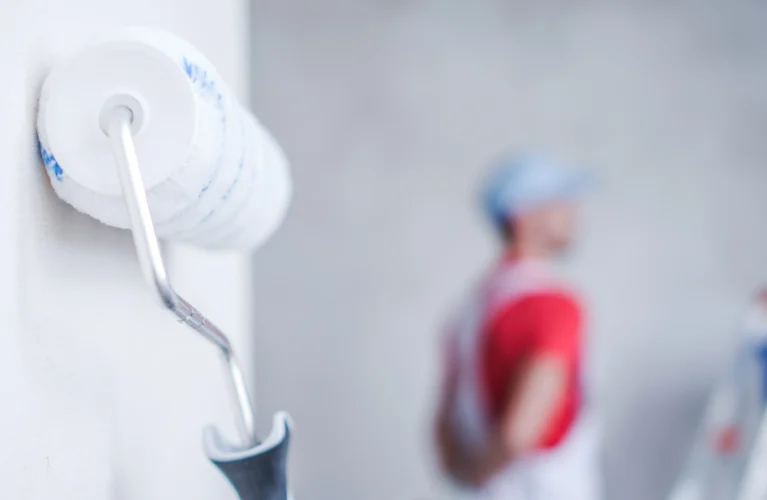
Roller covers come in different nap lengths, and the correct choice depends on the wall texture. A shorter nap usually works well on smooth drywall, while textured walls may need a thicker nap so paint can reach into small grooves and uneven areas. Choose a quality roller cover that does not shed fibers into the finish.
Use interior paint designed for the room and surface you are painting. Flat and matte finishes can help hide minor wall imperfections, while eggshell and satin finishes provide more washability. High-use areas may benefit from a more durable finish. Four Seasons Painting Co provides professional interior painting services for homeowners who want consistent coverage and clean results throughout their homes. Choosing the right tools and coating before starting makes how to paint a wall with a roller much easier and reduces the chances of an uneven finish.
Cut In Around The Edges First
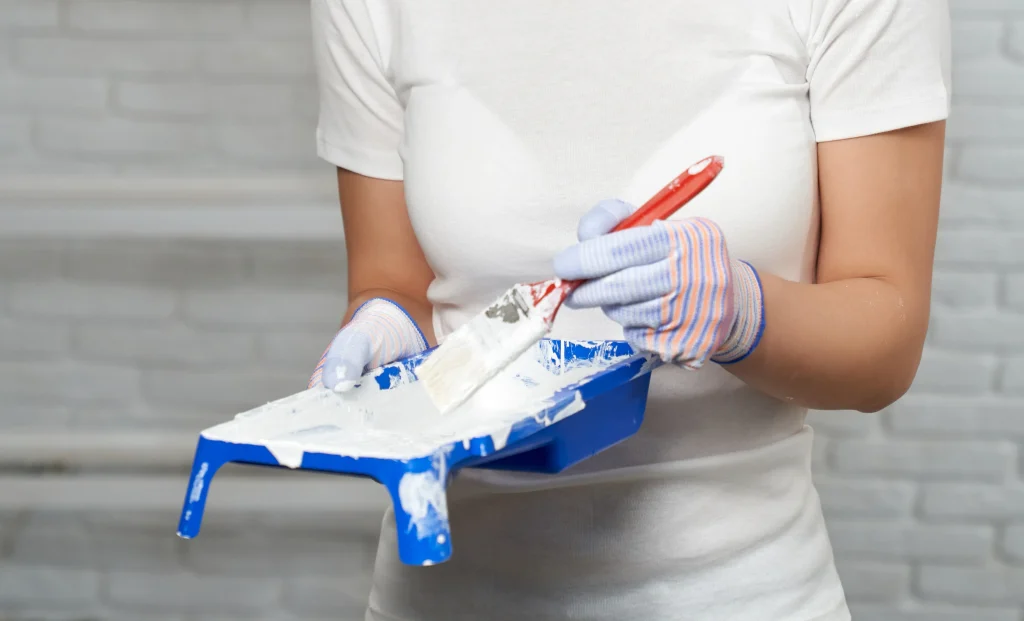
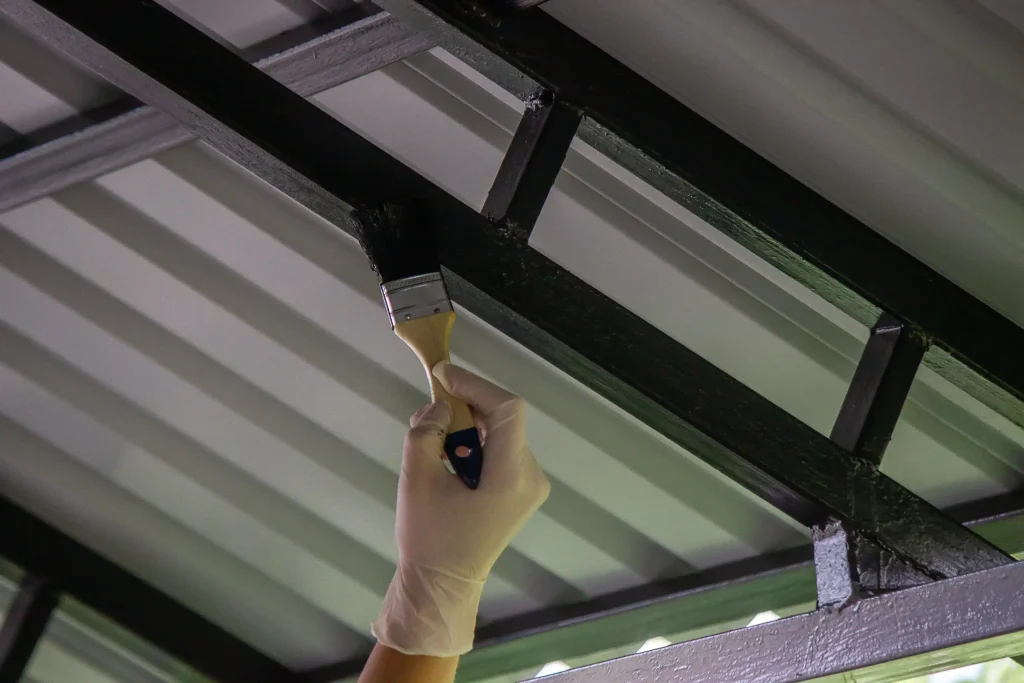
A roller cannot reach cleanly into corners or along trim, ceilings, and baseboards. Use a quality angled brush to cut in these areas before rolling the main wall. Apply paint in a narrow band around the perimeter so the roller can overlap the brushed section slightly.
Try to work on one wall at a time. Cut in the edges, then roll the wall before the brushed paint dries completely. This helps the brushed and rolled areas blend together more naturally. Avoid applying an excessively thick line of paint around the edges because it can dry with a different texture. When learning how to paint a wall with a roller, maintaining a consistent surface texture is just as important as achieving full color coverage. Sherwin-Williams also recommends working systematically and maintaining a wet edge while painting walls to reduce visible lap marks and uneven areas.
Load The Roller Without Overloading It
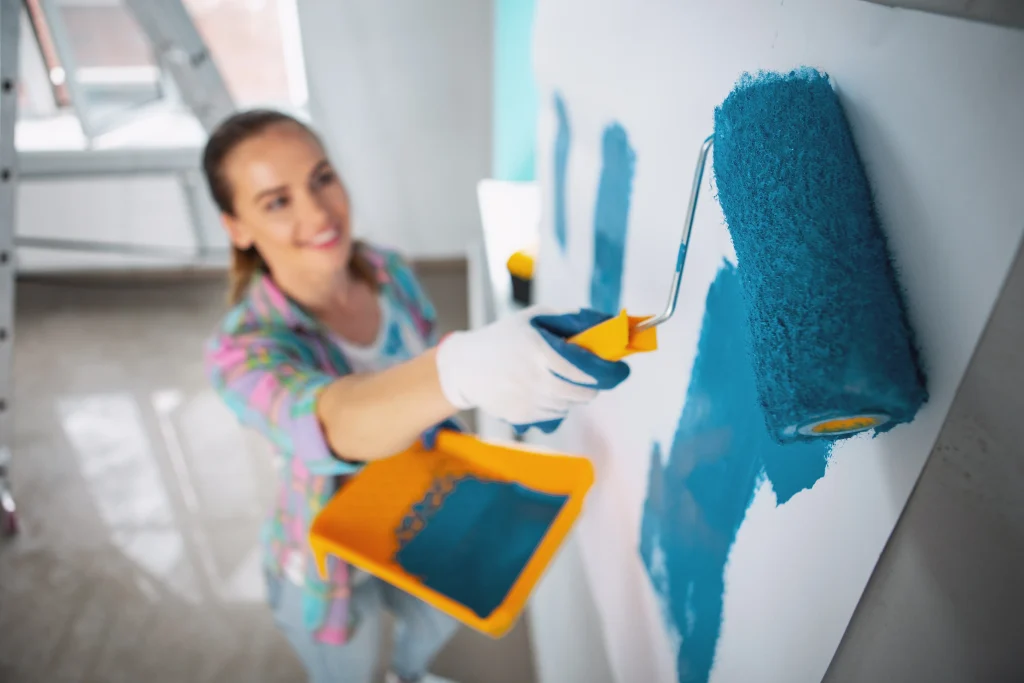
Pour paint into a roller tray or bucket fitted with a roller screen. Dip the roller cover into the paint, then roll it across the textured section of the tray or screen. The goal is to distribute paint evenly across the roller without leaving it dripping or completely saturated.
A properly loaded roller should hold enough paint to cover the wall smoothly without creating runs. If paint drips from the roller before it reaches the wall, it is probably overloaded. On the other hand, repeatedly pressing hard to release paint usually means the roller needs to be reloaded. Understanding how to paint a wall with a roller involves learning how much paint the roller should carry. Consistent loading helps maintain the same texture and coverage throughout the wall. It also reduces splatter, heavy edges, and thin spots that may become visible after the paint dries.
Roll The Wall In Manageable Sections
Start several inches away from an edge and apply the paint in a loose vertical or slightly angled pattern. Many painters use a W-shaped or M-shaped motion to distribute paint across a section before smoothing it with longer strokes. The exact pattern matters less than spreading the paint evenly before it begins to dry.
Work in sections that are small enough to keep a wet edge. After spreading the paint, use light vertical passes to even out the texture. The Sherwin-Williams DIY painting techniques guide also recommends using steady roller techniques and avoiding excessive pressure while applying paint. Move into the next section while the previous area is still wet and overlap it slightly. Do not repeatedly roll over paint that has already started drying because this can create visible marks and uneven texture. A steady rhythm is one of the keys to how to paint a wall with a roller successfully. Complete each wall continuously whenever possible instead of stopping halfway through and returning after the paint has dried.
Use Light And Consistent Pressure
Pressing hard on the roller does not improve coverage. Excessive pressure can squeeze paint out at the edges of the roller and leave visible ridges. It may also create inconsistent texture across the wall. Let the roller cover and paint do most of the work.
As the roller begins to run low on paint, reload it rather than forcing the remaining paint onto the wall. Use controlled strokes and maintain similar pressure across each section. When smoothing a freshly painted area, lighter passes usually work better than aggressive rolling. Proper pressure is an important part of how to paint a wall with a roller because it helps reduce lines, streaks, and heavy spots. Watch the wall from different angles while working. Light reflecting across the surface can reveal missed areas or roller marks that may not be obvious when looking directly at the wall.
Allow The First Coat To Dry Properly
Do not judge the final color or coverage while the paint is still wet. Some areas may look darker or lighter during drying, especially when the wall has patches or repaired spots underneath. Allow the first coat to dry according to the paint manufacturer’s recommended recoat time before deciding whether another coat is needed.
Most walls benefit from a second coat because it improves color depth and helps create a more uniform finish. Before starting the second coat, inspect the wall for drips, rough spots, or small imperfections. Sand minor defects gently if necessary, then remove the dust. Apply the next coat using the same technique and direction as the first. Patience matters when learning how to paint a wall with a roller. Applying another coat too soon can disturb the first layer and create texture problems that are harder to correct later.
Conclusion
After completing the final coat, inspect the wall in natural and artificial light. Look for thin patches, heavy roller lines, missed sections, and paint buildup around edges. Small problems are easier to correct while the project is still set up and the matching paint is readily available.
Remove painter’s tape carefully according to the tape and paint manufacturer’s instructions, then reinstall switch plates and outlet covers after the coating has dried sufficiently. Clean rollers and brushes promptly if you plan to reuse them. Knowing how to paint a wall with a roller can make smaller interior projects more manageable, but larger rooms and full-home painting require more time and consistent technique. Four Seasons Painting Co provides professional interior painting throughout Lake County, Ohio, helping homeowners achieve even coverage, clean lines, and a polished finish across their living spaces.